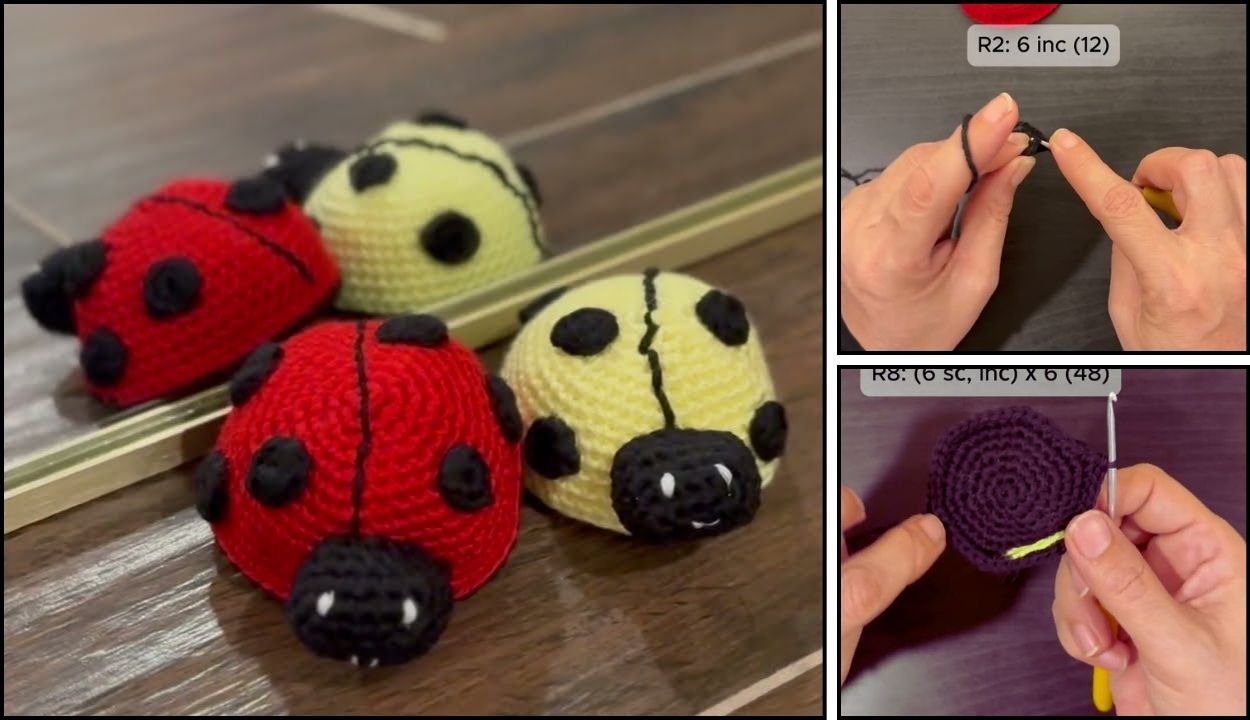
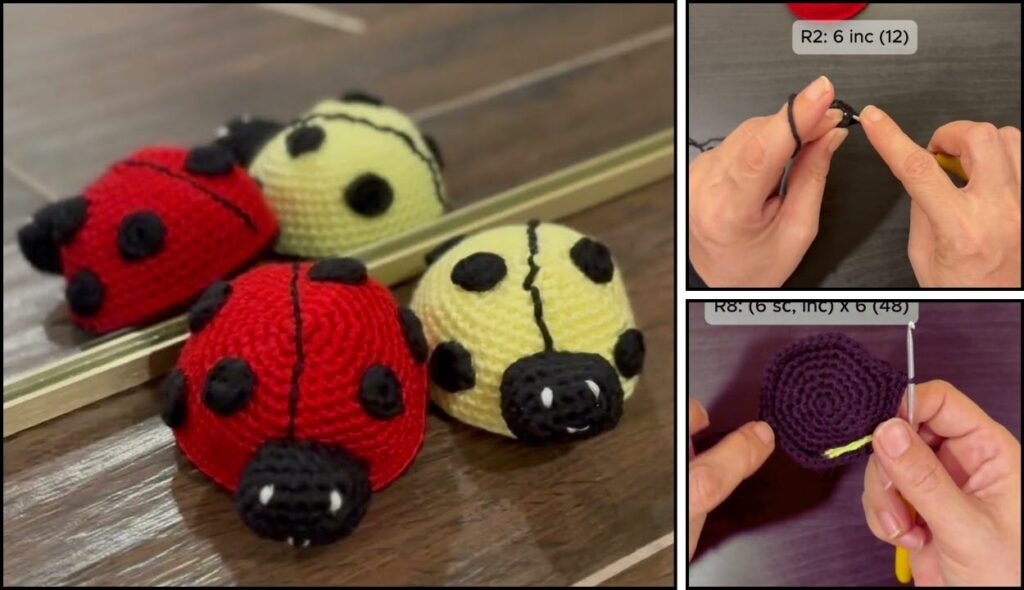
To crochet a cute ladybug, you’ll work in the round to create the body and shell, then add the spots and head as separate pieces. This is a great beginner-friendly amigurumi project that helps you master basic shaping and sewing techniques.
Here is a detailed guide on how to crochet an adorable ladybug.
Materials Needed
- Yarn: Medium-weight yarn in two main colors: one for the shell (e.g., red) and one for the body/head (e.g., black). A small amount of black yarn for the spots.
- Crochet Hook: The size that matches your yarn.
- Stuffing: Polyester fiberfill.
- Safety Eyes (optional): Small plastic eyes that snap into place.
- Tapestry Needle: For sewing and weaving in ends.
- Scissors
- Stitch Marker: To help you keep track of rounds.
Abbreviations
- ch: chain
- sl st: slip stitch
- sc: single crochet
- inc: increase (work two single crochet stitches in the same stitch)
- dec: decrease (work a single crochet two together, or sc2tog)
- st(s): stitch(es)
- [ ]: repeat instructions in brackets the specified number of times
- ( ) the number of stitches at the end of the round.

Part 1: The Shell (Red)
The shell is worked in continuous rounds. You will not join with a slip stitch at the end of each round unless instructed.
- Round 1: Start with a magic ring. Work 6 sc into the ring. (6 sts)
- Round 2: inc in each stitch around. (12 sts)
- Round 3: [sc in the next st, inc] 6 times. (18 sts)
- Round 4: [sc in the next 2 sts, inc] 6 times. (24 sts)
- Round 5: [sc in the next 3 sts, inc] 6 times. (30 sts)
- Round 6: [sc in the next 4 sts, inc] 6 times. (36 sts)
- Rounds 7-8: sc in each stitch around. (36 sts)
- Round 9: Working in the back loop only for this round, sc in each stitch around. (36 sts)
- Fasten off and leave a long tail for sewing.

Part 2: The Body (Black)
The body is also worked in continuous rounds. This piece will be stuffed and form the base of your ladybug.
- Round 1: Start with a magic ring. Work 6 sc into the ring. (6 sts)
- Round 2: inc in each stitch around. (12 sts)
- Round 3: [sc in the next st, inc] 6 times. (18 sts)
- Round 4: [sc in the next 2 sts, inc] 6 times. (24 sts)
- Round 5: [sc in the next 3 sts, inc] 6 times. (30 sts)
- Round 6: [sc in the next 4 sts, inc] 6 times. (36 sts)
- Rounds 7-8: sc in each stitch around. (36 sts)
- Round 9: [sc in the next 4 sts, dec] 6 times. (30 sts)
- Round 10: [sc in the next 3 sts, dec] 6 times. (24 sts)
- Stuff the body firmly with fiberfill. Continue to stuff as you decrease.
- Round 11: [sc in the next 2 sts, dec] 6 times. (18 sts)
- Round 12: [sc in the next st, dec] 6 times. (12 sts)
- Round 13: dec 6 times. (6 sts)
- Fasten off, leaving a tail. Use a tapestry needle to weave the tail through the remaining stitches and pull tight to close the hole.
Part 3: The Head (Black)
The head is a simple sphere.
- Round 1: Start with a magic ring. Work 6 sc into the ring. (6 sts)
- Round 2: inc in each stitch around. (12 sts)
- Round 3: [sc in the next st, inc] 6 times. (18 sts)
- Rounds 4-5: sc in each stitch around. (18 sts)
- Round 6: [sc in the next st, dec] 6 times. (12 sts)
- Stuff the head firmly with fiberfill.
- If you’re using safety eyes, insert them between Rounds 4 and 5, about 4 stitches apart.
- Round 7: dec 6 times. (6 sts)
- Fasten off, leaving a long tail for sewing. Use a tapestry needle to weave the tail through the remaining stitches and pull tight to close.

Part 4: Spots (Black)
You’ll make a few small flat circles for the spots.
- Start with a magic ring. Work 6 sc into the ring. (6 sts)
- Join with a sl st to the first stitch.
- Fasten off, leaving a tail for sewing. Make 4-6 of these.
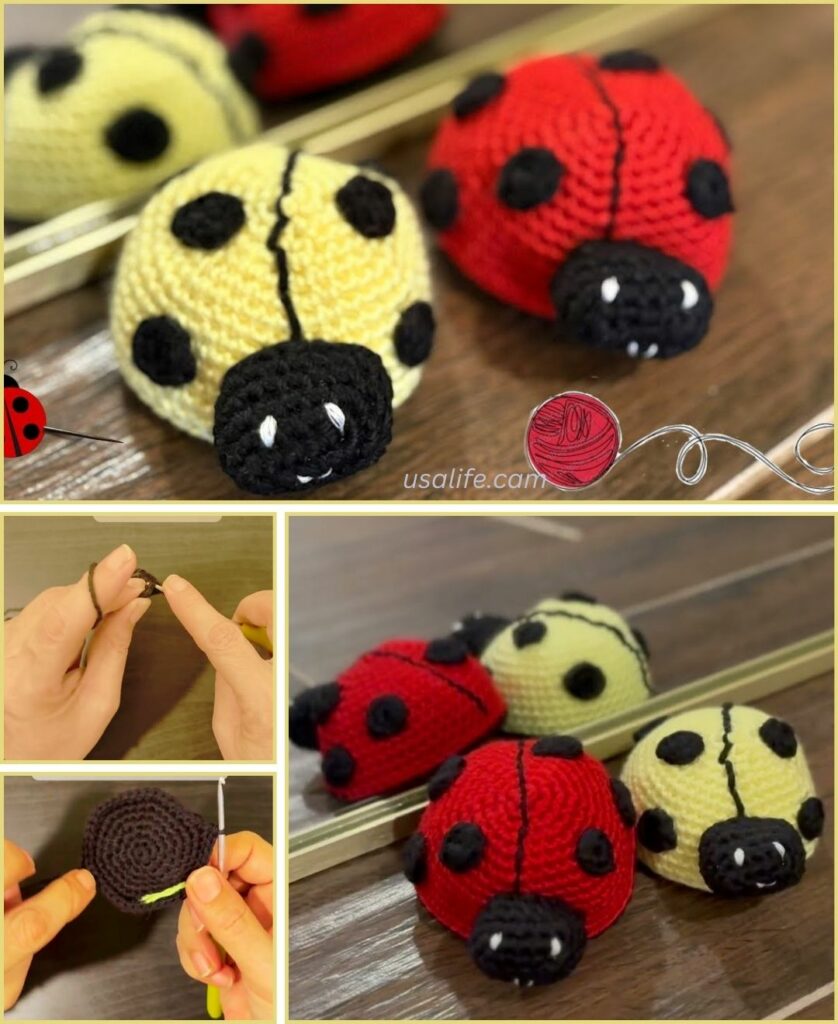
Assembly
- Sew the Shell to the Body: Use the long tail from the red shell to sew it onto the black body. Match up the stitches from the back-loop-only round on the shell with the top of the body.
- Attach the Head: Sew the head to the front of the ladybug body. Use the yarn tail and a tapestry needle to securely attach it.
- Add the Spots: Sew the black spots to the red shell, spacing them evenly.
- Weave in All Ends: Neatly weave in any remaining loose yarn ends to finish your cute ladybug.
Video tutorial
