A crocheted pumpkin is a classic and charming home decoration, especially for fall. It’s an excellent project for beginners and can be customized in endless ways by changing yarn colors, sizes, and textures. This guide will walk you through crocheting a simple, ribbed pumpkin that you can display on a mantle, shelf, or as a centerpiece.
Materials Needed
- Yarn: Medium-weight yarn in an autumnal color like orange, deep red, or white. A small amount of green or brown yarn for the stem.
- Crochet Hook: The size that matches your yarn.
- Stuffing: Polyester fiberfill.
- Tapestry Needle: For sewing and weaving in ends.
- Scissors
Abbreviations
- ch: chain
- sl st: slip stitch
- sc: single crochet
- inc: increase (work two single crochet stitches in the same stitch)
- dec: decrease (work a single crochet two together, or sc2tog)
- st(s): stitch(es)
- BLO: back loop only

Part 1: The Pumpkin Body
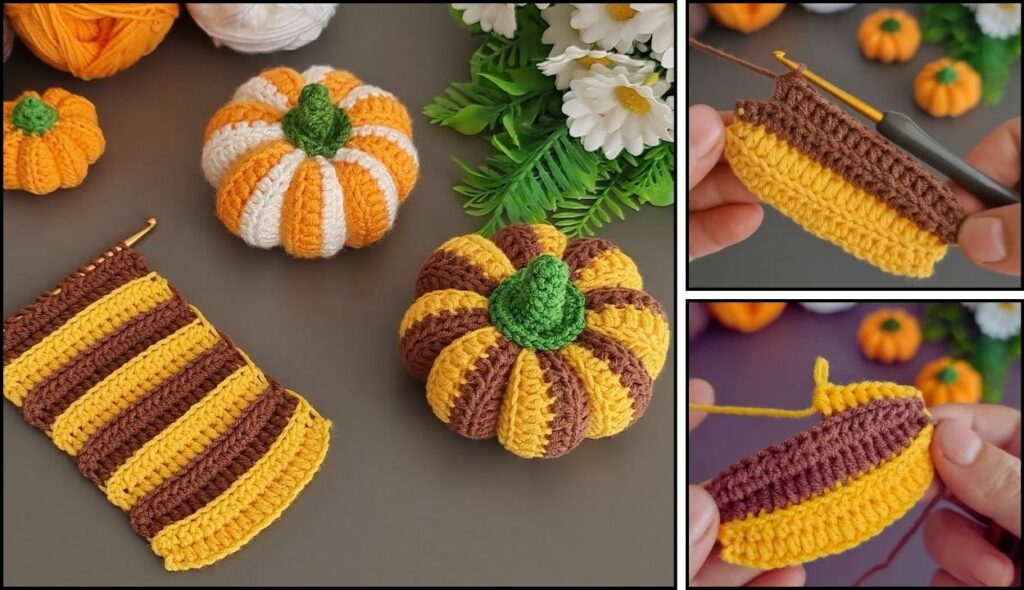
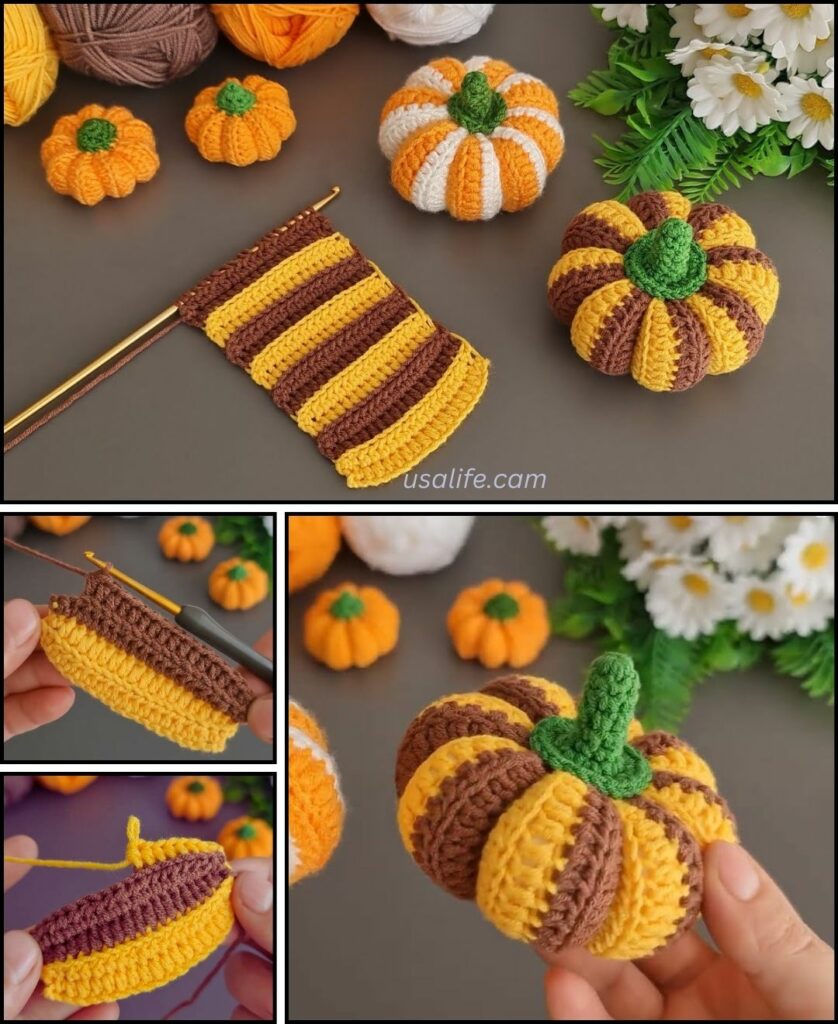
The pumpkin body is worked flat in a rectangle, which is then sewn together and stuffed. The key to the ribbed texture is working in the back loop only.
- Foundation Chain: With your pumpkin color,
ch 21. This will be the height of your pumpkin. - Row 1:
scin the secondchfrom the hook and in eachchacross. You should have 20 stitches.ch 1and turn. - Row 2: Working in the BLO,
scin eachstacross.ch 1and turn. - Repeat Row 2 until your piece is a square or until you have about 30 rows. The number of rows will determine how round your pumpkin is. The more rows, the wider and more squat your pumpkin will be.
- Fasten off, leaving a long tail for sewing.

Part 2: Shaping and Stuffing
- Sew the Sides: Fold the rectangle in half, bringing the first and last rows together. Using your tapestry needle and the long tail, sew the two ends together with a whip stitch or a mattress stitch to form a tube.
- Cinch the Bottom: Thread the tapestry needle with the yarn tail from the bottom of the tube. Weave the needle in and out through the stitches along the bottom edge. Pull the tail tight to cinch the hole closed. Secure with a knot and weave in the end.
- Stuff the Pumpkin: Turn the pumpkin right side out. Stuff the inside firmly with polyester fiberfill.
- Cinch the Top: Thread the top yarn tail onto your tapestry needle and weave it in and out through the stitches along the top edge of the tube. Pull the tail tight to cinch the top closed. Do not fasten off yet; leave the tail attached.

Part 3: Creating the Ribs
This step gives your pumpkin a classic, realistic look.
- Insert your tapestry needle from the center of the top of the pumpkin down to the center of the bottom.
- Pull the yarn tight, creating an indent.
- Bring the needle back up to the center of the top, about a half-inch away from where you first went down.
- Repeat this process 4-5 times, pulling the yarn tight each time, to create a ribbed, pumpkin shape.
- Secure the yarn at the top and weave in the end.

Part 4: The Stem
- With your green or brown yarn, make a magic ring.
sc6 times into the ring. (6 sts)scin eachstaround for 3-4 rounds, or until your stem is the desired height.- Fasten off, leaving a long tail. Stuff the stem with a tiny amount of fiberfill if you like.
- Sew the stem to the center of the top of the pumpkin using the yarn tail and tapestry needle.
Finishing Touches
- Leaves: For a final touch, you can add a small crocheted leaf. Simply
ch 6,sl stin the secondchfrom the hook,sc,hdc,dc,sc, and thensl stto finish. Sew the leaf to the base of the stem. - Tendrils:
ch 10with green yarn andsl stin eachchback to the stem. Sew to the top of the pumpkin next to the stem.
You now have a beautiful crocheted pumpkin perfect for your autumn decor! Sources
Video tutorial

