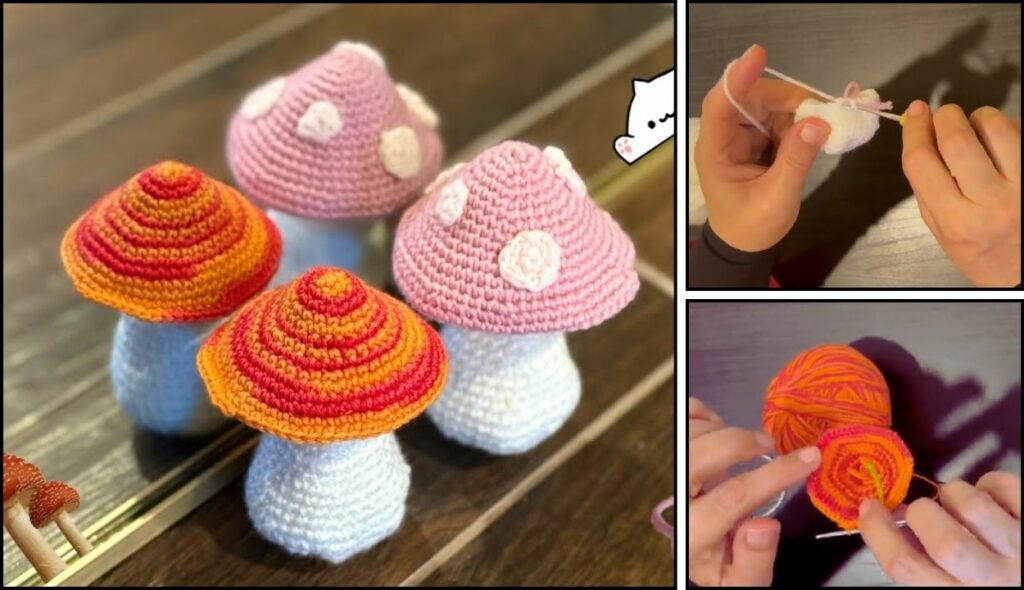
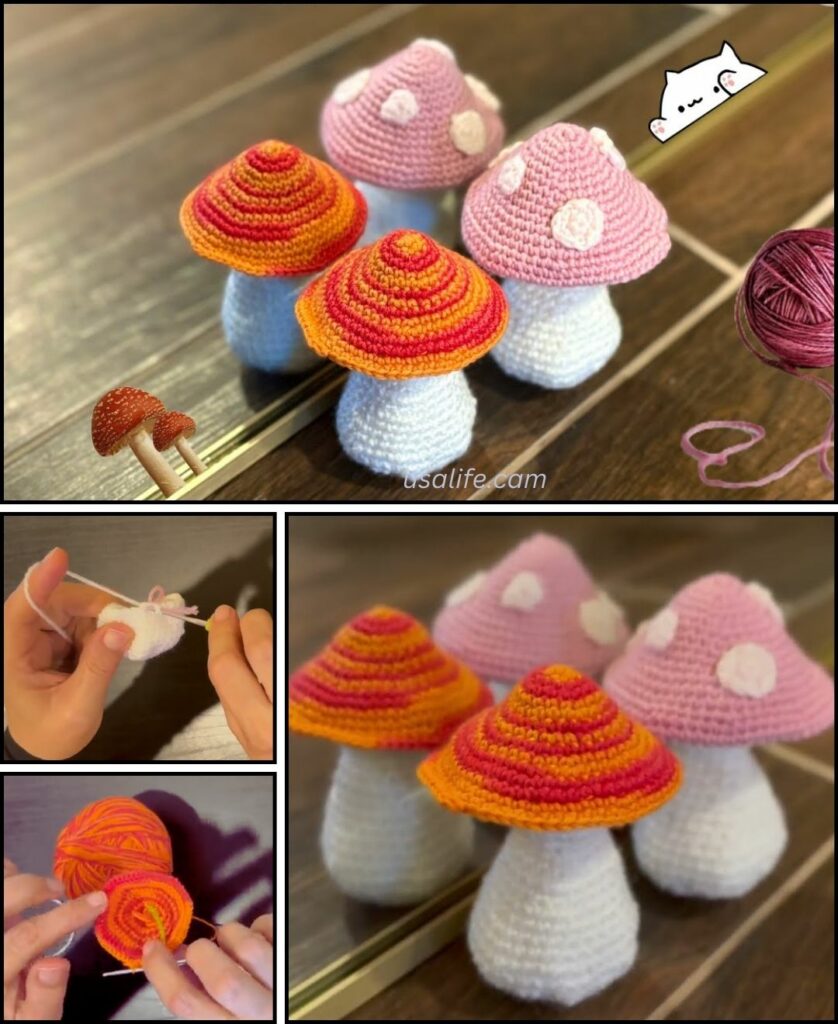
Making a cute crochet mushroom is a fun and simple amigurumi project. It’s an excellent way for beginners to practice basic stitches, working in the round, and assembling different pieces. This guide will walk you through creating an adorable mushroom with a classic red cap and a white stem.

Materials Needed
- Yarn: Medium-weight yarn in two colors: one for the mushroom cap (e.g., red) and one for the stem (e.g., white or cream). A small amount of white yarn is also needed for the spots.
- Crochet Hook: The size that matches your yarn.
- Stuffing: Polyester fiberfill.
- Tapestry Needle: For sewing and weaving in ends.
- Scissors
- Stitch Marker: To help you keep track of rounds.

Abbreviations
- ch: chain
- sl st: slip stitch
- sc: single crochet
- inc: increase (work two single crochet stitches in the same stitch)
- dec: decrease (work a single crochet two together, or sc2tog)
- st(s): stitch(es)
- [ ]: repeat instructions in brackets the specified number of times
- ( ) the number of stitches at the end of the round.
Part 1: The Mushroom Cap
We’ll start with the cap, which is worked in continuous rounds. You’ll switch colors to add the spots later.
- Round 1: With your cap color, start with a magic ring. Work 6 sc into the ring. (6 sts)
- Round 2: inc in each stitch around. (12 sts)
- Round 3: [sc in the next st, inc] 6 times. (18 sts)
- Round 4: [sc in the next 2 sts, inc] 6 times. (24 sts)
- Round 5: [sc in the next 3 sts, inc] 6 times. (30 sts)
- Round 6: [sc in the next 4 sts, inc] 6 times. (36 sts)
- Round 7: Working in the back loop only for this round, sc in each stitch around. (36 sts)
- Round 8: sc in each stitch around. (36 sts)
- Fasten off and leave a long tail for sewing.

Part 2: The Mushroom Stem
The stem is worked in a separate piece and then attached to the cap.
- Round 1: With your stem color, start with a magic ring. Work 6 sc into the ring. (6 sts)
- Round 2: inc in each stitch around. (12 sts)
- Round 3: [sc in the next st, inc] 6 times. (18 sts)
- Rounds 4-7: sc in each stitch around. (18 sts)
- Round 8: [sc in the next st, dec] 6 times. (12 sts)
- Stuff the stem firmly with fiberfill.
- Fasten off and leave a long tail for sewing.
Part 3: Adding the Spots
Adding the spots is a simple way to create the classic mushroom look. You can make them as bobbles or simply embroider them.
Option 1: Crocheted Bobble Spots
- With white yarn, make a magic ring.
ch 2, then work5 dcinto the ring.- Join with a sl st to the top of the
ch 2. - Fasten off, leaving a tail for sewing. Make 3-4 of these bobbles and sew them onto the top of the mushroom cap.
Option 2: Embroidered Spots
- Using white yarn and a tapestry needle, create small, circular shapes on the mushroom cap using a few stitches. This is a simpler method and is perfect for beginners.

Part 4: Assembly
- Sew the Stem to the Cap: Using the long tail on the stem and a tapestry needle, sew the stem to the underside of the mushroom cap. The part of the cap with the back-loop-only stitches will make a natural crease to sew into.
- Weave in All Ends: Neatly weave in any remaining loose yarn ends to finish your adorable mushroom.
You now have a finished crochet mushroom! This pattern is a great foundation for practicing your amigurumi skills. You can experiment with different colors, sizes, and even add a cute face with embroidered eyes and a smile.
Video tutorial


