 by
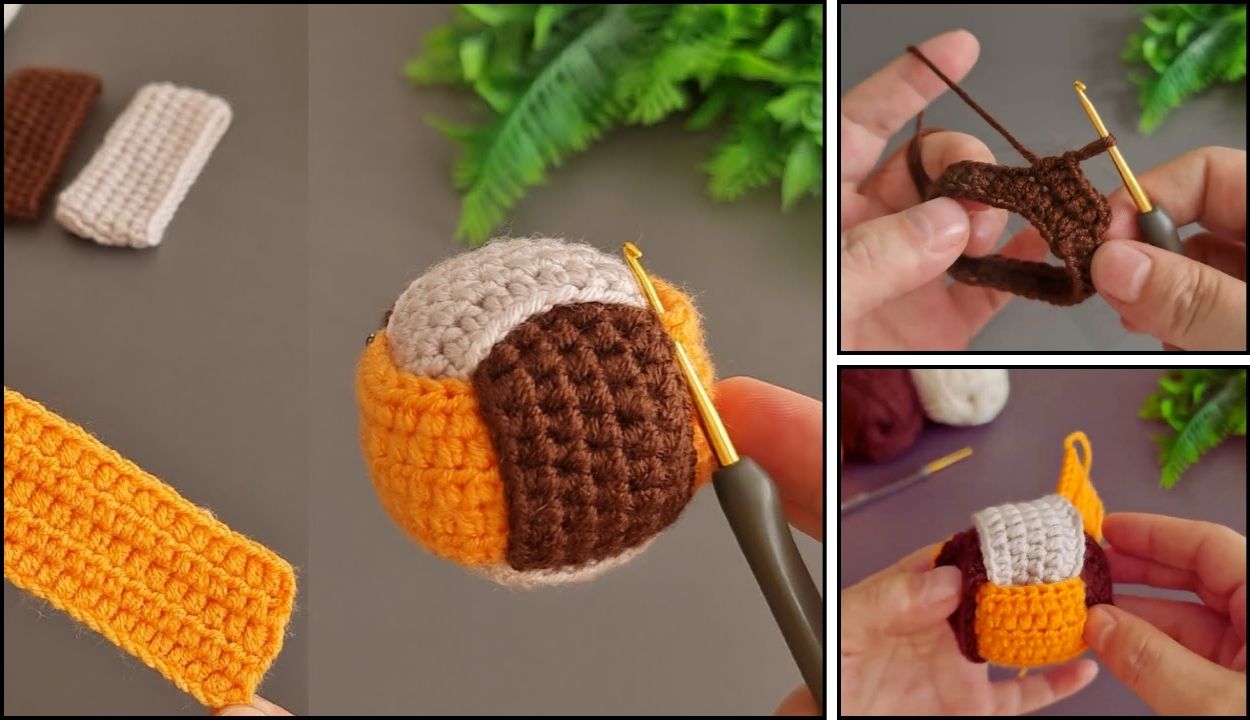
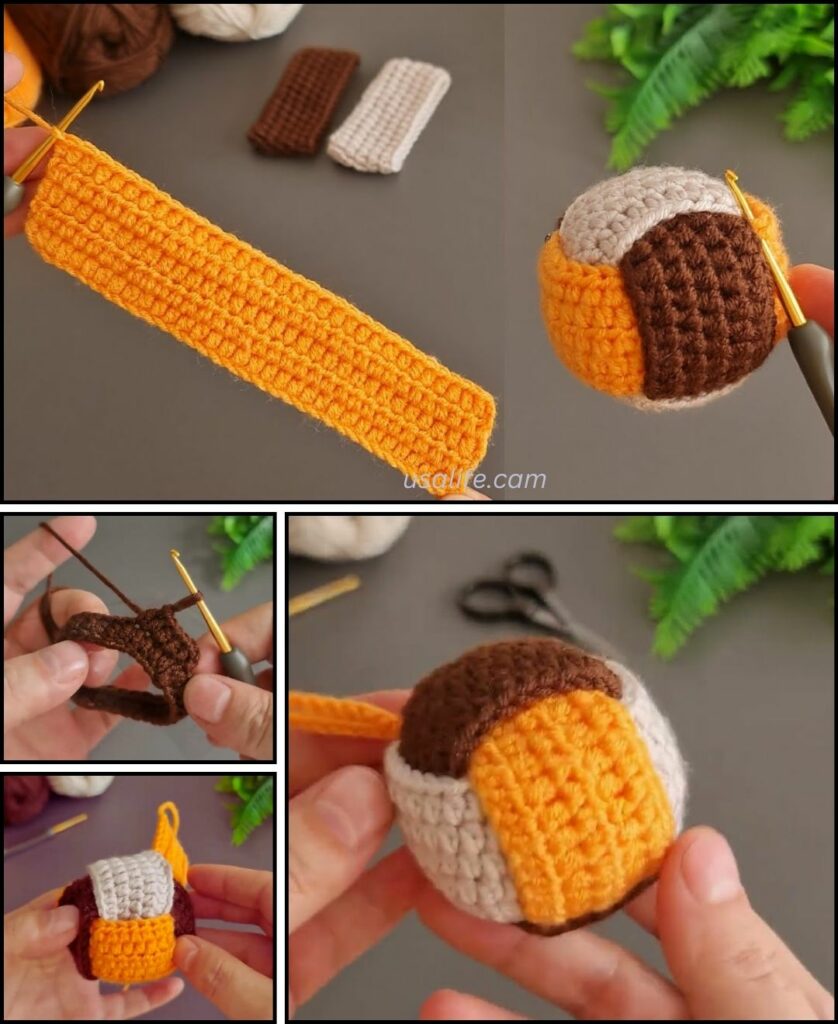
by Creating a crochet ball keychain is a simple and fun project that’s perfect for beginners. It’s a great way to learn a basic amigurumi technique: working in the round to create a three-dimensional shape.
This guide will walk you through the process of crocheting a small, sturdy ball that can be easily turned into a keychain.
Materials Needed
- Yarn: A durable yarn like cotton or acrylic. Use a small amount of a single color.
- Crochet Hook: The size that matches your yarn.
- Stuffing: A small amount of polyester fiberfill.
- Keychain Hardware: A key ring or keychain clip.
- Scissors
- Tapestry Needle: For sewing and weaving in ends.
Abbreviations
- ch: chain
- sl st: slip stitch
- sc: single crochet
- inc: increase (work two single crochet stitches in the same stitch)
- dec: decrease (work a single crochet two together, or sc2tog)
- st(s): stitch(es)
- [ ]: repeat instructions in brackets the specified number of times
- ( ) the number of stitches at the end of the round.
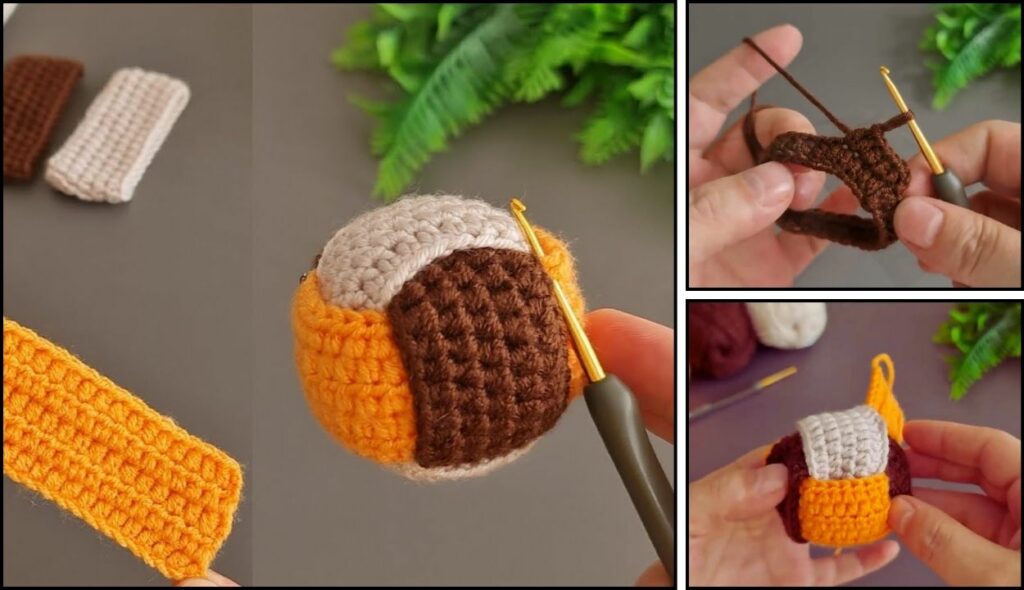
How to Crochet a Ball Keychain
This pattern is worked in continuous rounds, which means you will not join with a slip stitch at the end of each round. Using a stitch marker to mark the first stitch of each round will help you keep track of your progress.
Part 1: The Ball
- Round 1: Start with a magic ring. Work
6 scinto the ring. (6 sts) - Round 2:
incin each stitch around. (12 sts) - Round 3:
[sc in the next st, inc]6 times. (18 sts) - Round 4:
[sc in the next 2 sts, inc]6 times. (24 sts) - Rounds 5-7:
scin each stitch around. (24 sts) - Round 8:
[sc in the next 2 sts, dec]6 times. (18 sts) - Stuff the ball firmly with fiberfill. Continue to stuff as you decrease in the next rounds.
- Round 9:
[sc in the next st, dec]6 times. (12 sts) - Round 10:
dec6 times. (6 sts)
Part 2: Finishing and Attaching the Keychain
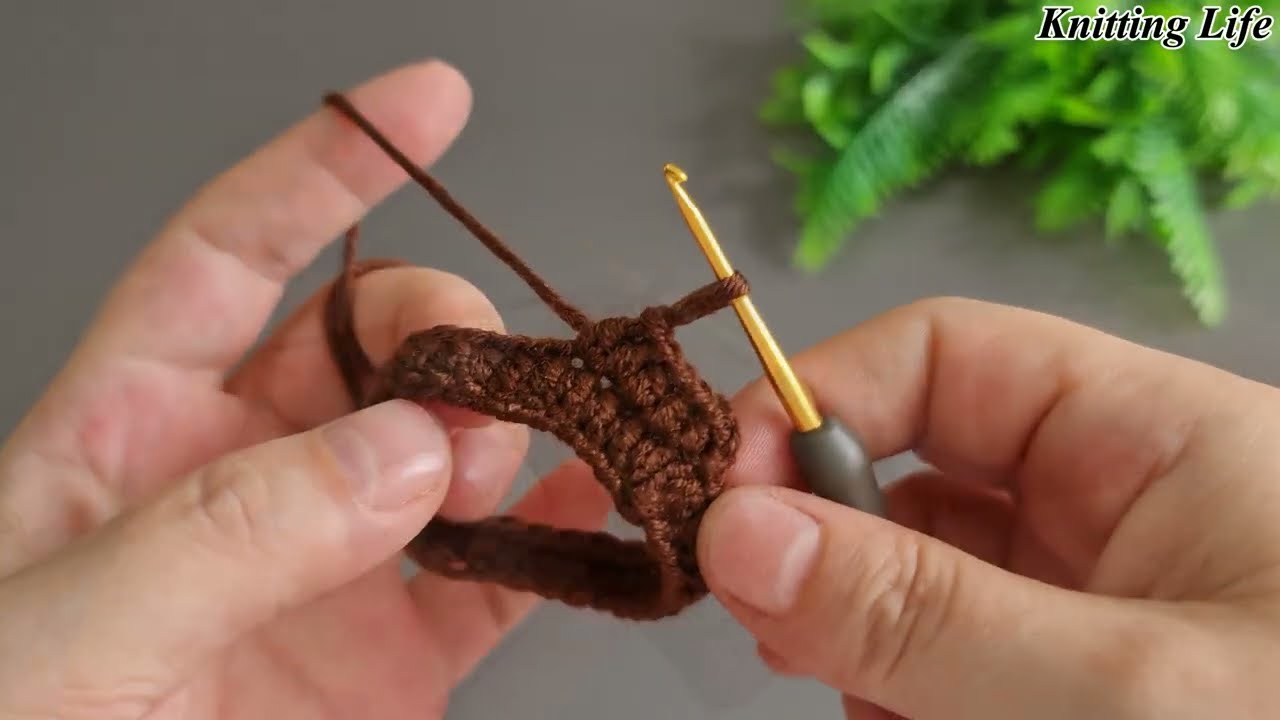
- Close the hole: Fasten off, leaving a tail of a few inches. Use a tapestry needle to weave the tail through the remaining 6 stitches. Pull the tail tight to close the hole.
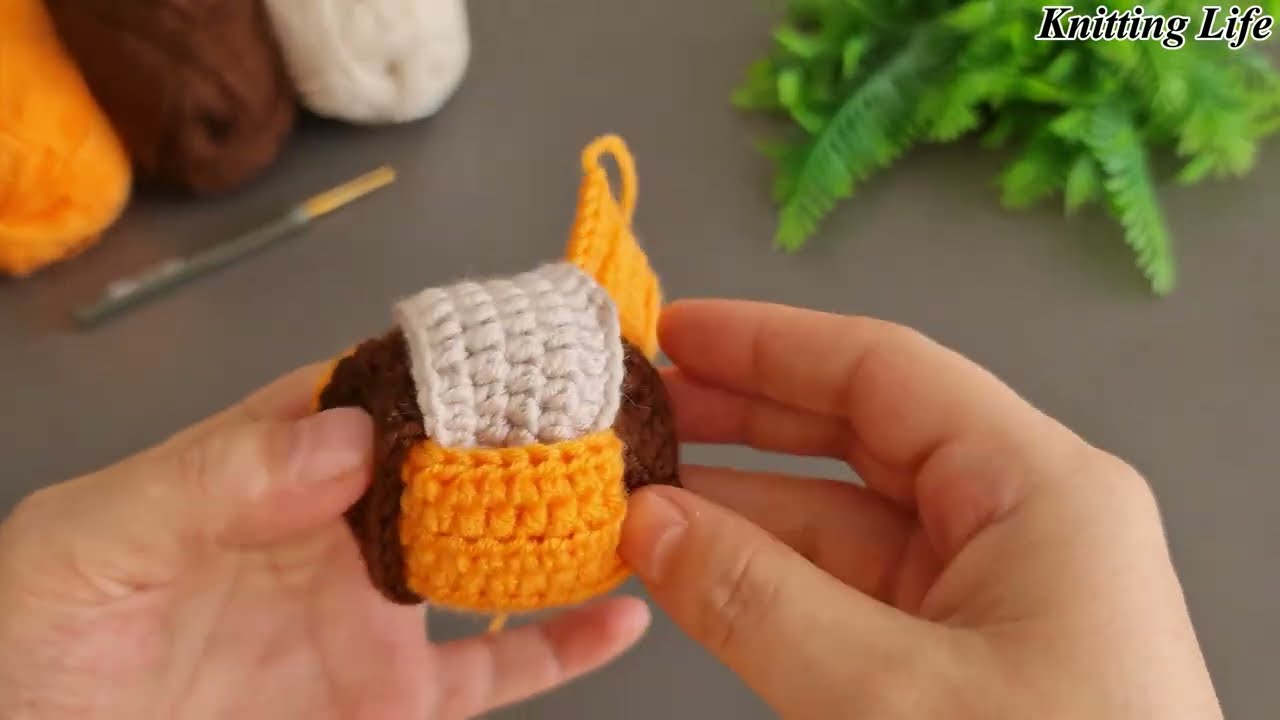
- Make a loop for the keychain:
ch 10. You can make this longer or shorter depending on your preference. - Attach the keychain loop: Use a
sl stto join the end of your chain to the top of your ball. Weave in any remaining yarn ends securely. - Attach the hardware: Thread the key ring or keychain clip through the loop you just created.
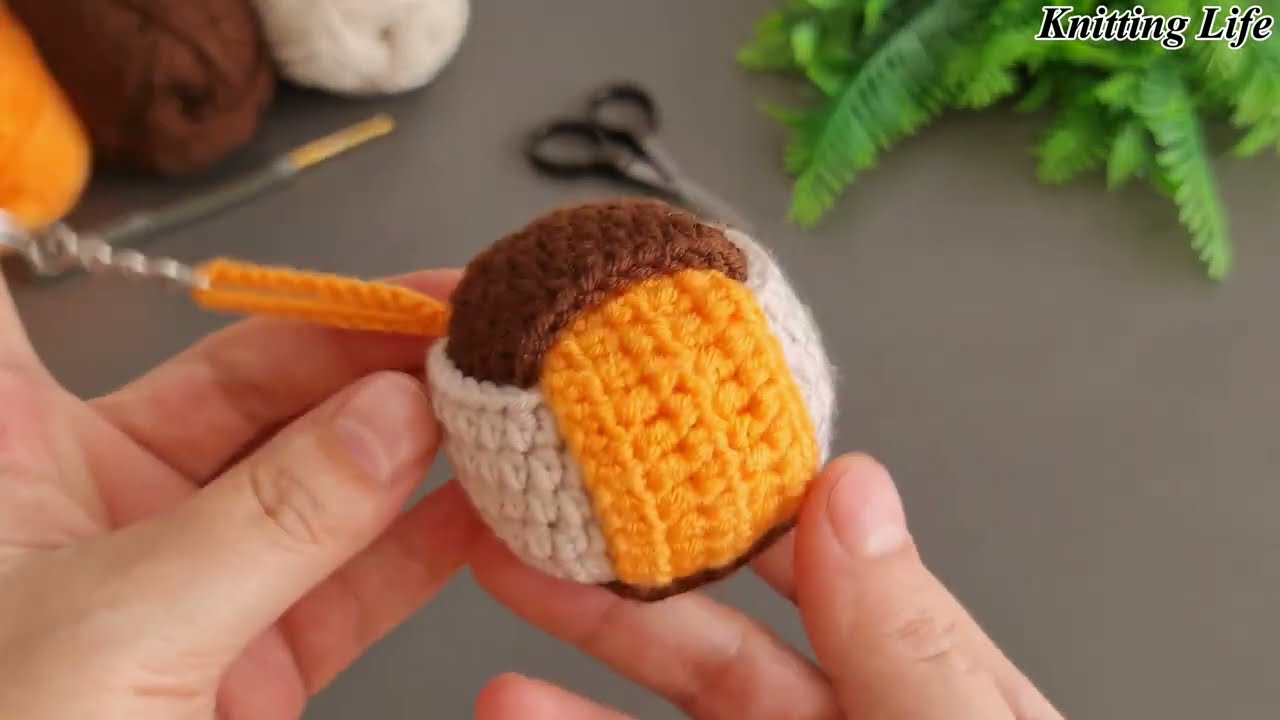
You’ve now created a finished crochet ball keychain! This simple pattern is easy to customize. You can make the ball bigger by adding more increase and sc rounds, use different colors to create stripes, or even add a small face with embroidery.
Video tutorial