by
by Crocheting a mini bag is a fun and quick project that’s perfect for beginners. It’s an excellent way to practice basic stitches and learn how to create a three-dimensional shape. This guide will walk you through a simple pattern for a small, rectangular mini bag, which can be easily adapted to your desired size.
Materials Needed
- Yarn: A durable yarn like cotton, acrylic, or a cotton blend works best. Choose a medium-weight (worsted) yarn for a sturdy bag.
- Crochet Hook: The size recommended for your yarn.
- Scissors: For cutting yarn.
- Tapestry Needle: For weaving in the ends and sewing on the strap.
- A Button or Clasp (optional): To close the bag.
Abbreviations
- ch: chain
- sc: single crochet
- sl st: slip stitch
- st(s): stitch(es)
- inc: increase (work two single crochet stitches in the same stitch)

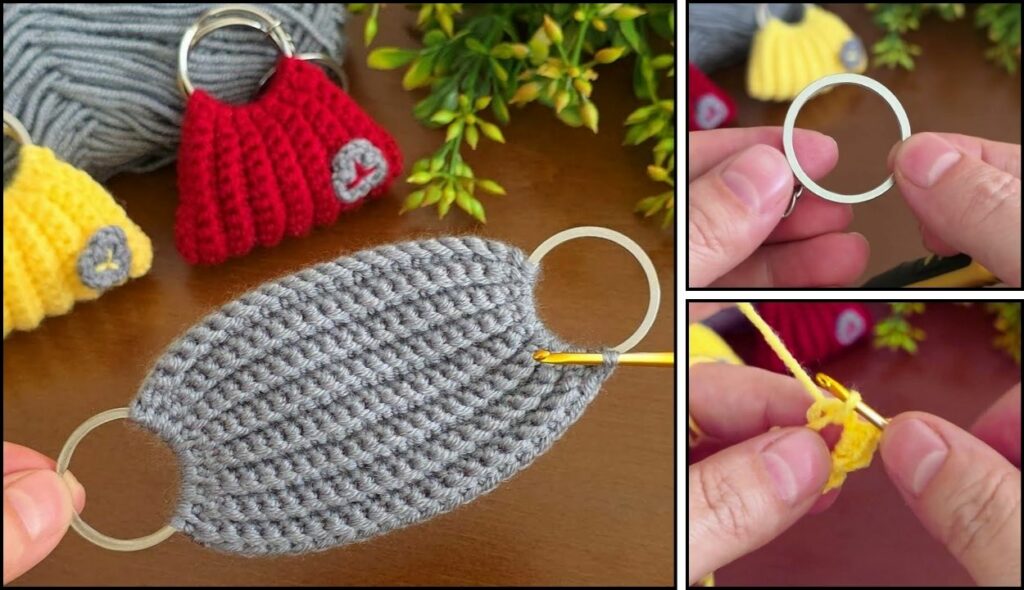
Part 1: The Body of the Bag
The body of this bag is worked in a flat, rectangular piece that is then folded and seamed.
- Foundation Chain:
ch 16. This will be the width of your bag. You can add or subtract stitches to change the size. - Row 1:
scin the secondchfrom the hook and in eachchacross. You should have 15 stitches.ch 1and turn. - Row 2:
scin eachstacross.ch 1and turn. - Repeat Row 2 for 25-30 rows, or until your rectangle is the size you want. It should be long enough to fold into a bag with a flap. For example, if you want a 5-inch tall bag with a 2-inch flap, your piece should be around 12 inches long.
- Fasten off and leave a long tail for sewing.

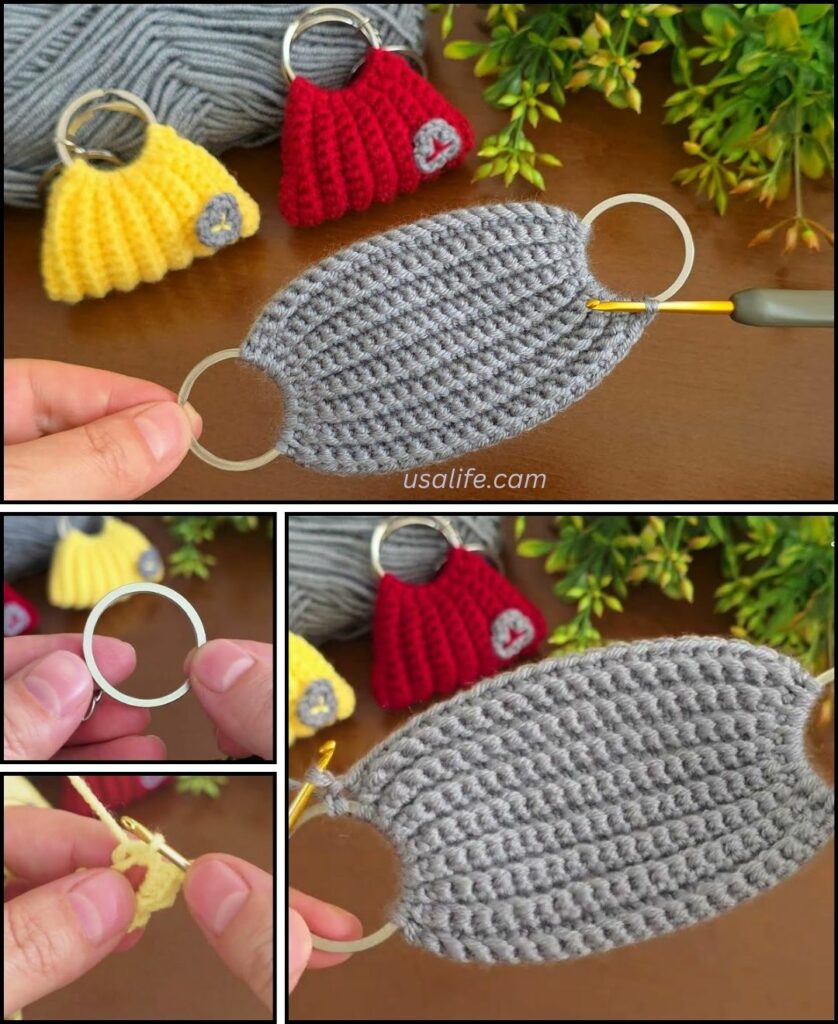
Part 2: Assembly
This is where your flat piece becomes a mini bag.
- Fold the Rectangle: Lay your crochet rectangle flat. Fold the bottom up so it forms the main body of the bag. Leave the top part as the flap. A good fold is usually about two-thirds of the way up from the bottom.
- Seam the Sides: Using the long yarn tail and a tapestry needle, sew the two sides of the bag together. You can use a simple whip stitch or a
sl stseam. Start at the bottom of the folded part and work your way up to the top of the body. - Weave in Ends: Weave in any remaining yarn ends on the inside of the bag.

Part 3: The Bag Strap
There are a few ways to create a strap for your mini bag.
Option 1: Simple Strap
chthe desired length for your strap (e.g., 50-60 inches for a crossbody bag).scin the secondchfrom the hook and in eachchacross.- Fasten off, leaving a long tail on each end.
- Use a tapestry needle to sew each end of the strap to the top corners of your bag.
Option 2: Sturdier Strap
ch 5.scin the secondchfrom the hook and in eachchacross (4 stitches).ch 1and turn.scin eachstacross.ch 1and turn.- Repeat this row until your strap is the desired length.
- Fasten off and sew the strap to your bag.
Part 4: Finishing Touches
- Add a Button/Clasp: If you want a closure, sew a button to the front of the bag and a yarn loop on the underside of the flap.
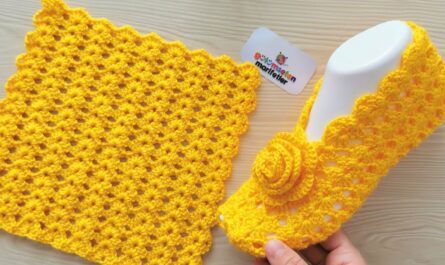
- Add Embellishments: Get creative! You can add a decorative stitch to the flap, a small crochet flower, or some fringe for a unique look.
You have now created a stylish and functional mini crochet bag! This basic pattern can be the foundation for many different designs.
Video tutorial