by
by That’s a broad and exciting request! Crocheting a Multipurpose Lace Design means creating a pattern or motif that can be easily adapted into various finished items, such as a shawl, a scarf, a garment insert, or a curtain panel.
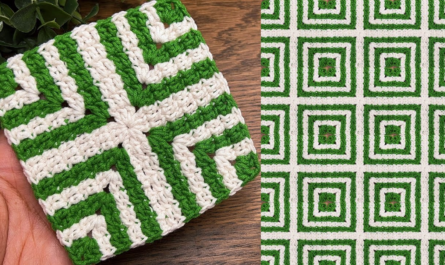
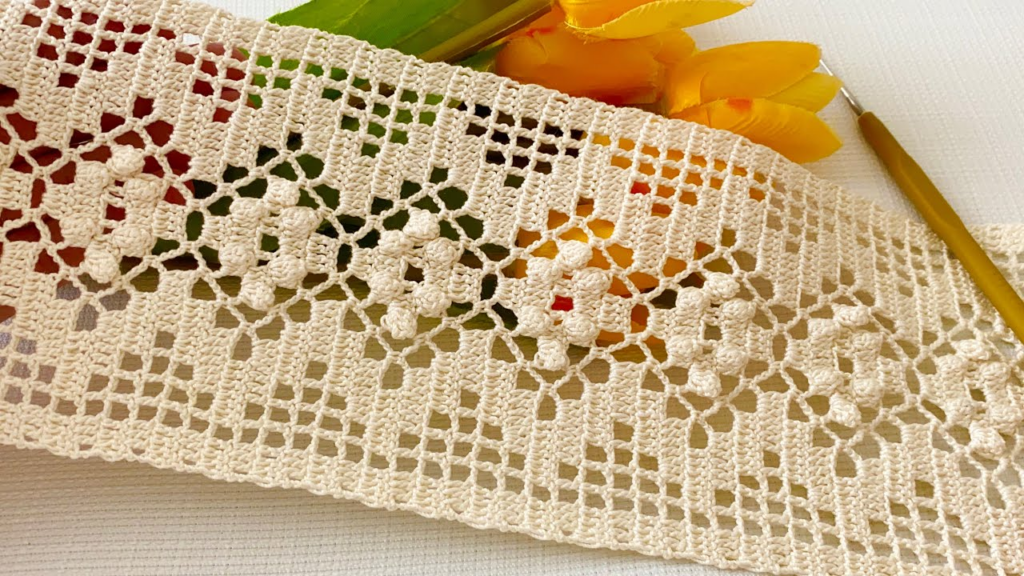
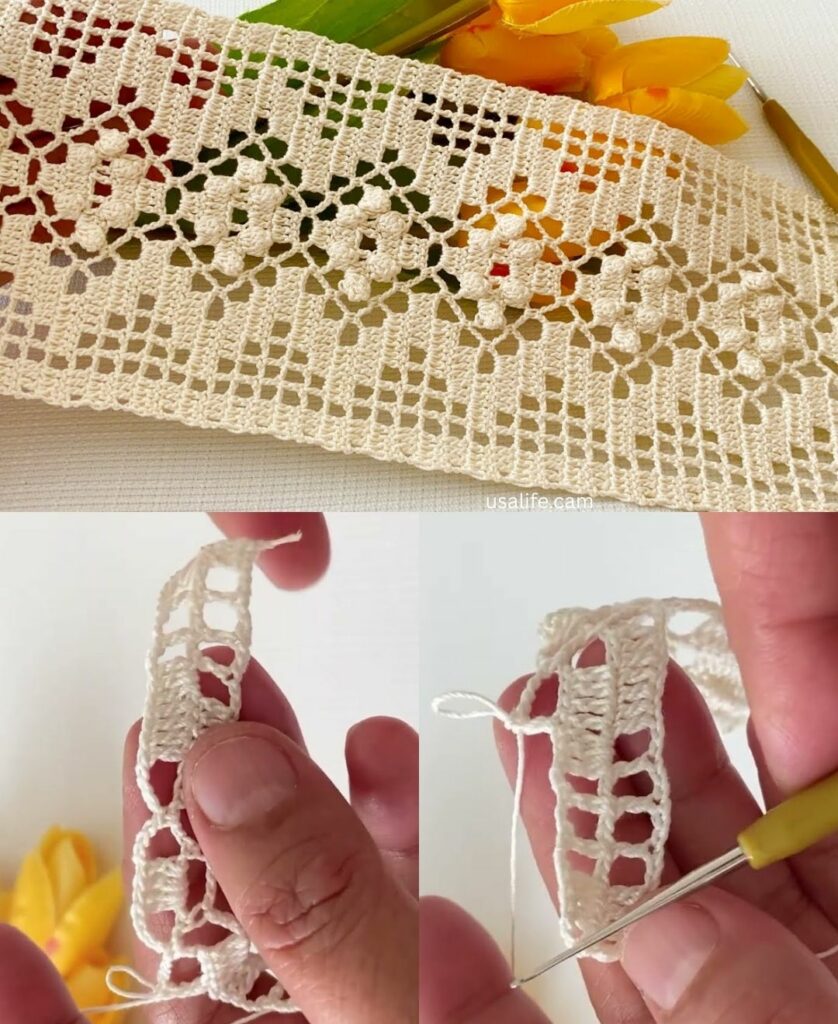
For a versatile and beautiful lace, we will detail the V-Stitch and Shell Lace Combination—a simple pattern that offers fantastic drape, an airy structure, and is highly adaptable for shaping.
Given the warm climate in Phnom Penh, this open lace pattern, using breathable yarn, is an excellent choice.
Yarn Selection for Multipurpose Lace
For optimal drape and definition in lace, choose light, smooth fibers:
- Yarn Fiber: 100% Cotton, Cotton/Bamboo Blend, or Linen/Rayon Blend. These fibers are cool, soft, and show off the stitch work beautifully.
- Yarn Weight: Sport Weight (Category 2) or Fingering/Lace Weight (Category 1). The lighter the yarn, the airier and more elegant the final lace will be.
- Hook Size: Often one size larger than recommended for the yarn (e.g., 4.0mm or 4.5mm for Sport Weight) to keep the tension loose and open.

The Multipurpose Lace Pattern: V-Stitch & Shell Combination
This pattern is a two-row repeat that creates a beautiful, repeating wave or scallop.
A. Essential Stitches Used
- Chain (ch), Slip Stitch (sl st).
- Single Crochet (sc): For anchoring the rows.
- Double Crochet (dc).
- V-Stitch (V-st):
(dc, ch 1, dc)worked into one stitch or space. - Shell Stitch:
5 dcworked into one stitch or space.
B. Pattern Instructions (Worked in Rows)
This pattern requires a starting chain that is a multiple of 6 stitches, plus 1.
- Foundation: Chain a multiple of 6 stitches, plus 1 (e.g., $6 \times 8 + 1 = 49$).
- Row 1 (V-Stitch Row):
Ch 3(counts as first dc).dcin the first stitch. (Forms a partial V-st).*Ch 1, skip 2 sts, Shell (5 dc) in the next st, ch 1, skip 2 sts, V-st (dc, ch 1, dc) in the next st.*- Repeat from
*to*until the last 3 stitches. ch 1, skip 2 sts, 3 dcin the final stitch (completes the row with a partial shell).Ch 1, turn.- (Note: This row sets up the base for the scalloped shape.)
- Row 2 (Shell Row):
scin the first st.*ch 3, skip the ch 1 sp and the next dc, Shell (5 dc) in the ch 1 sp of the V-st, ch 3, skip the next dc and ch 1 sp, sc in the center (3rd) dc of the Shell.*- Repeat from
*to*across the row. - The row should end with
ch 3, thenscin the top of the beginning ch-3 of the previous row.Ch 3, turn. - (Note: This row defines the wave and repositions the shells over the previous V-stitches.)
- Repeat: Continue alternating Row 1 and Row 2 until the piece reaches the desired length.

Adapting the Lace Pattern for Multipurpose Use
The core lace fabric can be easily shaped for different items:
1. Simple Scarf or Runner
- Construction: Work the pattern in straight rows until the piece reaches the desired length (Scarf: 60-80 inches; Runner: Table length).
- Shaping: None required. The length of the starting chain dictates the width.
- Finish: Add a final row of Picot Stitch along the top and bottom edges for a decorative finish. Light blocking will enhance the drape.
2. Triangular Shawl
- Construction: Work the pattern top-down from the center point, increasing at the center spine and both side edges in every row.
- Adaptation: You must modify the start of Row 1 and Row 2 to include an increase at the beginning/end, and modify the center stitch to include an extra
ch 2orch 3space (the spine) to maintain the triangle’s growth.- (Example Center Spine Increase: Instead of a single V-st, work
V-st, ch 2, V-stin the center spine space.)*
- (Example Center Spine Increase: Instead of a single V-st, work
- Finish: Aggressive wet blocking is essential to set the triangular shape and open the lace.

3. Blouse/Garment Insert (Yoke, Back Panel)
- Construction: Use the lace pattern to replace the simple stitch of a top-down garment’s yoke or a garment panel (front or back).
- Adaptation (Blouse Yoke):
- Start the yoke with the standard simple increases.
- Once the yoke is established, replace the plain
dcrows with the Row 1 / Row 2 repeat. - When working Row 1 (V-Stitch Row), you will need to add extra increase V-stitches randomly throughout the round to ensure the yoke continues to grow outwards until it reaches the armpit depth.
- Finish: The lace will give the garment excellent airflow. Blocking will ensure the lace lies flat over the shoulders.
Finishing Techniques (The Secret to Stunning Lace)
- Weave in Ends: Use a tapestry needle to neatly weave in all ends on the wrong side.
- Wet Blocking (The most critical step):
- Submerge the finished lace piece in cool water (with a drop of wool wash, if desired) for 20-30 minutes.
- Gently squeeze out the water (do not twist or wring).
- Lay the piece on a flat surface or blocking mat.
- Pin out the lace to its final dimensions, stretching the edges and opening up all the chain spaces.
- Allow to air dry completely.
Blocking transforms the lace from a crinkled textile into a refined, elegant fabric with defined points and perfect drape.
Video tutorial: