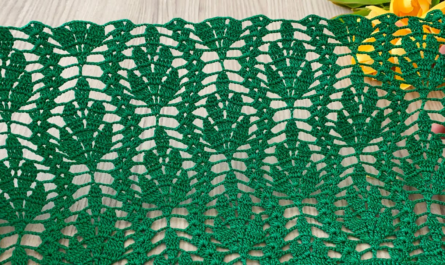
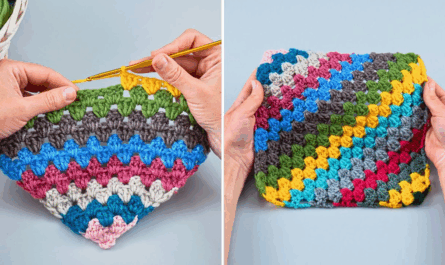
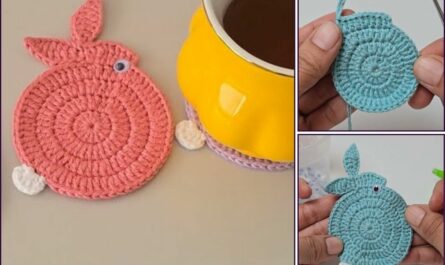
That is a wonderful and fun idea! Creating an Eye-Catching Crochet Heart Pattern often involves using texture or color contrast to make the heart shape pop.
I will detail a tutorial for the Textured Pop-Out Heart Motif. This pattern combines simple stitches with strategic increases to give the heart a beautiful, dimensional, and truly eye-catching look, making it perfect for appliques, garlands, or joining into larger projects.
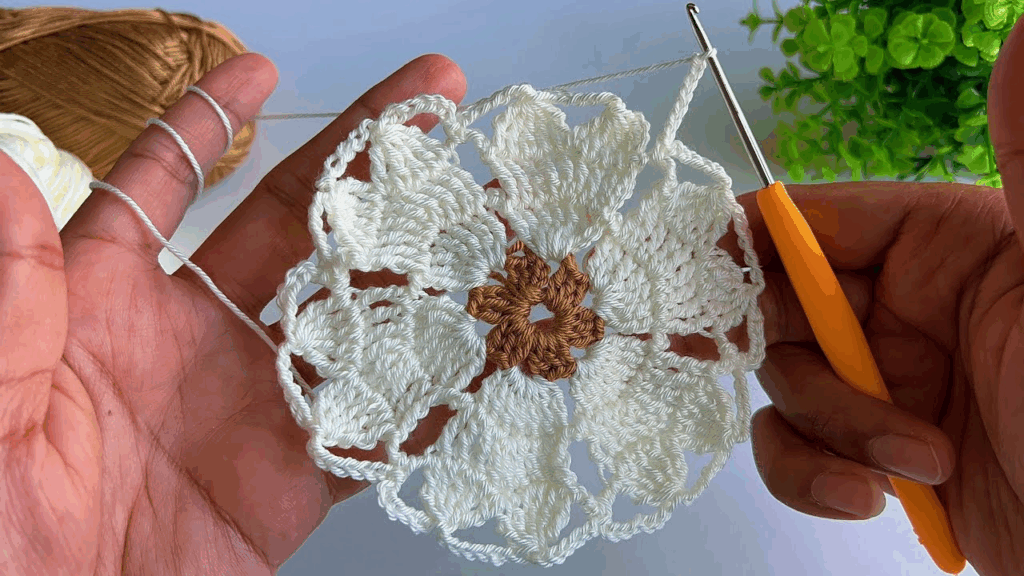
❤️ Eye-Catching Textured Pop-Out Heart Motif
This pattern builds the heart from the bottom point upward, finishing with a final textured border.
Materials You’ll Need
- Yarn: Medium-weight yarn (worsted/size 4) or DK weight yarn. A smooth acrylic or cotton blend works well.
- Crochet Hook: The size appropriate for your yarn (e.g., 5.0 mm).
- Scissors, Tapestry Needle.
Key Crochet Terms
| Abbreviation | Stitch Name |
| ch | Chain |
| sl st | Slip Stitch |
| sc | Single Crochet |
| hdc | Half Double Crochet |
| dc | Double Crochet |
| tr | Treble Crochet (Triple Crochet) |
| BS | Bobble Stitch (Special Stitch) |
Special Stitch: Bobble Stitch (BS)
The Bobble Stitch adds the pop-out texture.
- (Yarn over, insert hook into stitch/space, yarn over, pull up loop, yarn over, pull through 2 loops) 4 times (5 loops on hook).
- Yarn over and pull through all 5 loops on the hook.
Part 1: Creating the Pointed Body
We work in turning rows to build the triangular body of the heart.
Row 1 (Starting Point):
- ch 3. Work sc in the 2nd ch from the hook. Work sc in the next ch. ch 1 and turn. (2 sc).

Row 2 (Increasing):
- Work sc in the first st. Work 2 sc in the last st (increase). ch 1 and turn. (3 sc).
Row 3:
- Work sc in the first st. Work sc across the row until the last st. Work 2 sc in the last st. ch 1 and turn. (4 sc).
Row 4 (Texture Row):
This row introduces the eye-catching texture on one side.
- Work sc in the first st. Work BS (Bobble Stitch) in the next st. Work sc in the next st. Work 2 sc in the last st. ch 1 and turn. (5 sts, 1 Bobble).
Row 5:
- Work sc in every stitch across the row. Work 2 sc in the last st. ch 1 and turn. (6 sc).
Row 6:
- Work sc in the first 2 sts. Work BS in the next st. Work sc in the next 3 sts. Work 2 sc in the last st. ch 1 and turn. (7 sts, 1 Bobble).
Part 2: Forming the Top Curves
Now we split the work to create the signature rounded arches of the heart.
Row 7 (Splitting):
- Work sc in the first 4 stitches. ch 1 and turn. (4 sc worked, 3 stitches left unworked).
Row 8 (First Curve/Side 1):
- Work sc in the first 2 sts. Work BS in the next st. sc in the last st. ch 1 and turn. (4 sts).
Row 9 (Shaping):
- Work sl st in the first 2 sts (decreasing the width). Work sc in the last 2 sts. ch 1 and turn. (2 sts).

Row 10 (Peak):
- Work sc in both sts. ch 3. Fasten off. (This chain space will be used for final shaping).
Row 11 (Second Curve/Side 2):
- Rejoin yarn into the first unworked stitch of Row 6 (the stitch beside the split).
- Repeat Rows 8, 9, and 10 exactly as they were done for Side 1.
Part 3: Final Edge and Clean-up
We work around the entire heart to clean the edges and join the two curves.
- Rejoin: Rejoin yarn at the top of the ch 3 space created at the end of Row 10 (the peak).
- Top Joining: Work 4 dc into the ch-3 space of the first curve. Work sl st into the central dip between the two curves (this pulls them together). Work 4 dc into the ch-3 space of the second curve.
- Side Edge: Work sc evenly down the side of the second curve/body until you reach the bottom point.
- Bottom Point: Work (sc, ch 2, sc) into the starting point (ch 3 base) of the heart.
- Side Edge: Work sc evenly up the side of the first curve/body. Join with a sl st to the beginning of the top joining round.
- Fasten off and weave in all ends.
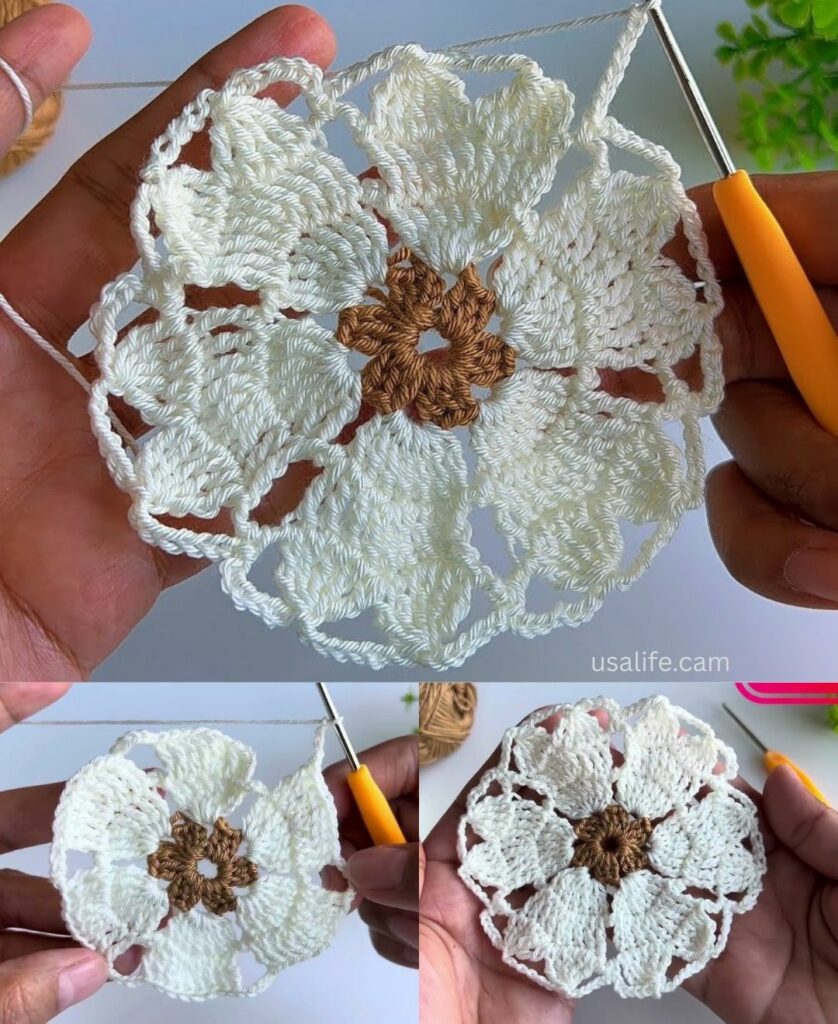
Your eye-catching, textured pop-out heart is complete!
Video tutorial:

