by
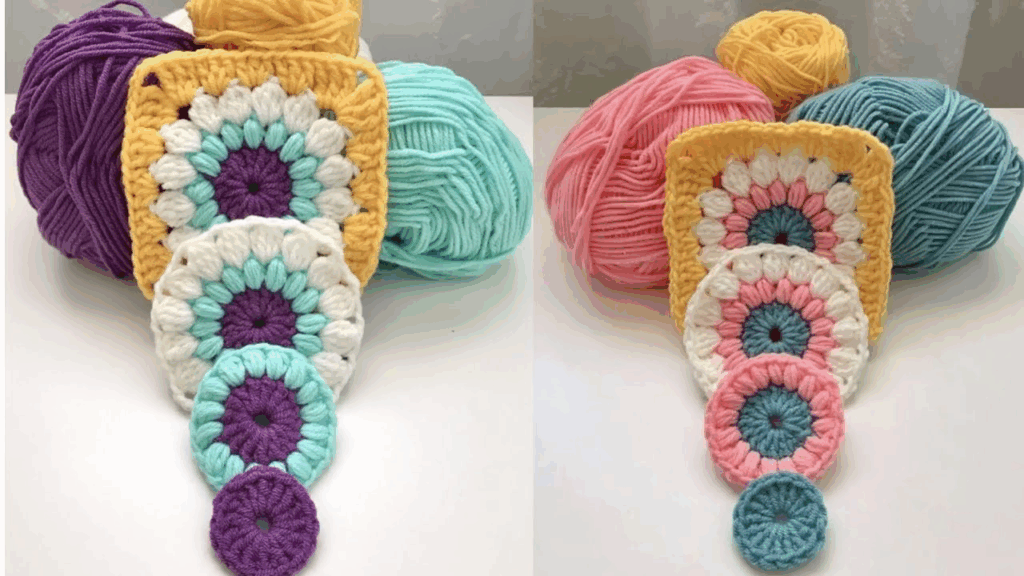
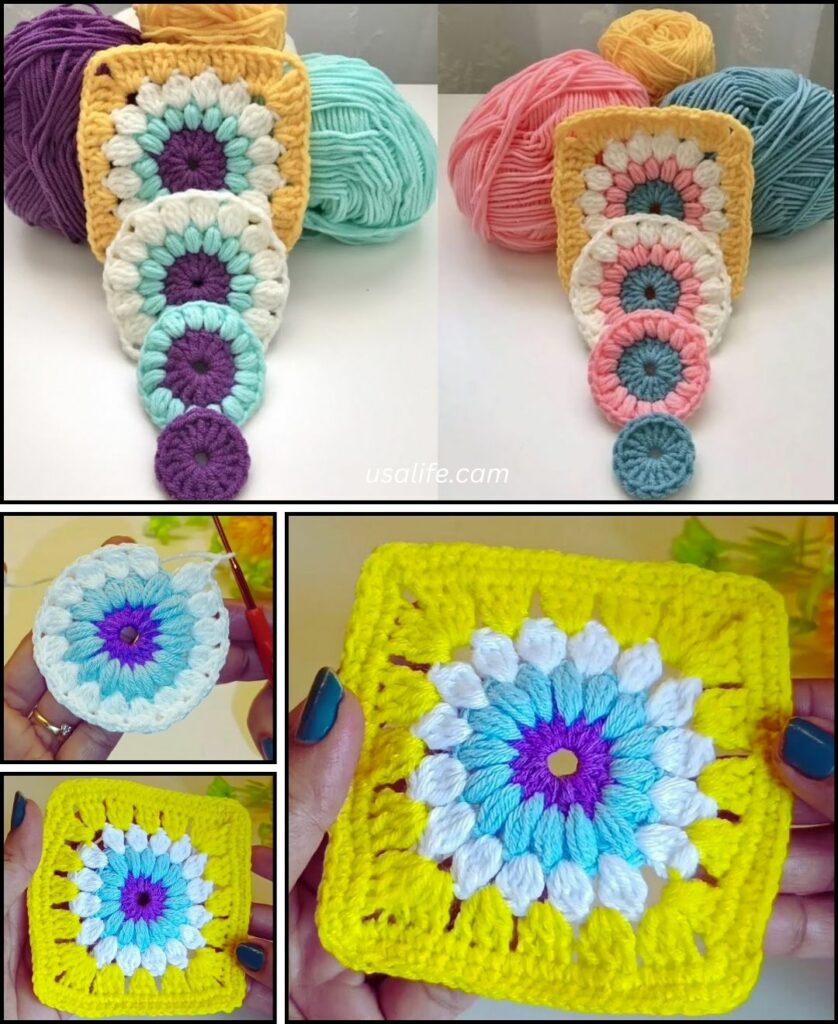
by Crocheting a colorful sunflower granny square is a beautiful way to combine the sunny appeal of the flower with the classic, modular design of the granny square. This detailed guide will walk you through creating a central sunflower motif first, and then squaring it off with granny stitch rounds.
Materials Needed
- Yarn: Medium-weight yarn (worsted/size 4) in three colors:
- Color A (Center): Brown or dark yellow.
- Color B (Petals): Bright yellow, orange, or a contrasting petal color.
- Color C (Background): Green, white, or a border color.
- Crochet Hook: The size recommended for your yarn.
- Scissors
- Tapestry Needle: For weaving in ends.
Abbreviations
- ch: chain
- sl st: slip stitch
- sc: single crochet
- dc: double crochet
- tr: treble crochet
- st(s): stitch(es)
- sp: space
- CL (Cluster): See special stitch instructions below.

Part 1: The Sunflower Center (Amigurumi-Style)
The center is made using single crochet for a tight, dense core.
- Round 1: With Color A (Brown), start with a Magic Ring. Work 8 sc into the ring. Pull the tail tight to close the ring. Join with a sl st to the first sc. (8 sts)
- Round 2: ch 1 (does not count as a stitch). Work inc (2 sc in one stitch) in each stitch around. Join with a sl st to the first sc. (16 sts)
- Fasten off Color A and weave in the ends.

Part 2: The Petals (Color B)
The petals use the puff or cluster stitch to give them a textured, raised appearance.
Special Stitch: Puff/Cluster (CL)
A CL is made of three partial double crochet stitches worked together: [Yarn over, insert hook into the indicated stitch, yarn over and pull up a loop, yarn over and pull through 2 loops] 3 times in the same stitch. Yarn over and pull through all 4 loops on the hook.
- Round 3: Join Color B (Yellow) into any stitch from Round 2.
- ch 2 (does not count as a stitch). Work your first CL into the same stitch.
- ch 1 (separating chain).
- Work CL in the next stitch. ch 1.
- Repeat [CL, ch 1] around the entire circle. You should have 16 cluster stitches, each separated by a ch 1.
- Join with a sl st to the top of the first CL.
- Fasten off Color B.

Part 3: Squaring Off (Color C)
Now, you will use the background color and the granny stitch structure to turn the circular shape into a square.
- Round 4 (Creating the Corners): Join Color C (Green) into any ch-1 space between the petals.
- First Side: ch 3 (counts as first dc). Work 2 dc in the same space.
- Next Space: dc into the next ch-1 space.
- Second Side: 3 dc into the next ch-1 space.
- First Corner: In the next ch-1 space, work [3 tr, ch 2, 3 tr]. (This uses tall stitches to stretch the circle into a corner).
- Continue: Work 3 dc in the next ch-1 space.
- dc in the next ch-1 space.
- 3 dc in the next ch-1 space.
- Repeat Corner and Side sequence three more times.
- Finish: You will end with a corner. Join with a sl st to the top of the beginning ch 3.
Part 4: Final Granny Rounds
You will now work the standard granny square pattern to define the shape and size.
- Round 5:sl st into the next two dc’s, and then sl st into the first ch-1 side space.
- Start Side: ch 3 (counts as dc), work 2 dc in the same space.
- Next Side Spaces: Work 3 dc in each side space/gap until you reach a corner.
- Corner: In the corner ch-2 space, work [3 dc, ch 2, 3 dc].
- Repeat working 3 dc clusters into the side spaces and [3 dc, ch 2, 3 dc] into each corner space.
- Join: Join with a sl st to the top of the beginning ch 3.
- Optional: Repeat Round 5 until your square reaches the desired size.
Finishing
- Weave in Ends: Fasten off and use your tapestry needle to securely weave in all loose yarn ends.
- Blocking (Recommended): Gently block your finished square. This is crucial for making the edges straight and ensuring all your squares line up perfectly if you plan to join them into a blanket or other larger project.
Video tutorial: