 by
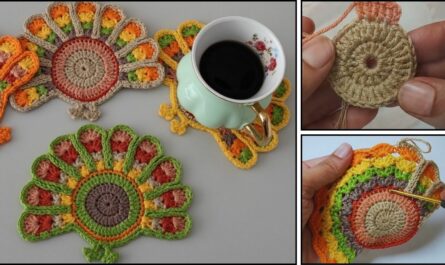
by That’s a lovely request! As a beginner, mastering a unique motif that still uses simple techniques is very rewarding. I’ll provide a tutorial for the “Solid Circle-in-a-Square Motif,” which creates a striking geometric contrast (a solid circle surrounded by sharp square corners) using only single crochet (sc) and double crochet (dc).
This motif is unique, super easy, and perfect for joining into blankets or pillows.

⭕️ Unique Solid Circle-in-a-Square Motif Tutorial
This motif is worked in two distinct phases: first, creating a solid, flat circle, and second, establishing the sharp square corners around it.
Materials You’ll Need
- Yarn: Medium-weight yarn (worsted/size 4) is easiest to handle.
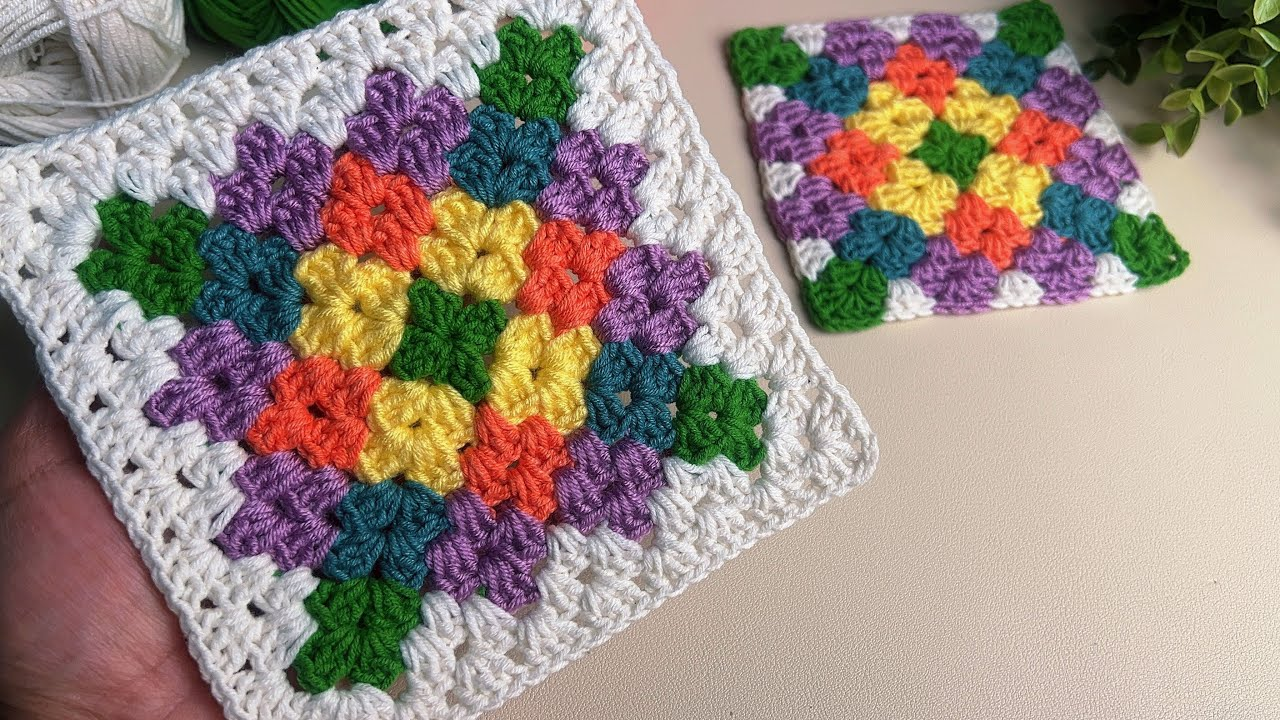
- Tip: Using two colors (Color A for the circle, Color B for the square frame) makes the design truly unique.
- Crochet Hook: The size appropriate for your yarn (e.g., 5.0 mm or H/8).
- Scissors, Tapestry Needle.
Key Crochet Terms
| Abbreviation | Stitch Name |
| ch | Chain |
| sl st | Slip Stitch |
| sc | Single Crochet |
| hdc | Half Double Crochet |
| dc | Double Crochet |
| tr | Treble Crochet (Triple Crochet) |
Part 1: Creating the Solid Circle (Color A)
This is the central, unique element of the motif.

Round 1: Foundation
- Start: With Color A, make a Magic Ring.
- Base: ch 3 (counts as dc). Work 11 dc into the Magic Ring.
- Finish: Pull the tail tight. Join with a sl st to the top of the ch 3. (12 sts).
Round 2: Expanding the Circle
- ch 3 (counts as dc). Work 2 dc into the same stitch (increase).
- Work 2 dc in every stitch around the circle. (You are doubling the stitches).
- Finish: Join with a sl st to the top of the beginning ch 3. (24 sts).

Round 3: Maintaining the Circle
- ch 3 (counts as dc). Work 1 dc in the same stitch.
- Work [1 dc in the next st, 2 dc in the next st (increase)] around the circle.
- Finish: Join with a sl st to the top of the beginning ch 3. Fasten off Color A. (36 sts).
Part 2: Squaring the Circle (Color B)
We now join the second color and introduce taller stitches to pull the circular shape into sharp corners.
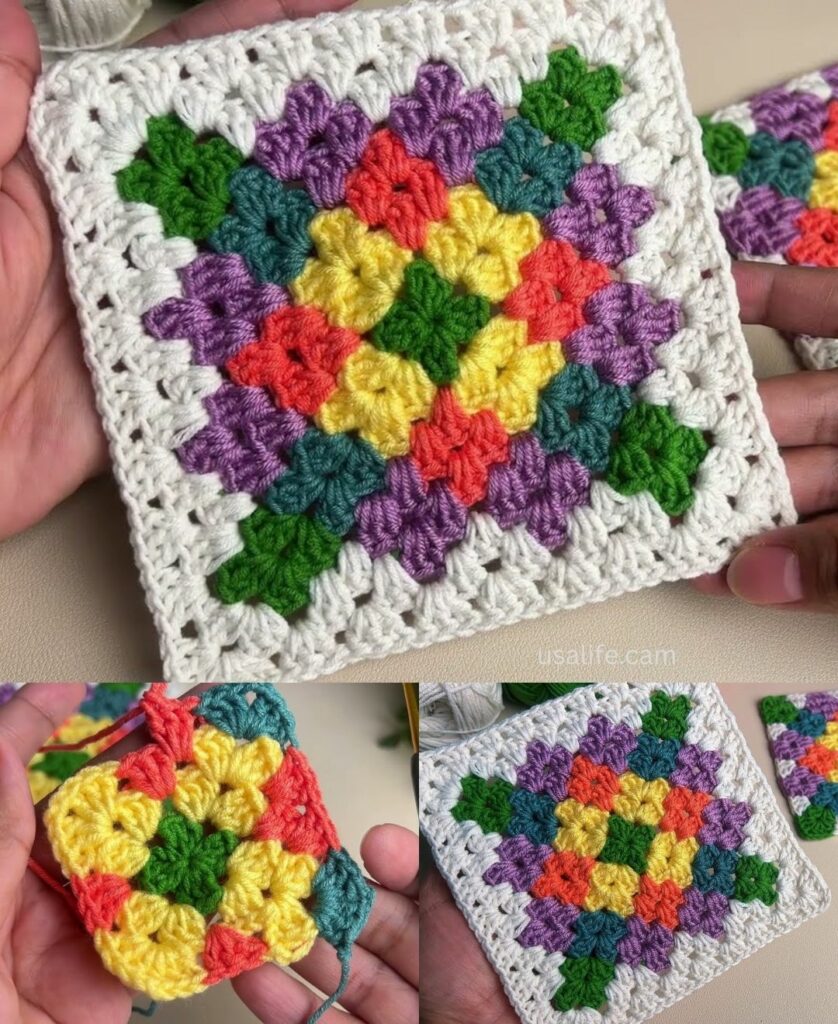
Round 4: Establishing Corners (Color B)
- Join: Join Color B into any stitch with a sl st.
- First Side (Short): ch 1. Work sc in the same stitch. Work sc in the next 4 stitches. (5 sc total).
- Second Side (Medium): Work hdc in the next 5 stitches.
- Third Side (Long): Work dc in the next 5 stitches.
- First Corner: Work tr in the next stitch. ch 2. Work tr in the next stitch.
- Repeat the Corner Sequence:
- Work dc in the next 5 stitches.
- Work hdc in the next 5 stitches.
- Work sc in the next 5 stitches.
- Corner: tr in the next st, ch 2, tr in the next st.
- Repeat this sequence until you reach the start of the round. (You will end right before the initial sc stitches).
- Finish: Join with a sl st to the first sc.

Round 5: Final Edge
This round cleans up the edges and completes the square.
- ch 3 (counts as dc). Work dc in every stitch along the side until you reach the ch-2 corner space.
- Corner: Work [3 dc, ch 2, 3 dc] into the ch-2 corner space.
- Repeat: Work [dc in every stitch across the side, Corner Shell (3 dc, ch 2, 3 dc)] around the square.
- Finish: Join with a sl st to the top of the beginning ch 3. Fasten off.
Finishing the Motif
- Weave in Ends: Use your tapestry needle to securely weave in all tails.
- Blocking: Blocking is important for this motif. Wet the square and gently pull the sides and corners into a perfect square shape, pinning them down. This process enhances the sharp contrast between the rounded center and the defined corners.
Your unique Solid Circle-in-a-Square Motif is complete!
Video tutorial: