 by
by That’s a wonderful project! Crocheted snowflakes are a classic Christmas motif—they are beautiful, delicate, and quick to make, perfect for tree ornaments, garland, or embellishments. The key is using fine thread and precise tension.
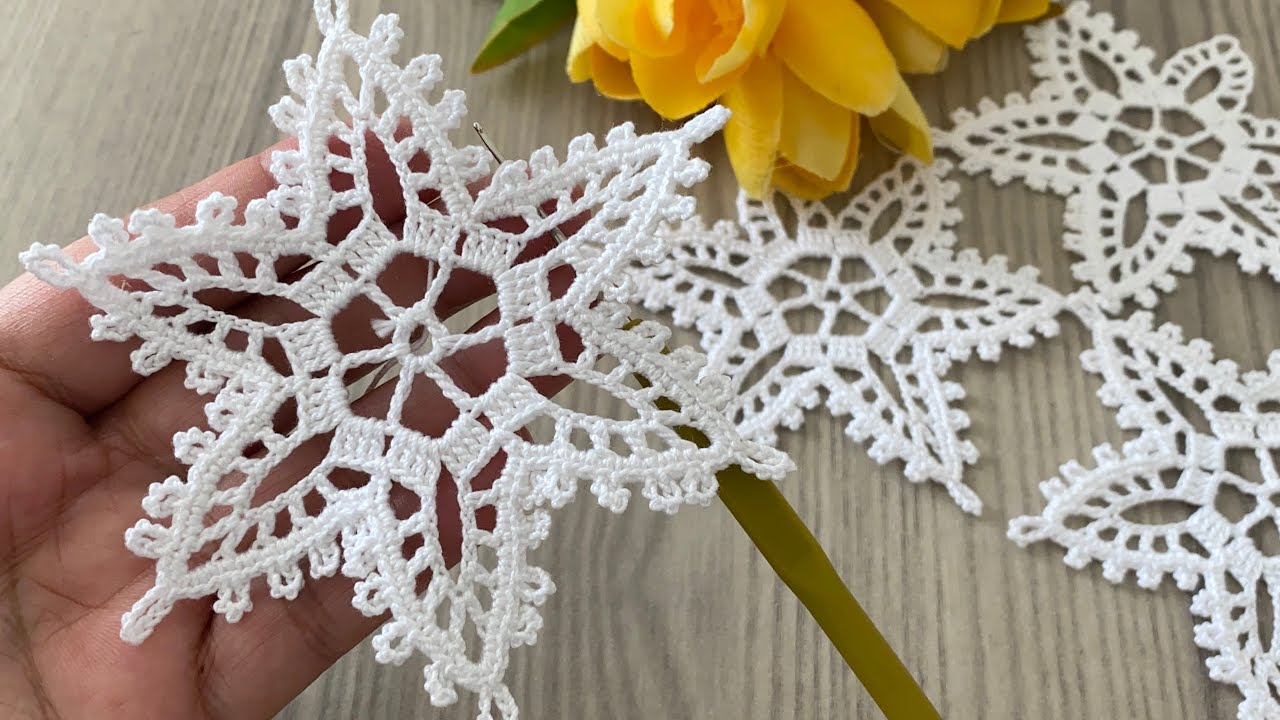
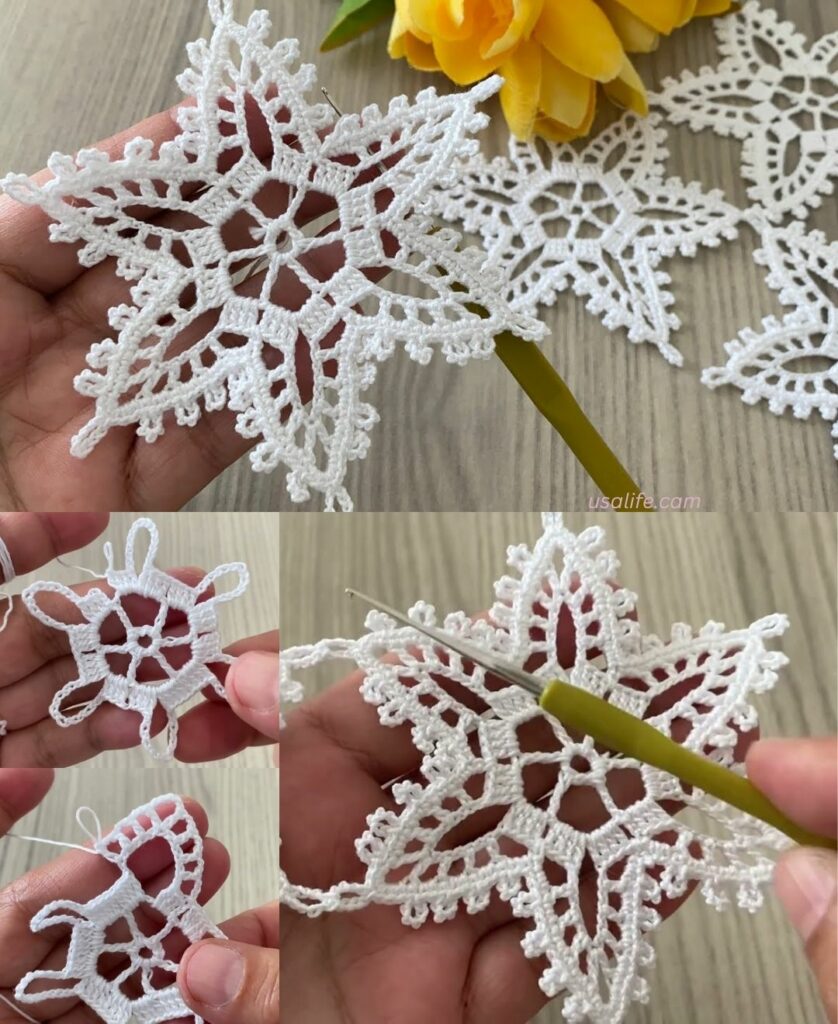
Here is a detailed tutorial for a Six-Pointed Crochet Snowflake Motif suitable for beginners.

❄️ Crochet Snowflake Motif Pattern Tutorial
This snowflake is constructed in four simple rounds, building height and complexity to achieve the delicate, spiky look of a snowflake.
Materials You’ll Need
- Thread: Size 10 White Cotton Thread is ideal for traditional, crisp snowflakes.
- Crochet Hook: A very small hook appropriate for your thread (e.g., 1.75 mm or 2.0 mm).
- Scissors
- Tapestry Needle: For weaving in ends.
- Stiffener (Mandatory): Liquid starch, a glue/water mixture, or commercial fabric stiffener (to make the snowflake hold its shape).
Key Crochet Terms
| Abbreviation | Stitch Name |
| ch | Chain |
| sl st | Slip Stitch |
| sc | Single Crochet |
| dc | Double Crochet |
| picot | Ch 3, sl st into the first ch (creates a small decorative loop/point) |
| sp | Space (chain space) |
Step-by-Step Instructions
Round 1: The Center Ring
We establish 6 anchor points to create the 6 snowflake arms.
- Start: Make a Magic Ring (or ch 5, sl st to join).
- Base: ch 2 (does not count as st). Work 12 sc into the Magic Ring.
- Finish: Pull the tail tight to close the center hole. Join with a sl st to the first sc.

Round 2: Creating the Arms Foundation
This round creates the small loops that define the start of the snowflake’s six arms.
- First Loop: ch 5. Skip 1 st.
- Anchor: sl st into the next stitch.
- Repeat: [ch 5, skip 1 st, sl st into the next st] 5 times. (You will have 6 ch-5 loops).
- Finish: Join with a sl st at the base of the first loop.
Round 3: Building the Spokes
We now work into the chain loops to build the main spokes of the star.
- Move to Loop: sl st into the first 2 chains of the ch-5 loop to move to the center.
- First Arm: ch 1 (does not count as st). Work sc into the ch-5 loop.
- Arm Peak: ch 6 (This chain will form the long arm). sc into the next ch-5 loop.
- Repeat: [ch 6, sc into the next ch-5 loop] 5 times.
- Finish: Join with a sl st to the first sc.

Round 4: The Final Spikes and Picots
This round travels along the spokes, adding decorative spikes and sharp points.
- Start: sl st into the first 2 chains of the ch-6 loop.
- First Spike: ch 3 (counts as dc). Work dc in the next ch. dc in the next ch.
- Picot Point: ch 4 (creates a high point). Work a picot stitch (ch 3, sl st into the 3rd ch from hook).
- Descent: ch 4. Work dc in the next 3 chains of the ch-6 loop.
- Anchor: Work sc into the sc anchor stitch between the two arms.
- Repeat: Repeat the entire spike sequence: [(sc in the next sc anchor), (3 dc in the ch-6 sp), ch 4, picot, ch 4, (3 dc in the remaining ch-6 sp)] 5 more times.
- Finish: Join with a sl st to the base of the first arm. Fasten off, leaving a 6-inch tail.

Finishing and Stiffening (Crucial Step!)
To look like a real snowflake, this motif must be stiffened.
- Weave in Ends: Use your tapestry needle to securely weave in all tails. Leave a loop of yarn at the top for hanging, if desired.
- Prepare Stiffener: Mix equal parts water and white liquid craft glue, or use liquid starch, according to product directions.
- Soak: Dip the entire snowflake into the stiffening solution, ensuring it is fully saturated.
- Squeeze: Gently squeeze out the excess liquid (do not wring).
- Shape and Pin: Lay the snowflake flat on a foam board or protective mat. Carefully pull out each of the six arms and every little picot spike. Pin them firmly in place with rust-proof pins, making sure the snowflake is perfectly symmetrical.
- Dry: Allow it to dry completely (this may take 12–24 hours) before removing the pins.
Your elegant crocheted snowflake is ready for the holidays!
Video tutorial: