 by
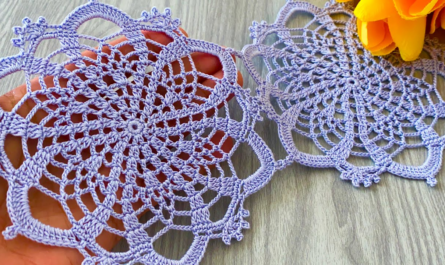
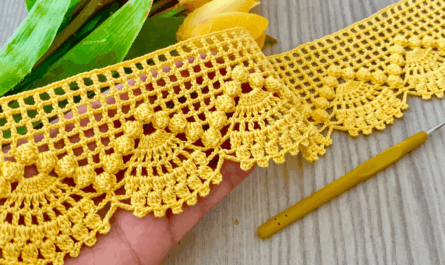
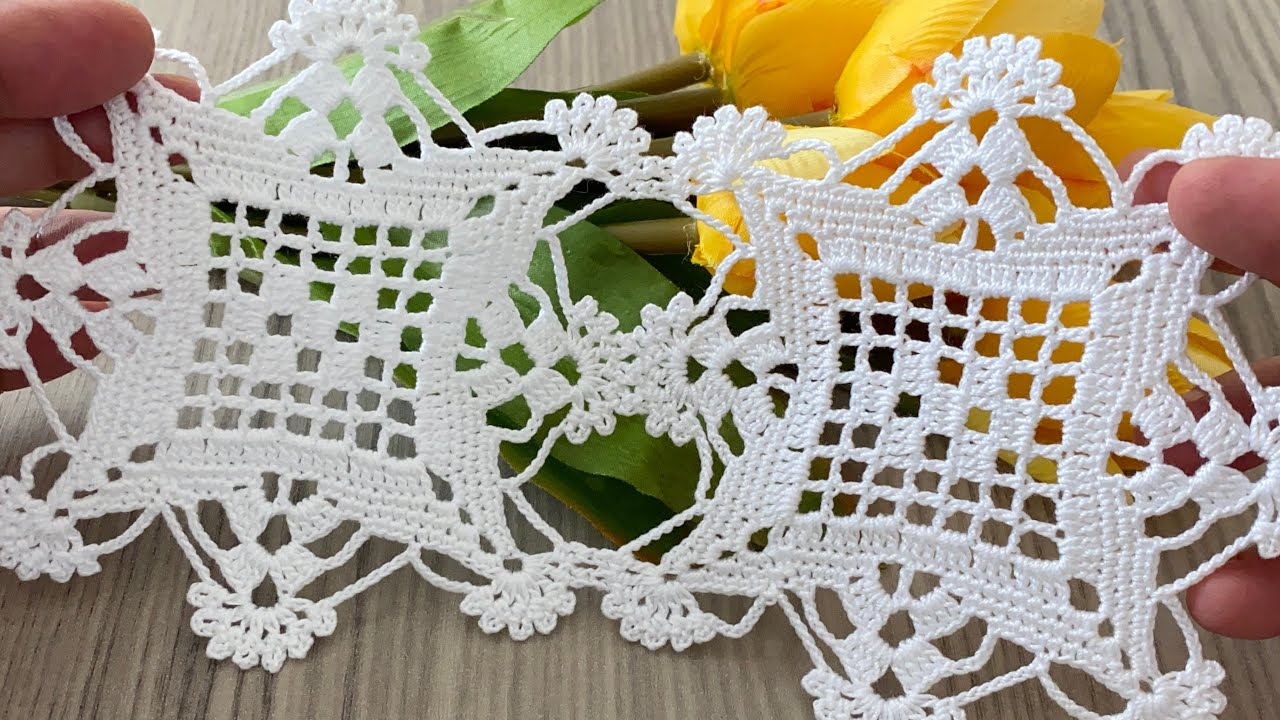
by That’s a fantastic request! A Crochet Lace Square Motif is the cornerstone of many large projects, including runners, blouses, and bedspreads. The key is choosing a pattern that is delicate enough for lace but has strong, straight edges for easy joining.
Here is a detailed tutorial for a beautiful Flower Lace Motif that fits all these needs and explains the crucial steps for joining and adaptation.
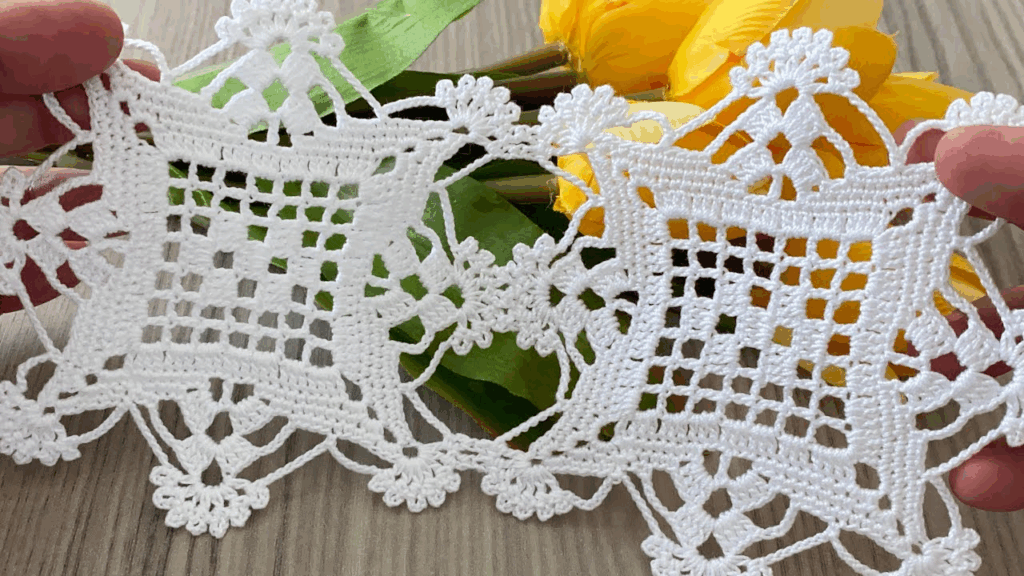
🌸 Flower Lace Square Motif Pattern
This design uses shell stitches and chain spaces to create a delicate flower in the center and sharp, lacy corners.
Materials You’ll Need
- Yarn/Thread:
- Runner/Bedspread: Size 10 or 20 Cotton Thread for fine lace, or Sport Weight Cotton (Size 2) for a faster, thicker project.
- Blouse: Fingering or Lace Weight Yarn (Size 1 or 0) for drape and lightness.
- Crochet Hook: Appropriate size for your yarn (e.g., 1.75 mm for thread, 3.0 mm for yarn).
- Scissors, Tapestry Needle, Stitch Markers.
Key Crochet Terms
| Abbreviation | Stitch Name |
| ch | Chain |
| sl st | Slip Stitch |
| sc | Single Crochet |
| dc | Double Crochet |
| tr | Treble Crochet (Triple Crochet) |
| sp | Space (chain space) |
| Shell | (3 dc, ch 1, 3 dc) in one space |
Part 1: Creating the Flower Center
We start with a closed center and build petals to create a circular foundation.
- Round 1 (Center): Make a Magic Ring. ch 3 (counts as dc). Work 15 dc into the ring. Join with a sl st to the top of the ch 3. (16 sts)
- Round 2 (Petals): ch 1. sc in the same st. ch 2. Skip 1 st. Work [5 dc] into the next st (Small Shell). Skip 1 st. Repeat [sc in next st, ch 2, sk 1 st, 5 dc in next st, ch 2, sk 1 st] 3 more times. You should finish with a shell. Join with a sl st to the first sc. (4 small shells and 4 sc anchors).

Part 2: Squaring the Motif
This round transforms the circular shape into a distinct square, defining the four corners.
- Round 3 (Corner Loops):sl st over to the center (3rd dc) of the first shell.
- Anchor: ch 1, sc in the same st.
- Corner Loop: ch 9.
- Anchor: sc into the center (3rd dc) of the next shell.
- Side Loop: ch 5.
- Repeat: Continue the sequence: [sc in center of shell, ch 9 (Corner), sc in center of shell, ch 5 (Side)] two more times.
- Finish: Join with a sl st to the first sc. (4 ch-9 corners, 4 ch-5 sides).
Part 3: Building the Lacy Edge
We fill the chain spaces with tall stitches to create the dramatic lace border and the straight joining edges.
- Round 4 (Lace Shells):sl st into the first ch-9 corner sp.
- Corner Shell: ch 4 (counts as tr). Work [4 tr, ch 3, 5 tr] into the same ch-9 loop.
- Side: ch 2. Work 9 dc into the next ch-5 side loop. ch 2.
- Repeat: Continue the sequence [Corner Shell (5 tr, ch 3, 5 tr) in ch-9 sp, ch 2, 9 dc in ch-5 sp, ch 2] around.
- Finish: Join with a sl st to the top of the beginning ch 4.
- Round 5 (Final Joining Edge):sl st over to the ch-3 corner sp.
- Corner: ch 1. Work [sc, ch 3, sc] into the corner sp.
- Side: ch 3. Work sc into the first ch-2 sp. ch 3. Skip 3 dc. Work sc into the next dc. ch 3. Skip 2 dc. Work sc into the next dc. ch 3. Skip 3 dc. Work sc into the next ch-2 sp. ch 3.
- Repeat: Continue the sequence [Corner (sc, ch 3, sc), Side Mesh] around.
- Finish: Join with a sl st to the first sc. Fasten off.

Adaptations and Joining for Large Projects
1. The Critical Step: Blocking
Blocking is mandatory for lace squares. It pulls the fabric taut, straightens the edges, and ensures every square is the exact same size, which is vital for joining. Wet the squares, pin them into a perfect square shape, and let them dry completely.
2. Joining the Motifs (Table Runner, Bedspread)
Use the Chain Loops (Ch 3) from Round 5 for joining:
- Continuous Join-as-You-Go (Recommended): When crocheting the final round of a new square, you replace the center chain of the side loops with a sl st or sc into the corresponding chain space of the adjacent finished square.
- Example: Instead of
ch 3, sc, you workch 1, sl st into ch-3 sp of finished square, ch 1, sc in current square.
- Example: Instead of
- Whipstitch/Slip Stitch Seam: Finish all squares completely, and then use a tapestry needle and a thin thread to whipstitch the corresponding chain loops together along the seam lines.

3. Adaptation for a Blouse
When using this for a garment:
- Choose Yarn: Use a very thin, soft yarn (Fingering/Lace weight) with good drape (e.g., silk, rayon, or soft cotton).
- Shaping: You can stop the pattern earlier (e.g., after Round 3) and join the smaller motifs to create a lacy yoke. For the body, join the squares together to form panels, often leaving open spaces (no motif) for the underarm area for better fit.

Which project are you planning to start with—a runner or a blouse?
Video tutorial: