by
by Making crochet roses is a lovely way to create beautiful, long-lasting flowers that can be used for appliques, embellishments on hats or bags, or even as standalone decorative pieces. There are many ways to crochet a rose, from very simple flat ones to elaborate multi-layered blooms.
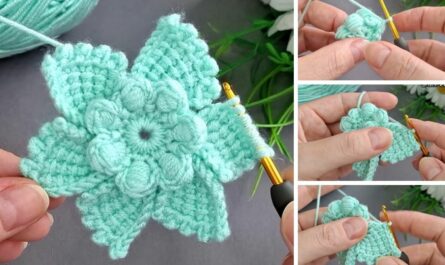
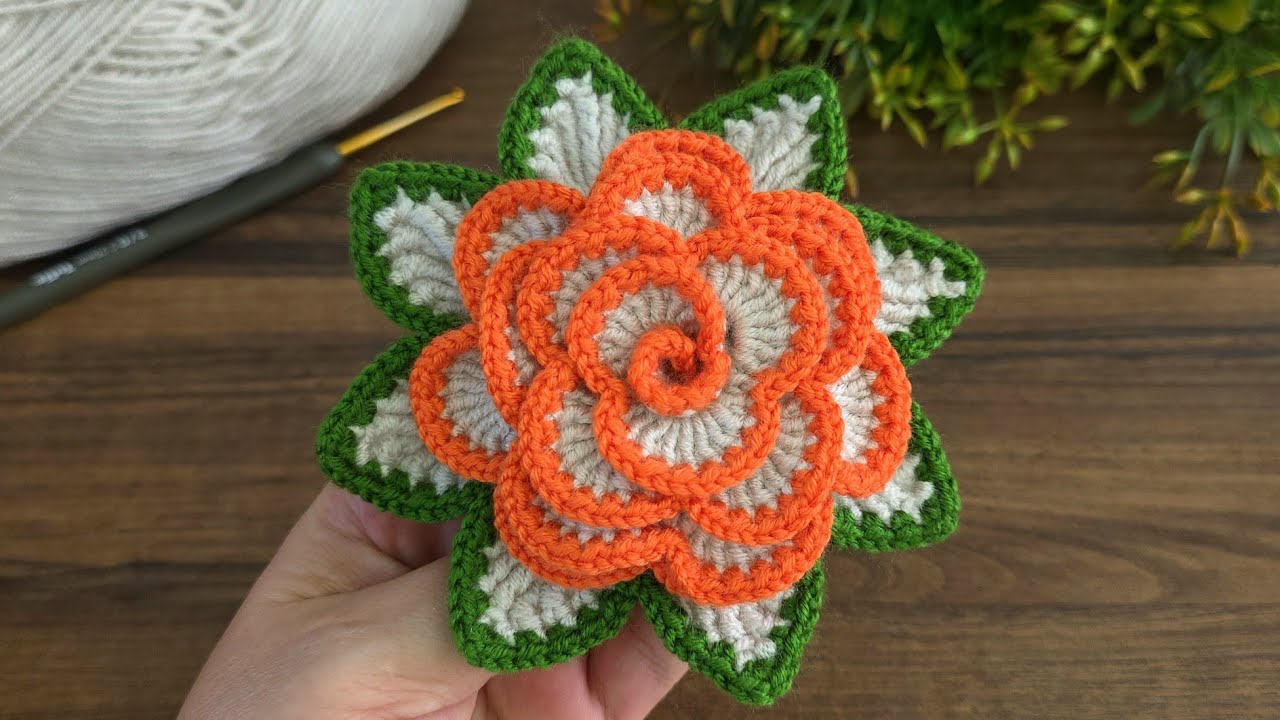
For a “wonderfully easy” yet distinctly rose-like appearance, we’ll focus on a common and popular method: crocheting a flat strip that naturally curls into a rose shape. This technique is surprisingly simple and produces charming results.
How to Make Crochet Roses
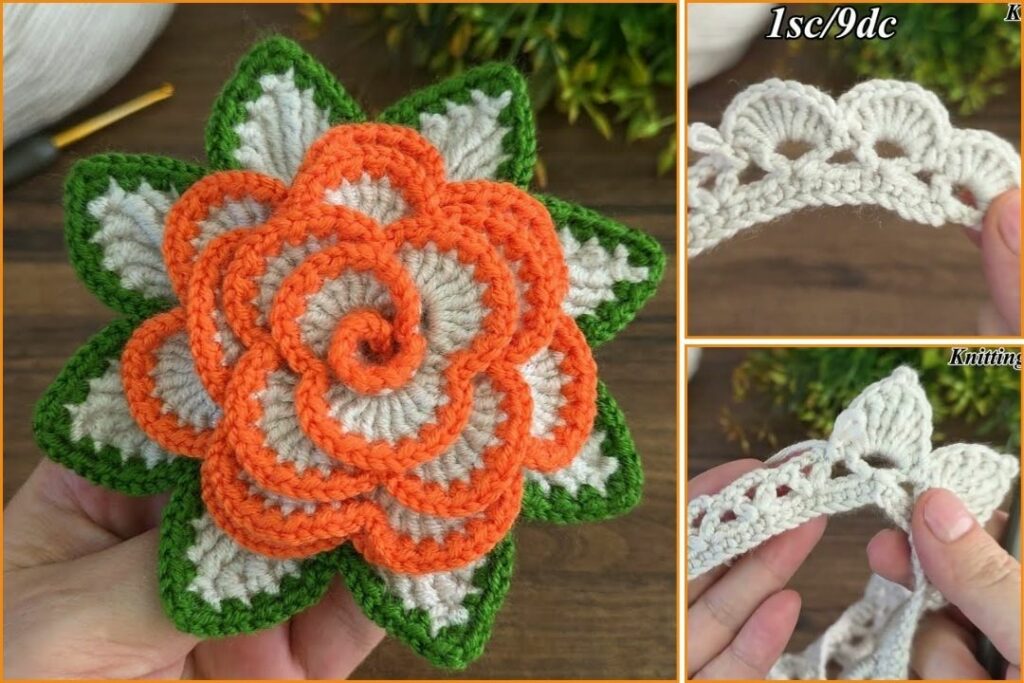
This pattern creates a classic rolled rose, perfect for beginners wanting to make pretty floral embellishments.
1. Essential Materials You’ll Need
- Yarn:
- Fiber: 100% Cotton or a Cotton Blend (like cotton-acrylic) is excellent for roses. It holds its shape well and gives good stitch definition. Acrylic yarn also works well and is very soft. Avoid fuzzy or “fun” yarns for your first rose, as they can obscure stitch details.
- Weight: Worsted Weight (Aran / 4) is a great starting point, producing a medium-sized rose. You can use thinner yarn (DK/Light Worsted) for smaller, more delicate roses, or thicker yarn (Bulky/Chunky) for larger roses.
- Color: Choose your favorite rose color! Pinks, reds, whites, yellows, purples, or even variegated yarns work beautifully. A small amount of green yarn for optional leaves is also useful.
- Crochet Hook: A 4.0mm (US G/6) or 4.5mm (US 7) hook is generally suitable for worsted weight yarn. If your yarn label suggests a different size, you can start there. The key is to find a hook that creates neat, not-too-loose stitches.
- Scissors: For cutting yarn.
- Yarn Needle (Tapestry Needle): Essential for weaving in ends and, most importantly, for sewing the rose into its final shape.
- Hot Glue Gun (Optional): For a very secure (non-washable) hold, especially if attaching the rose to non-crochet items.
- Stitch Marker (Optional): Useful for marking the first stitch if you get lost.

2. Basic Crochet Stitches You’ll Use
This rose pattern uses just a few fundamental crochet stitches:
- Chain (ch): To begin the rose strip.
- Slip Stitch (sl st): For joining and neatening edges.
- Single Crochet (sc): A short, dense stitch.
- Half Double Crochet (hdc): A medium-height stitch.
- Double Crochet (dc): A taller stitch, used to create the petal height.
Part 1: Crocheting the Rose Strip
The magic of this rose lies in crocheting a simple, straight strip that you’ll later roll and secure. The increasing height of the stitches in each “petal” section naturally creates the spiral.
Abbreviations (US Crochet Terms):
- ch: chain
- sl st: slip stitch
- sc: single crochet
- hdc: half double crochet
- dc: double crochet
- st(s): stitch(es)
Instructions for the Rose Strip (Using your main rose color):
- Starting Chain: Ch 31. (This will create a medium-sized rose. For a larger rose, chain more stitches in multiples of 6+1, e.g., 37, 43, 49. For a smaller rose, chain less, e.g., 25, 19).
- Row 1 (Foundation Row): Work 1 sc into the 2nd ch from your hook. Sc in each remaining ch across. (You should have 30 sc).
- (This creates a solid base for your petals to be worked into.)
- Row 2 (Petal Row):
- Ch 2 (does NOT count as a stitch). Turn your work.
- *In the first sc (the one at the base of your Ch 2), work (2 dc, ch 1).
- Skip the next st.
- In the next st, work (1 sc, ch 1).
- Skip the next st.
- In the next st, work (1 hdc, 1 dc, ch 1).
- Skip the next st.
- In the next st, work (2 dc, ch 1).*
- Repeat from * to * across the row, until you reach the end. You will create 5 “petal groups” or sections.

Revised Row 2 (Simpler Petal Row – Use this one!):
- Starting Chain: Ch 31.
- Row 1 (Foundation Row): Work 1 sc into the 2nd ch from your hook. Sc in each remaining ch across. (30 sc).
- Row 2 (Petal Row):
- Ch 3 (counts as 1 dc). Turn your work.
- In the same stitch (the base of your Ch 3), work 2 dc.
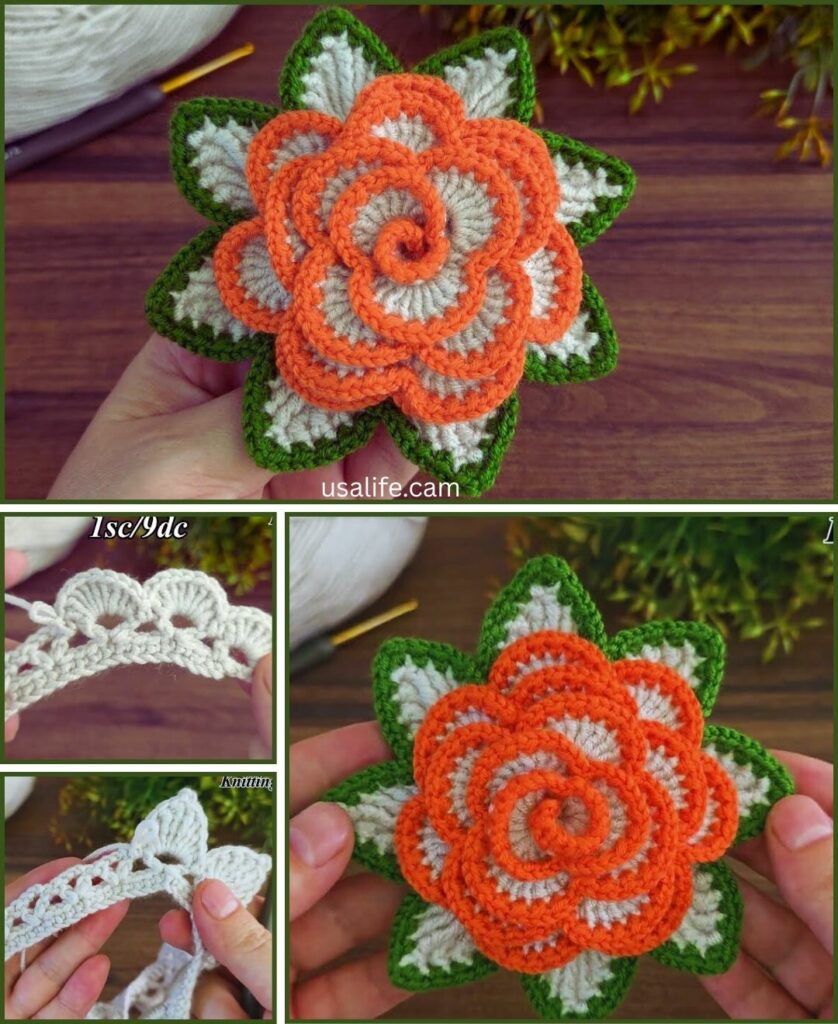
- * Sk 2 sts. In the next st, work (3 dc). * Repeat from * to * across the row until you have 10 clusters of 3 dc.
- (You should end with 3 dc in the last sc of the previous row.)
This creates a row of little “shells” that will form your petals when rolled.
Part 2: Shaping and Securing Your Rose
This is the fun part where the flat strip transforms into a flower!
- Start Rolling: Begin at the end of the strip opposite your working yarn tail (the end of the chain from Row 1). Gently roll the strip tightly, starting with the very first 3-dc cluster as the center of your rose.
- Continue Rolling: As you roll, let the strip naturally spiral around itself. The taller stitches (the dc clusters) will form the outside of the petals, and the shorter stitches (the base of the strip) will form the bottom of the rose. Don’t roll too tightly, or the petals won’t “bloom.” Let it relax into shape.
- Hold the Shape: Once you’ve rolled the entire strip, hold the base of the rose firmly with one hand. You’ll see the distinct rose shape emerging.
- Secure with Yarn Needle:
- Thread the long yarn tail from the end of your strip onto your yarn needle.
- Carefully stitch through all layers of the rolled rose from the bottom, going back and forth across the base of the rose. Make several stitches in different directions to firmly secure all the layers together. This is crucial for the rose to hold its shape.
- Make a knot at the back and weave in any remaining tail.
- Optional Hot Glue (for extra security or attaching): For extra security (especially if the rose will be handled a lot or if you’re attaching it to something that won’t be washed often), you can put a small dab of hot glue on the back where you’ve stitched it, or to attach it to another surface.
Part 3: Adding Optional Leaves
Adding a simple set of leaves makes the rose look even more complete.
Instructions for Simple Leaves (Using green yarn):
- Ch 8.
- Work 1 sc into the 2nd ch from hook.
- Work 1 hdc into the next ch.
- Work 1 dc into each of the next 3 ch.
- Work 1 hdc into the next ch.
- Work 1 sc into the last ch.
- Sl st into the same last ch (this forms the tip of the leaf).
- Continue working along the opposite side of the chain: Sl st into the base of the next sc. Sc into the next st. Hdc into the next st. Dc into each of the next 3 sts. Hdc into the next st. Sc into the next st.
- Sl st into the very first sc you made at the base of the leaf.
- Fasten off, leaving a long tail for sewing. Make a second leaf if desired.
Attaching Leaves:
- Position the finished leaf (or two leaves) on the back of your crocheted rose, at its base.
- Use your yarn needle and the long tail to sew the leaf securely to the rose. Weave in any remaining ends.
Tips for Beautiful Crochet Roses
- Tension: Consistent tension is important for a nice, even strip. However, don’t make it too tight, or it will be hard to roll.
- Rolling: Don’t force the roll. Let the strip curl naturally. The key is to keep the base of the strip aligned while the upper petal edge forms the spiral.
- Yarn Choice: Cotton yarn often gives a crisper, more defined petal edge. Acrylic can be softer and floppier, but still works beautifully.
- Experiment with Strip Length: A longer chain (and thus a longer strip) will result in a fuller rose with more petals. A shorter chain will make a smaller, tighter bud.
- Securely Stitch: Don’t skimp on the sewing! Several passes through the base of the rose are essential to make sure it won’t unravel with time.
You’ve now created a wonderfully easy and beautiful crocheted rose! These are perfect for adding handmade charm to almost anything.