 by
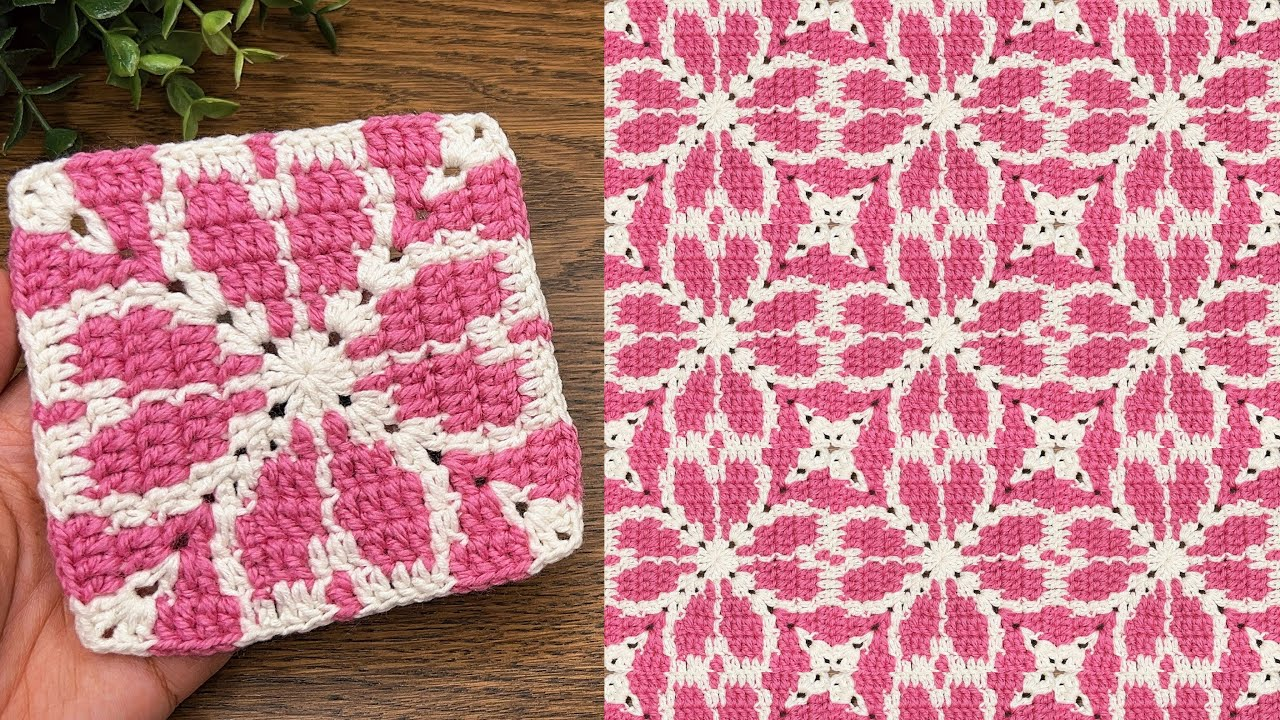
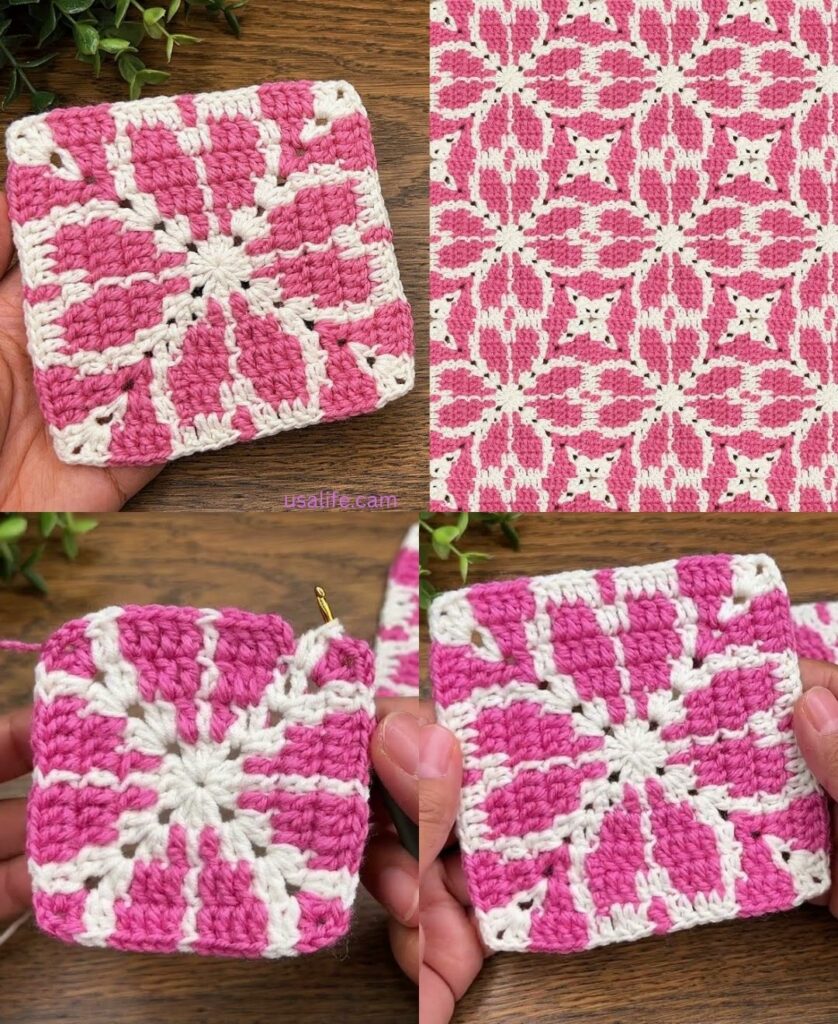
by That is a lovely and popular motif! A Pink Blossom Crochet Square that is easy for beginners usually combines the simple structure of a solid square with a colorful, textured center created using Popcorn or Puff Stitches to mimic petals.
Here is a detailed tutorial for a Puff Stitch Blossom Square, which is easy to master and creates a very charming result.

🌸 Pink Blossom Crochet Square Tutorial (Beginner Friendly)
This square is worked in four rounds using different colors to make the central flower ‘pop’.
Materials You’ll Need
- Yarn: Medium-weight yarn (worsted/size 4).
- Color A (Blossom Center): Yellow or contrasting color.
- Color B (Petals): Pink or desired blossom color.
- Color C (Background/Square): Green, White, or Cream.
- Crochet Hook: The size appropriate for your yarn (e.g., 5.0 mm).
- Scissors, Tapestry Needle.
Key Crochet Terms
| Abbreviation | Stitch Name |
| ch | Chain |
| sl st | Slip Stitch |
| sc | Single Crochet |
| dc | Double Crochet |
| st(s) | Stitch(es) |
| PS | Puff Stitch (Special Stitch) |
Special Stitch: Puff Stitch (PS)
This is the main textural stitch that forms the petals.
- Yarn over (YO), insert hook into the specified stitch/space, YO, pull up a loop (3 loops on hook).
- Repeat the following 3 more times: (YO, insert hook, YO, pull up a loop). (Total of 9 loops on hook).
- YO and pull through all 9 loops on the hook.
- Ch 1 to close the puff and secure the petal.

Step-by-Step Instructions
Round 1: The Center (Color A)
- Start: With Color A, make a Magic Ring.
- Base: ch 2 (does not count as st). Work 12 dc into the Magic Ring.
- Finish: Pull the tail tight. Join with a sl st to the top of the first dc. Fasten off Color A. (12 sts).
Round 2: The Pink Petals (Color B)
This round creates the raised, pink petals using the Puff Stitch.
- Join: Join Color B into any stitch with a sl st.
- First Puff: ch 2 (does not count as st). Work one Puff Stitch (PS) into the same stitch. ch 1 (separates petals).
- Repeat: [PS in the next st, ch 1] 11 times. (You will have 12 puff stitches).
- Finish: Join with a sl st to the top of the first PS. Fasten off Color B.

Round 3: Squaring Up (Color C)
In this crucial round, we define the four corners to turn the circle into a square. We will work into the ch-1 spaces between the puff stitches.
- Join: Join Color C into any ch-1 space with a sl st.
- First Corner: ch 3 (counts as dc). Work [2 dc, ch 2, 3 dc] into the same ch-1 space.
- Side 1 (Side Cluster): Work 3 dc into the next ch-1 space.
- Side 2 (Side Cluster): Work 3 dc into the next ch-1 space.
- Next Corner: Work [3 dc, ch 2, 3 dc] into the next ch-1 space.
- Repeat: Continue the sequence: [Corner Shell, 3 dc cluster, 3 dc cluster] two more times.
- Finish: Join with a sl st to the top of the beginning ch 3. (You should have 4 corners and 8 side clusters).
Round 4: Final Edge
This round cleans up the sides and sets up the square for easy joining.
- Move to Corner: sl st over to the ch-2 corner space.
- Corner: ch 3. Work [2 dc, ch 2, 3 dc] into the corner space.
- Side: Work 3 dc into the space between the first two 3-dc clusters. Work 3 dc into the space between the next two 3-dc clusters.
- Repeat: Continue the sequence: [Corner Shell, 3 dc in all side spaces] around the square.
- Finish: Join with a sl st to the top of the beginning ch 3. Fasten off Color C.

Finishing the Motif
- Weave in Ends: Use your tapestry needle to securely weave in all three colors of yarn tails on the back of the square.
- Blocking: Although the simple squaring method helps, a light blocking (wetting and pinning the square) will ensure the motif is perfectly flat and its corners are sharp, ready for joining.
Your charming Pink Blossom Square is complete! This motif is perfect for a baby blanket or a decorative pillow.
Video tutorial: