by
by That’s a lovely request! Learning to crochet flowers and leaves is a wonderful way to add decorative touches to any project, from garments to accessories and home decor. They are perfect for beginners as they use simple stitches and quick, repetitive rounds.
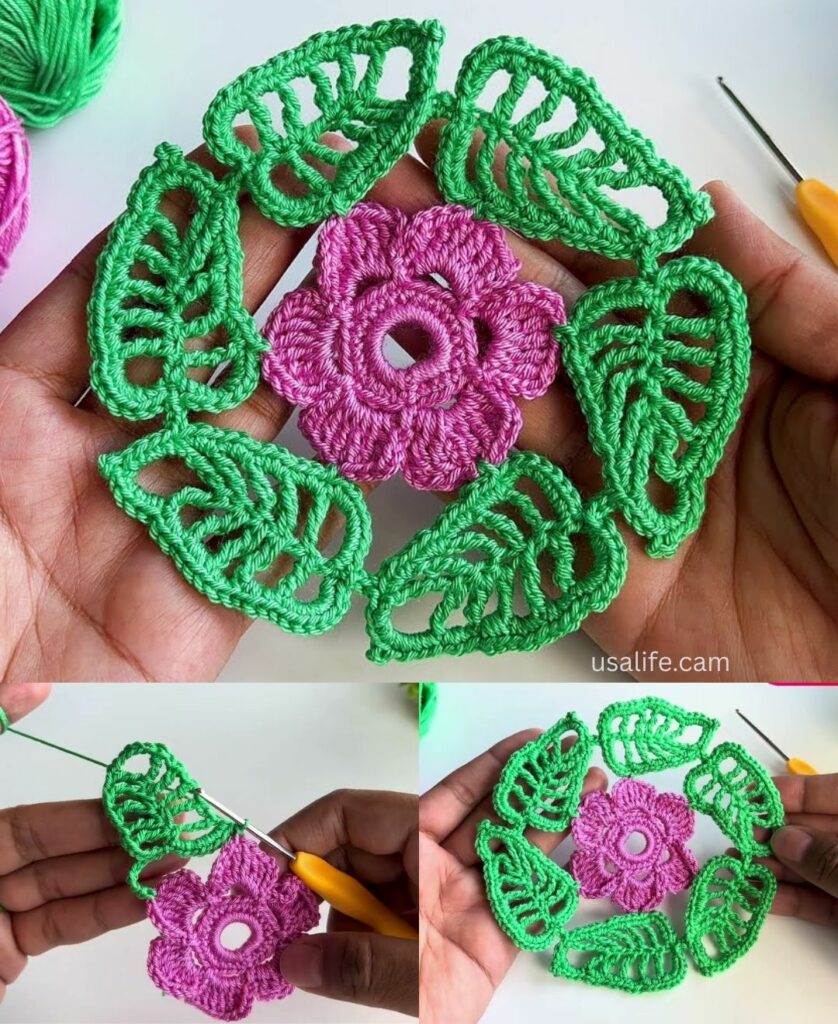
Here is a detailed, step-by-step tutorial for a classic Layered Petal Flower and a simple Pointed Leaf.
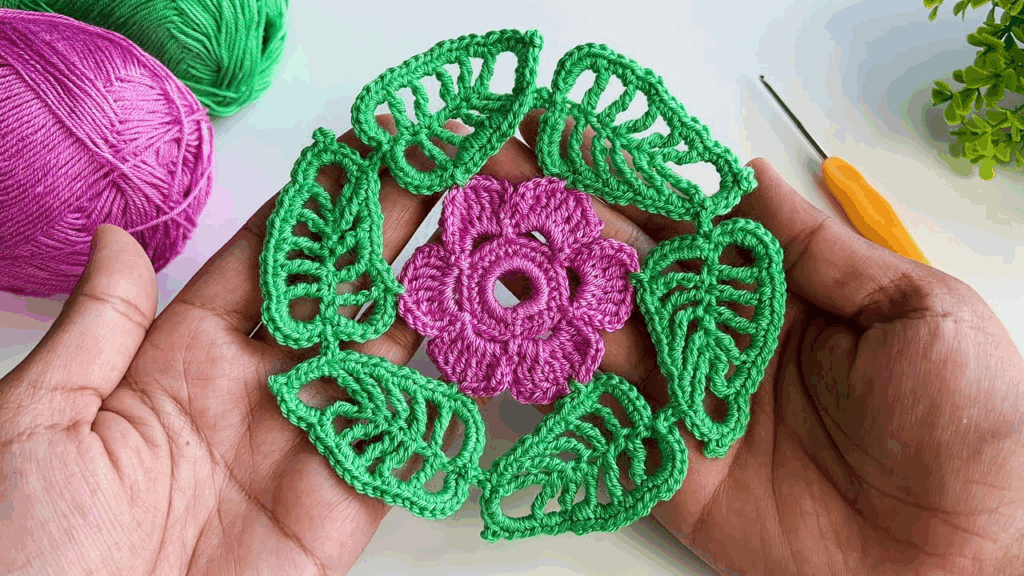
🌸 Simple Layered Crochet Flower Tutorial
This flower uses basic double crochet (dc) stitches to create two layers of petals for a full, dimensional look.
Materials You’ll Need
- Yarn: Medium-weight yarn (worsted/size 4) is easiest to handle.
- Color A (Center): Yellow or Brown.
- Color B (Petals): Pink, Red, or any flower color.
- Crochet Hook: The size appropriate for your yarn (e.g., 5.0 mm or H/8).
- Scissors, Tapestry Needle.
Key Crochet Terms
| Abbreviation | Stitch Name |
| ch | Chain |
| sl st | Slip Stitch |
| sc | Single Crochet |
| dc | Double Crochet |
| tr | Treble Crochet |
Part 1: The Flower Motif
Round 1: Center (Color A)
- Start: With Color A, make a Magic Ring (or ch 4, sl st to join).
- Base: ch 1 (does not count as st). Work 10 sc into the Magic Ring.
- Finish: Pull the tail tight. Join with a sl st to the first sc. Fasten off Color A. (10 sts).

Round 2: Inner Petals (Color B)
We create the foundation for the first layer of petals.
- Join: Join Color B into any sc stitch with a sl st.
- First Petal: ch 1. Work sc in the same stitch. ch 2.
- Repeat: [sc in the next stitch, ch 2] 9 more times. (10 ch-2 loops).
- Finish: Join with a sl st to the first sc.
Round 3: Outer Petals (Color B)
We work the petals into the loops from R2, using taller stitches for a fuller look.
- sl st into the first ch-2 loop.
- First Petal: ch 3 (counts as dc). Work (dc, tr, dc, 2 dc) into the same ch-2 loop.
- Anchor: Work sl st into the next sc anchor.
- Repeat: [sl st into the next ch-2 loop, work 2 dc, tr, dc, 2 dc into the loop, sl st into the next sc anchor] 9 more times. (10 full petals).
- Finish: Join with a sl st to the base of the first petal. Fasten off Color B.

Part 2: The Simple Pointed Leaf
This leaf is crocheted in turning rows, starting from the tip and widening to the center vein.
Row 1 (Tip):
- With Green Yarn, ch 6.
- Start: Work sc in the 2nd ch from the hook. sc in the next ch. hdc in the next ch. dc in the next ch.
- End: Work 4 dc into the last chain (this creates the rounded bottom tip). ch 1 and turn.
Row 2 (Other Side of Chain):
Now we work back up the other side of the starting chain.
- Work dc in the next dc (the post right beside the tip).
- Work hdc in the next st.
- Work sc in the next 2 sts. sl st into the remaining sc stitch. (This completes the leaf shape).
- Finish: Work sl st down the center base stitches (the “vein”) to secure the end. Fasten off.
Final Steps
- Weave in Ends: Use your tapestry needle to securely hide all yarn tails on the back of the flower and leaf.
- Assembly: Use the tails to sew the flower onto the leaf, or directly onto your project!
You now have a beautiful, dimensional flower and leaf, perfect for embellishment!
Video tutorial: