 by
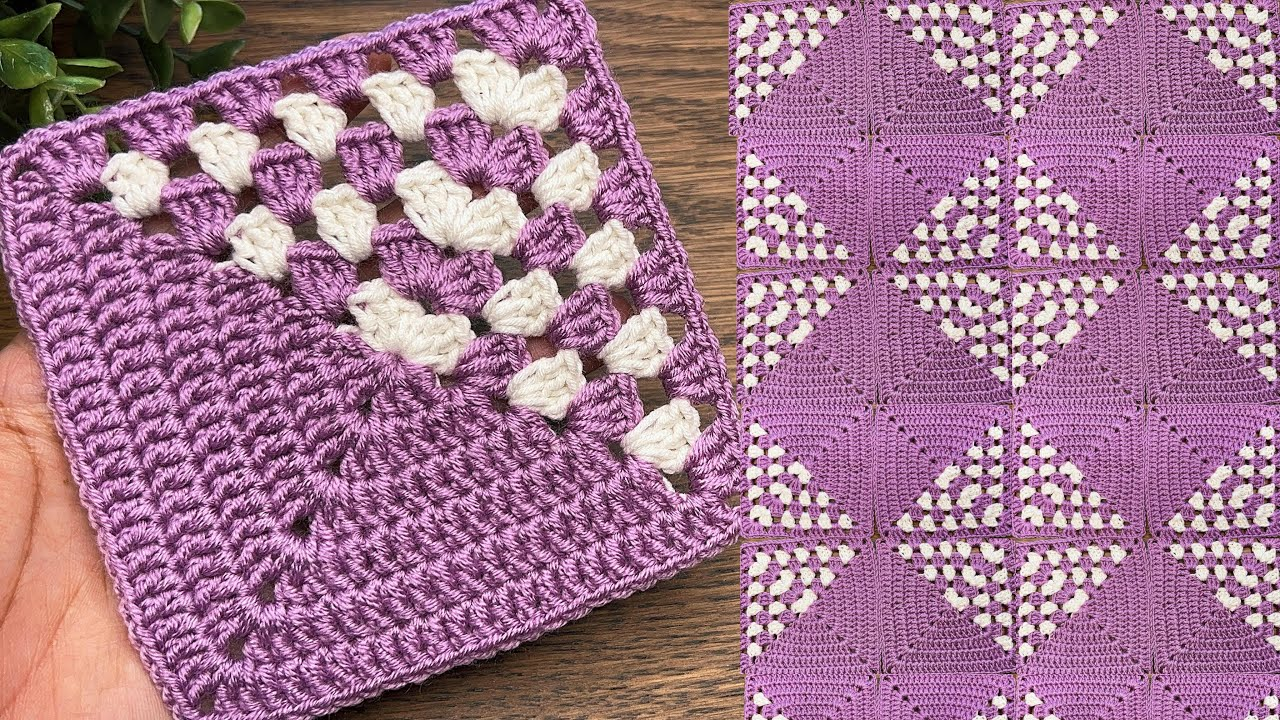
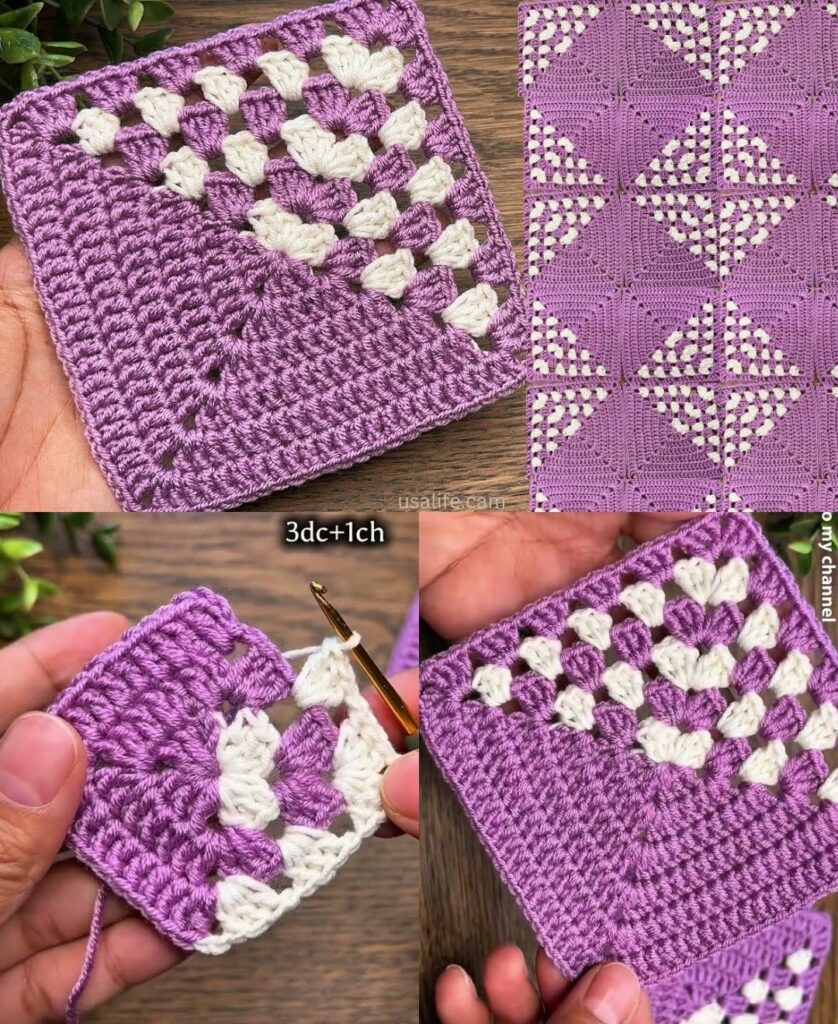
by That is a fantastic request! While the classic Granny Square is beloved, creating a Unique Crochet Granny Square allows you to inject personal style and texture into your projects.
I will detail a step-by-step tutorial for the “Textured Woven Diamond Granny Square,” which achieves a unique look by incorporating the Front Post Double Crochet (FPdc) to create a subtle, raised, woven design right within the classic square structure.

💎 Unique Textured Woven Diamond Granny Square Tutorial
This motif maintains the easy structure of the classic Granny Square (working in clusters and spaces) but introduces post stitches strategically to create a unique diagonal texture that looks woven or braided.
Materials You’ll Need
- Yarn: Medium-weight yarn (worsted/size 4). Using a solid, light color helps the texture stand out clearly.
- Crochet Hook: The size appropriate for your yarn (e.g., 5.0 mm).
- Scissors, Tapestry Needle.
Key Crochet Terms
| Abbreviation | Stitch Name |
| ch | Chain |
| sl st | Slip Stitch |
| dc | Double Crochet |
| FPdc | Front Post Double Crochet (Special Stitch) |
| Cluster | 3 dc worked into the same space |
| Corner | (Cluster, ch 2, Cluster) |
Special Stitch: Front Post Double Crochet (FPdc)
This stitch is key to the unique texture.
- Yarn over (YO), insert hook from the front side of the work, around the back of the specified stitch post, and out to the front again.
- YO, pull up a loop, and complete the stitch as a regular dc.

Part 1: Foundation and Initial Expansion
Round 1: Center
- Start: Make a Magic Ring. ch 3 (counts as dc). Work 2 dc into the ring.
- Corner Space: ch 2.
- Repeat: Work [3 dc into the ring, ch 2] 3 more times.
- Finish: Pull tail tight. Join with a sl st to the top of the ch 3.
Round 2: Classic Granny Frame
- Move to Corner: sl st into the ch-2 corner space.
- First Corner: ch 3. Work (2 dc, ch 2, 3 dc) into the same corner space.
- Side Space: ch 1.
- Repeat: Work [Corner (3 dc, ch 2, 3 dc) in the next ch-2 space, ch 1] 3 more times.
- Finish: Join with a sl st to the top of the ch 3.

Part 2: Introducing the Unique Woven Texture
Round 3: First Texture Row
This round introduces the FPdc to start the diagonal lines.
- Move to Corner: sl st to the ch-2 corner space. ch 3. Work (2 dc, ch 2, 3 dc) into the corner.
- Chaining: ch 1.
- Texture: Work FPdc around the post of the center dc of the 3-dc cluster from Round 1 (this is two rows below).
- Chaining: ch 1.
- Repeat: Continue the sequence [Corner (3 dc, ch 2, 3 dc) in ch-2 sp, ch 1, FPdc around center dc of R1 cluster, ch 1] 3 more times.
- Finish: Join with a sl st to the top of the ch 3.
Round 4: Continuing the Diamond/Woven Pattern
We use the FPdc again, working around the FPdc from the previous row to keep the raised line continuous.
- Move to Corner: sl st to the ch-2 corner space. ch 3. Work (2 dc, ch 2, 3 dc) into the corner.
- Side Cluster: ch 1. Work 3 dc into the next ch-1 space (beside the FPdc).
- Texture Anchor: ch 1. Work FPdc around the post of the FPdc from Round 3.
- Side Cluster: ch 1. Work 3 dc into the next ch-1 space (beside the FPdc).
- Repeat: Continue the sequence [Corner, ch 1, 3 dc in ch-1 sp, ch 1, FPdc around FPdc, ch 1, 3 dc in ch-1 sp, ch 1] around the square.
- Finish: Join with a sl st to the top of the ch 3.

Round 5: Expanding the Diamond (Final Texture)
The single FPdc line from R4 has split into two lines, completing the diamond shape.
- Move to Corner: sl st to the ch-2 corner space. ch 3. Work (2 dc, ch 2, 3 dc) into the corner.
- Side Cluster: ch 1. Work 3 dc into the next ch-1 space. ch 1.
- Texture Split: Work FPdc around the post of the first dc of the 3-dc cluster that borders the central FPdc from R4.
- Center: ch 1. Work 3 dc into the space created by the FPdc cluster from R4. ch 1.
- Texture Split: Work FPdc around the post of the last dc of the 3-dc cluster that borders the central FPdc from R4.
- Repeat: Continue the sequence [Corner, ch 1, 3 dc in ch-1 sp, ch 1, FPdc, ch 1, 3 dc in center space, ch 1, FPdc, ch 1, 3 dc in ch-1 sp, ch 1] around.
- Finish: Join with a sl st to the top of the ch 3. Fasten off.
Final Steps
- Weave in Ends: Securely hide all tails.
- Blocking: Blocking is recommended to ensure the square is flat and the post stitches are clearly defined, maximizing the unique woven diamond effect.
Video tutorial: