by
by That’s a wonderfully versatile project idea! Mastering a single motif and applying it to a runner, a blouse, and a shawl is the perfect way for a beginner to see how basic crochet concepts can be scaled and adapted.
I will use the versatile Solid Granny Square Motif as our base, as it is a classic that provides a good mix of texture, structure, and lace.
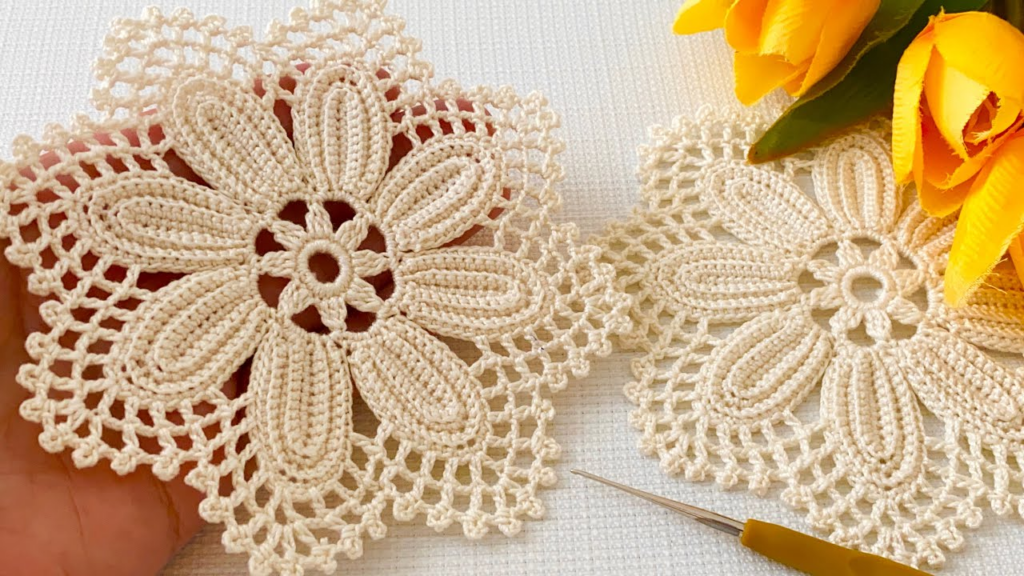
The Versatile Solid Granny Square Motif
This motif builds upon the basics and forms a beautiful, substantial square.
Skill Level: Beginner/Easy
Yarn Recommendation:
- For Blouse/Shawl: DK or Sport Weight Cotton/Cotton Blend for drape.
- For Runner: Worsted Weight Cotton or Acrylic for structure and easy washing.Hook Recommendation: Use the hook size recommended for your yarn weight (e.g., 4.0mm – 5.0mm).Abbreviations:
- ch: chain
- st(s): stitch(es)
- sl st: slip stitch
- dc: double crochet
- sp: space
- MR: Magic Ring (or Ch 4, sl st to first ch to form a ring)
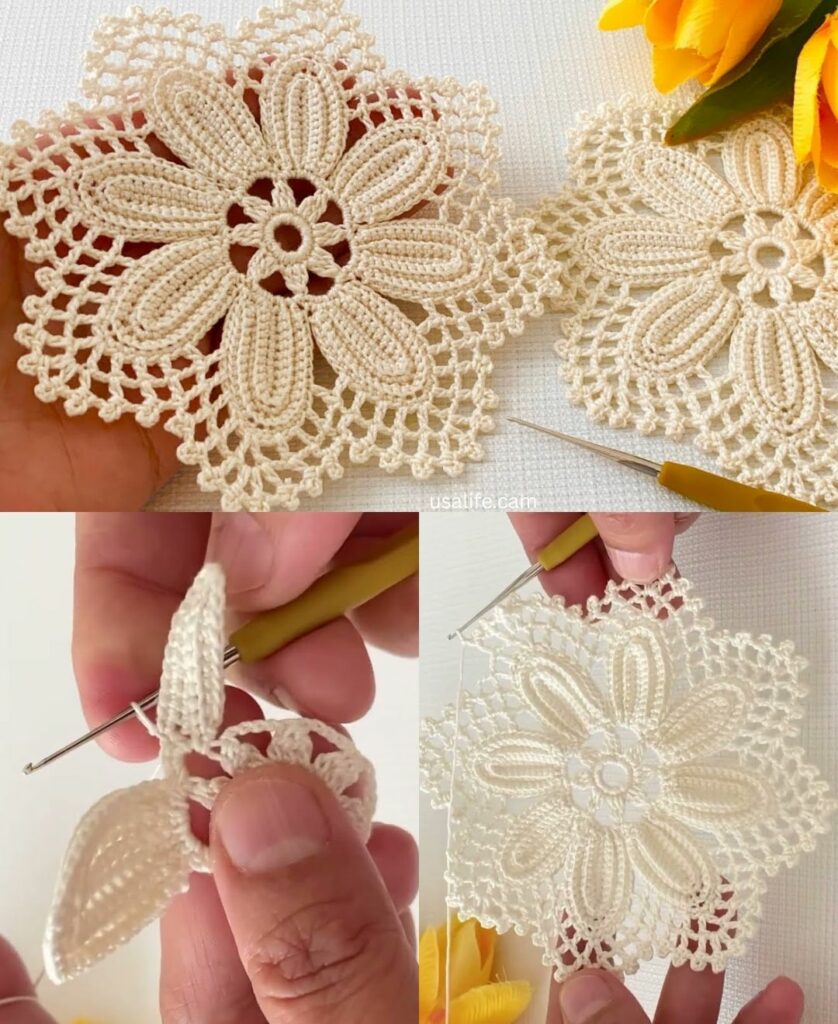
Motif Pattern (Make Multiple)
Foundation: Start with a MR or Ch 4, sl st to first ch to join.
Round 1:
- Ch 3 (counts as 1st dc). Dc 2 more times into the ring. (This is your first 3-dc cluster).
- Ch 3 (This forms the first corner).
- Work (3 dc, ch 3) into the ring three more times.
- Sl st to the top of the starting ch 3 to join. (You should have four 3-dc clusters and four ch-3 corners).

Round 2:
- Sl st into the next 2 dc to move to the first ch-3 corner space.
- Ch 3 (counts as 1st dc). In the same ch-3 corner space, work (2 dc, ch 3, 3 dc). (This is your first expanded corner).
- Side: Ch 1.
- Next Corner: In the next ch-3 corner space, work (3 dc, ch 3, 3 dc).
- Repeat steps 3 and 4 two more times.
- Ch 1. Sl st to the top of the starting ch 3 to join.
Round 3:
- Sl st into the next 2 dc to move to the first ch-1 space.
- Ch 3 (counts as 1st dc). 2 dc in the same ch-1 space. (This is your first side cluster).
- Corner: In the next ch-3 corner space, work (3 dc, ch 3, 3 dc).
- Side: Ch 1. 3 dc in the next ch-1 space.
- Repeat steps 3 and 4 around the square.
- After the last corner, ch 1. Sl st to the top of the starting ch 3 to join.
Round 4 (Joining Round):
Continue the pattern of 3-dc clusters in the ch-1 spaces and (3 dc, ch 3, 3 dc) in the corners.
- When joining motifs, use a ch 1, sl st into the corresponding ch-1 sp of the adjacent motif, ch 1 instead of a regular ch 3 in the corners.
- On the sides, use a sl st into the corresponding ch-1 sp of the adjacent motif instead of a ch 1.

Project 1: Motif Table Runner Assembly
This is the most straightforward assembly.
Layout and Sizing:
- A standard runner is one motif wide and 4–7 motifs long. (e.g., Make 5 Motifs).
- Joining: Motifs are joined along one edge only.
| Motif 1 | Motif 2 | Motif 3 | Motif 4 | Motif 5 |
Assembly Instructions (Join-As-You-Go):
- Motif 1: Complete all 4 rounds. Fasten off.
- Motif 2: Complete Rounds 1–3. Start Round 4.
- Work two sides of Motif 2 normally (following the pattern of 3 dc clusters and ch 1 spaces).
- Joining Side: When you reach the first corner that joins Motif 1:
- Work 3 dc into the corner space.
- Join Corner: Ch 1, sl st into the corner ch-3 space of Motif 1, ch 1.
- Work 3 dc into the corner space of Motif 2.
- Join Side: Sl st into the first ch-1 space of Motif 1, 3 dc into the next ch-1 space of Motif 2.
- Repeat the Join Side process until the last ch-1 space before the next corner.
- Work 3 dc into the corner space of Motif 2.
- Join Corner: Ch 1, sl st into the corner ch-3 space of Motif 1, ch 1.
- Work 3 dc into the corner space of Motif 2.
- Finish the remaining sides of Motif 2 normally. Fasten off.
- Repeat for subsequent motifs.
Finishing the Runner:
- Border: Work 1–2 rounds of single crochet (sc) or double crochet (dc) around the entire perimeter to create a clean, uniform edge.

Project 2: Motif Blouse/Simple Top Assembly
This project requires symmetrical joining for shape.
Layout and Sizing:
- Measure: The circumference of the largest part of your bust/chest.
- Calculate: Divide your circumference by the width of one motif, then round up to the nearest even number. This is the total number of motifs needed for the circumference.
- Example: 12 motifs total (6 motifs across the front, 6 across the back).
- Layout (Front/Back): $3 \times 4$ rectangles for both front and back (if 12 motifs are needed).
- Motif Total: Make 24 Motifs ($3 \times 4 \times 2$).
Assembly Instructions:
- Join Panels: Join the $3 \times 4$ motifs into two separate rectangles (Front and Back) using the Join-As-You-Go method, joining both the vertical and horizontal edges.
- Shoulder Seams: Lay the panels flat, stacked one on top of the other.
- Seam: Use a slip stitch seam or single crochet seam to join the top two edges, leaving an unseamed gap in the middle for the neck opening.
- Side Seams:
- Armhole: Leave the top one or two motif spaces unseamed for the armholes.
- Seam: Starting from the bottom, join the side edges using a sl st or sc seam up to the armhole opening.
Finishing the Blouse:
- Edging: Work 1–2 rounds of single crochet (sc) or Moss Stitch (alternating sc and ch 1) around the Neckline, Armholes, and Bottom Hem for a clean finish.
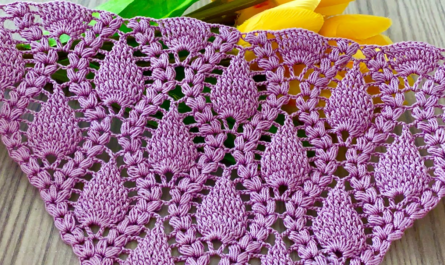
Project 3: Motif Shawl Pattern (Triangular)
This project requires a decreasing assembly to form a triangular shape.
Layout and Sizing:
- A shawl is usually worked from the widest point down to a single corner.
- Example (Medium Size): Use a Base Row of 7 motifs, decreasing by one motif per row.
- Total Motifs: $7+6+5+4+3+2+1 = 28 Motifs
| Row 1: | Motif 1 | Motif 2 | Motif 3 | Motif 4 | Motif 5 | Motif 6 | Motif 7 |
| Row 2: | Motif 8 | Motif 9 | Motif 10 | Motif 11 | Motif 12 | ||
| Row 3: | Motif 13 | Motif 14 | Motif 15 | ||||
| etc. | … down to Row 7: Motif 28 |
Assembly Instructions (Joining Along Two Sides):
- Row 1 (Base): Join 7 motifs in a straight line, as you did for the runner.
- Row 2 (Decreasing):
- Motif 8: Join to the top edge of Motif 2 and the top edge of Motif 3. (This forms a corner where the 4 motifs meet).
- Motif 9: Join to the top edge of Motif 3 and the top edge of Motif 4.
- Continue joining motifs across Row 2, centered over the row below.
- Subsequent Rows: Continue this pattern until you place the final motif in the center of the top row.
Finishing the Shawl:
- Edging/Fringe: This is crucial for a motif shawl.
- Edging: Work 2–3 rounds of shell stitch or a simple picot stitch around the entire outer V-shaped edge.
- Fringe (Optional): Attach fringe along the longest straight edge (Row 1) for a bohemian look.
Tip: For both the Blouse and the Shawl, using a lighter weight yarn and the Join-As-You-Go method will ensure a soft, drapable fabric that doesn’t feel stiff.
Video tutorial: