 by
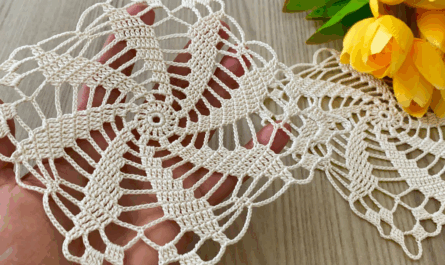
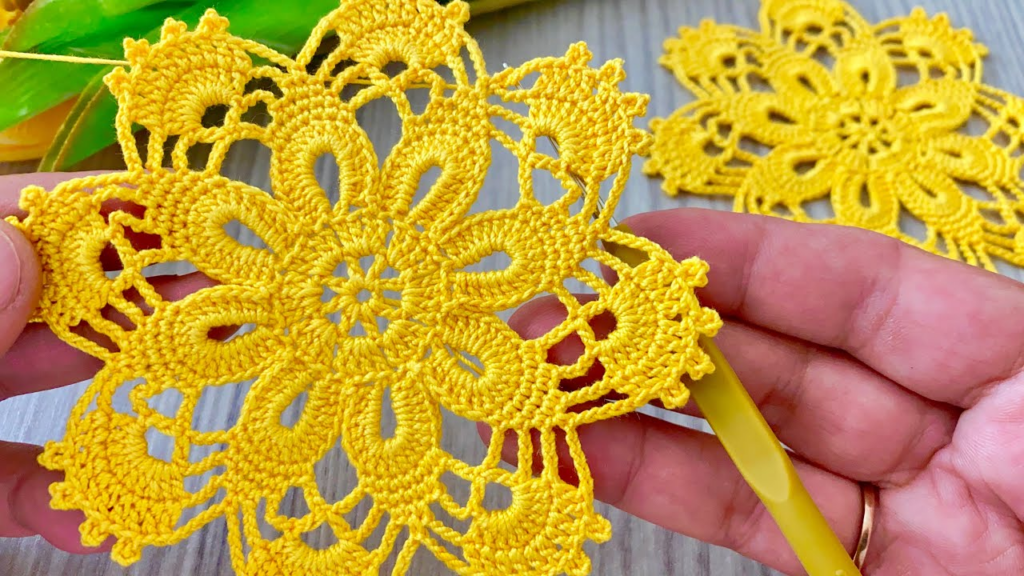
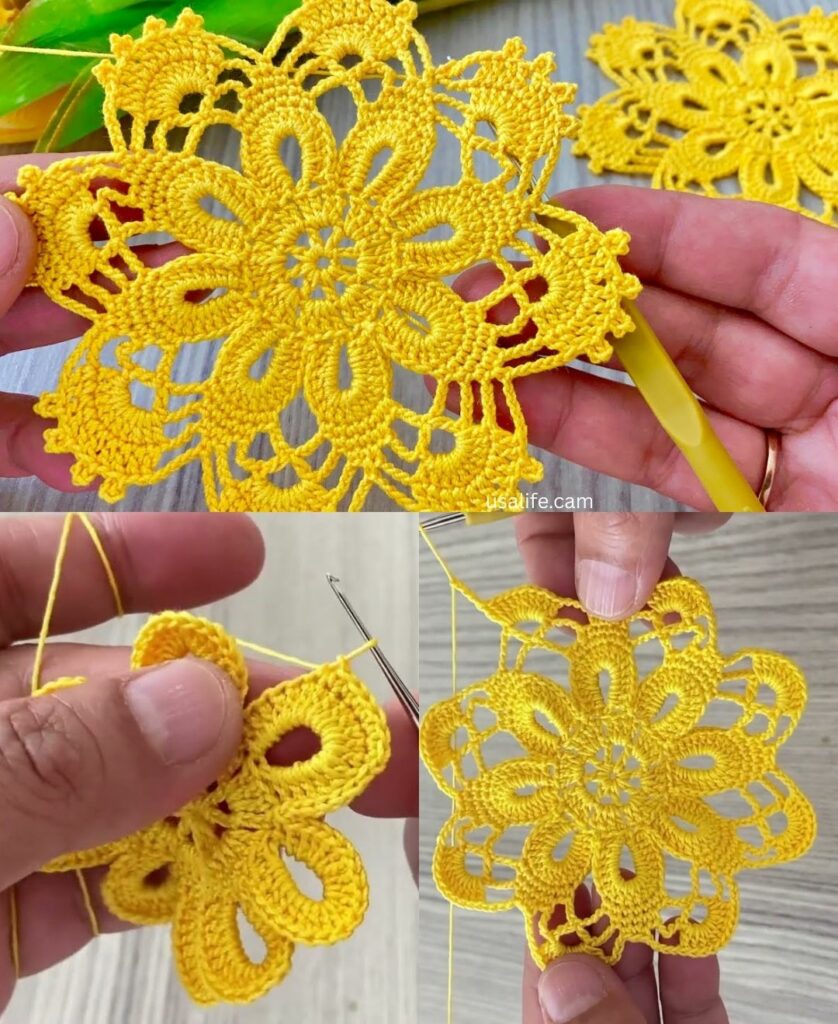
by To create a beautiful crochet project, beginners often start with a Motif. A motif is a small, repeatable shape—like a square, circle, or hexagon—that serves as the “building block” for larger items like blankets, bags, or the blouses and runners you are interested in.
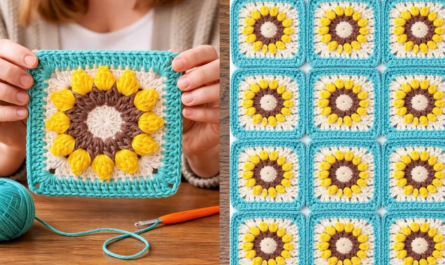
The Classic Granny Square is the most beginner-friendly motif. It teaches you how to work in rounds, create corners, and manage “clusters” of stitches.
Phase 1: Preparation
- Yarn: A light-colored 100% Cotton (DK weight) is best for beginners in Cambodia because it stays cool and you can see your stitches clearly.
- Hook: A 4.0mm (G) hook.
- Terminology: This tutorial uses US Terms.
Phase 2: Step-by-Step Motif Pattern
Round 1: Creating the Center
- Start: Create a Magic Ring (or Chain 4 and slip stitch into the first chain to make a tiny circle).
- First Cluster: Chain 3 (this counts as your first double crochet). Work 2 double crochet (dc) into the ring. You now have a “3-dc cluster.”
- Corner: Chain 2.
- Repeat: Work 3 dc into the ring, then Chain 2. Repeat this 2 more times.
- Close: Pull the magic ring tail tight to close the center hole.
- Join: Slip stitch (sl st) into the top of your starting Chain 3.You should now have a tiny square with 4 clusters and 4 corner spaces.

Round 2: Adding the Corners
- Navigate: Slip stitch across the next two stitches until your hook is inside the first Chain-2 corner space.
- First Corner: Chain 3 (counts as 1 dc). In the same space, work 2 dc, Chain 2, and 3 dc. (This creates a new corner).
- Side: Chain 1.
- Next Corner: In the next corner space, work (3 dc, Chain 2, 3 dc).
- Repeat: Chain 1, then repeat the “Corner” pattern in the remaining two spaces.
- Join: Chain 1 and slip stitch to the top of the starting Chain 3.
Round 3: The Sides & Growth
- Navigate: Slip stitch to the nearest corner space.
- Corner: Work (3 dc, Chain 2, 3 dc) in the corner space.
- Side Space: Chain 1. Work 3 dc into the Chain-1 space on the side of the previous round.
- Continue: Chain 1. Work the Corner pattern in the next corner.
- Finish: Continue this all the way around. Join with a slip stitch.

Phase 3: Turning Motifs into Projects
| To Make a… | How to Assemble |
| Simple Runner | Crochet 5 to 10 motifs of the same size. Lay them in a long line and sew the edges together using a yarn needle and the Mattress Stitch. |
| Boho Blouse | Crochet two large “panels” made of many small motifs joined together. Join them at the shoulders and sides, leaving a hole for the head and arms. |
| Tunic | Same as the blouse, but add 2 extra rows of motifs at the bottom to make it longer. |
3 Pro-Tips for Beginners
- Color Changes: To make a “stunning” motif, change colors for every round. Cut the yarn at the end of a round, and tie the new color into any corner space to start the next round.
- The “Hidden” Stitch: After you finish a corner, the first stitch of the next cluster is often hidden by the stitches you just made. Be careful not to skip it!
- Blocking: Motifs often look a bit “curly” at first. Pin them to a flat surface (like a cushion), spray them lightly with water, and let them dry. They will become perfectly flat and professional-looking.
Would you like me to explain the best way to join these squares so the seams are invisible on your blouse or runner?
Video tutorial: