 by
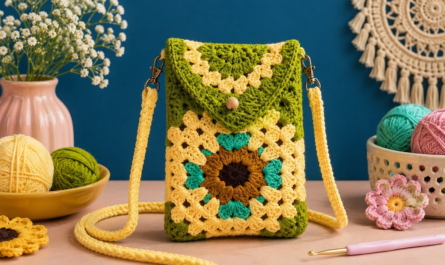
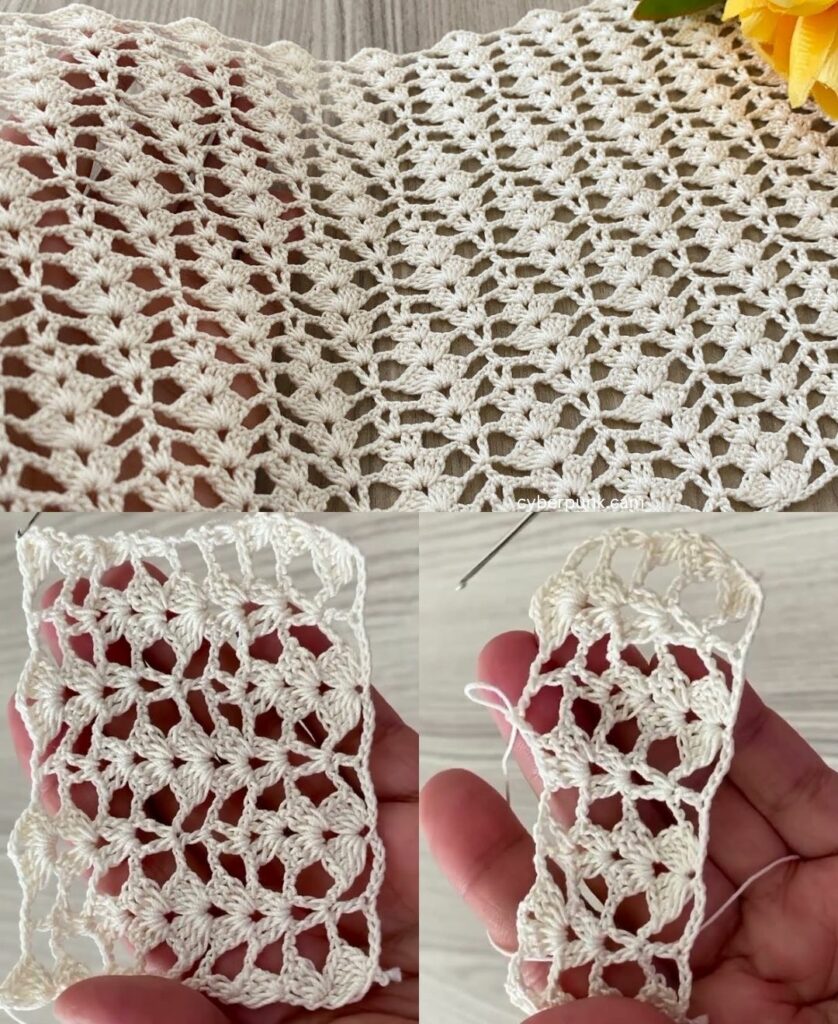
by The most “gorgeous” pattern is one that balances 3D texture with geometric versatility. The Sunburst (or Sunflower) Granny Square is the ultimate multi-tool in crochet. It begins as a circular floral “burst” and transforms into a crisp square, making it a “chameleon” pattern.
You can use a single square as a coaster, join 12 for a tote bag, or join 100 for a statement heirloom blanket.

🧶 The Versatility Kit
To make this pattern work for “many projects,” your yarn choice dictates the final vibe.
| Project Type | Recommended Yarn | Why? |
| Home Decor (Blankets/Pillows) | Worsted Weight Acrylic/Wool | Durable, warm, and holds its shape. |
| Garments (Tops/Cardigans) | Cotton or Bamboo Blend | Provides “drape” so the clothes move with your body. |
| Accessories (Bags/Hats) | Mercerized Cotton | Stiff and sturdy; won’t stretch out under weight. |
Stitch Key (US Terms)
- Puff Stitch: [Yarn over, insert hook, pull up a loop] 4 times in the same stitch. Yarn over, pull through all loops. ch 1 to close.
- Cluster Stitch: [Yarn over, insert hook, pull up a loop, pull through 2] 4 times in the same stitch. Yarn over, pull through all 5 loops on hook.
🛠 Step-by-Step: The Sunburst Motif
Round 1: The Core
- Start: Make a Magic Ring.
- Stitches: ch 3 (counts as dc). Work 15 dc into the ring.
- Join: sl st to the top of the ch 3.
Check: You have a solid circle of 16 dc.

Round 2: The Inner Burst
- Stitch: In every dc from Round 1, work one Puff Stitch.
- Transition: ch 1 between every puff.
- Join: sl st to the first puff.
Texture Tip: This creates a beautiful, raised “beaded” look in the center.
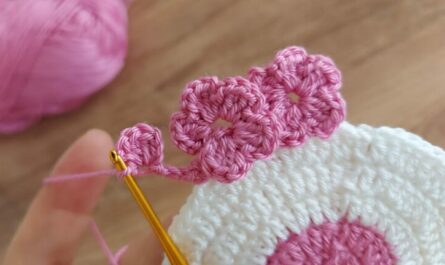
Round 3: The Petals
- Join: Attach a new color in any ch-1 space.
- Stitch: In every ch-1 space, work a Cluster Stitch.
- Transition: ch 2 between every cluster.
- Join: sl st to the first cluster.

Round 4: Squaring the Circle
This round turns the flower into a square by using different stitch heights to “level out” the edges.
- Corner 1: ch 4 (counts as treble). In the same space, work (2 tr, ch 2, 3 tr).
- Side: * ch 1, skip a space, work 3 dc in the next space.
- ch 1, skip a space, work 3 hdc in the next space.
- ch 1, skip a space, work 3 dc in the next space.
- Repeat: Work a Corner in the next space. Repeat the “Side” pattern until you reach the start.
- Join: sl st to finish.
📐 The Multi-Project Math
To adapt this pattern for different items, use this simple formula to determine how many motifs you need:
$$Total Motifs = \frac{\text{Desired Width}}{\text{Square Size}} \times \frac{\text{Desired Length}}{\text{Square Size}}$$
- Tote Bag: 13 squares (2 sides of $2 \times 3$, plus 1 for the bottom).
- Cropped Sweater: Approximately 24–30 squares depending on size.
- Baby Blanket: 36–42 squares.
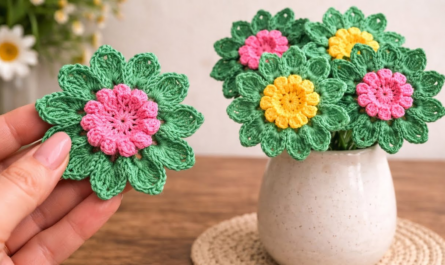
💡 3 Secrets for a “Gorgeous” Finish
- The “Sunlight” Color Palette: Use a dark charcoal or navy for the “Squaring” round (Round 4). This acts like a picture frame, making the colorful center “pop” as if it’s glowing.
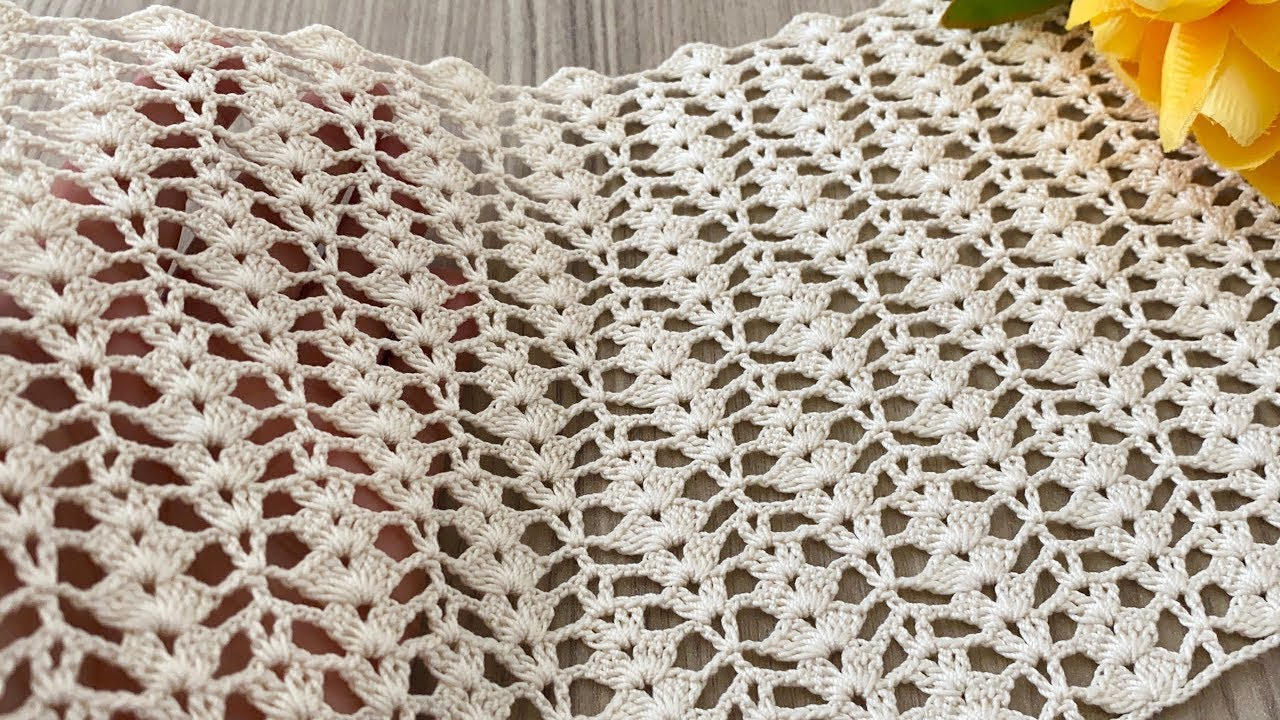
- Blocking is the “Secret Sauce”: Because Round 2 and 3 are very dense, the square might look slightly “puffy” or rounded. Pin your finished squares to a board and steam them. This forces them into perfect 90-degree angles.
- Continuous Join: If you hate sewing, use a slip-stitch join through the back loops only as you finish your last rounds. It creates a beautiful braided ridge between squares that looks incredibly professional.
Would you like me to help you design a specific color layout for a 12-square tote bag using this Sunburst pattern?