 by
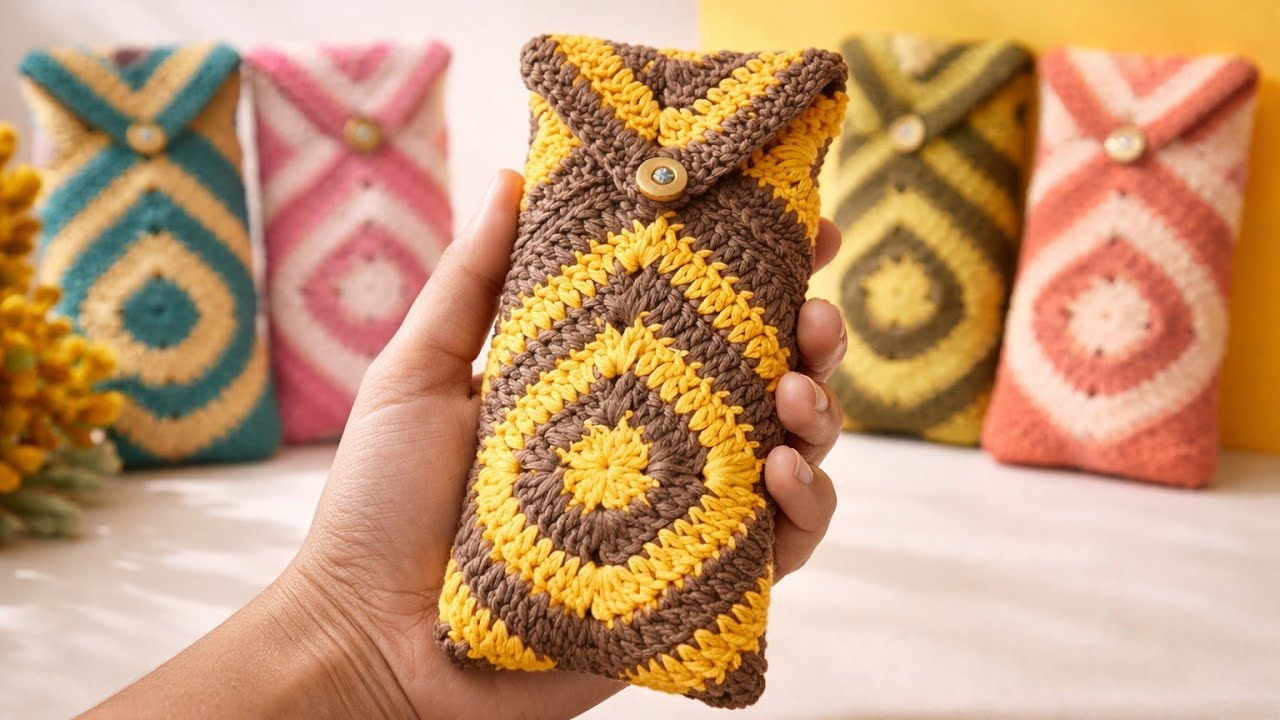
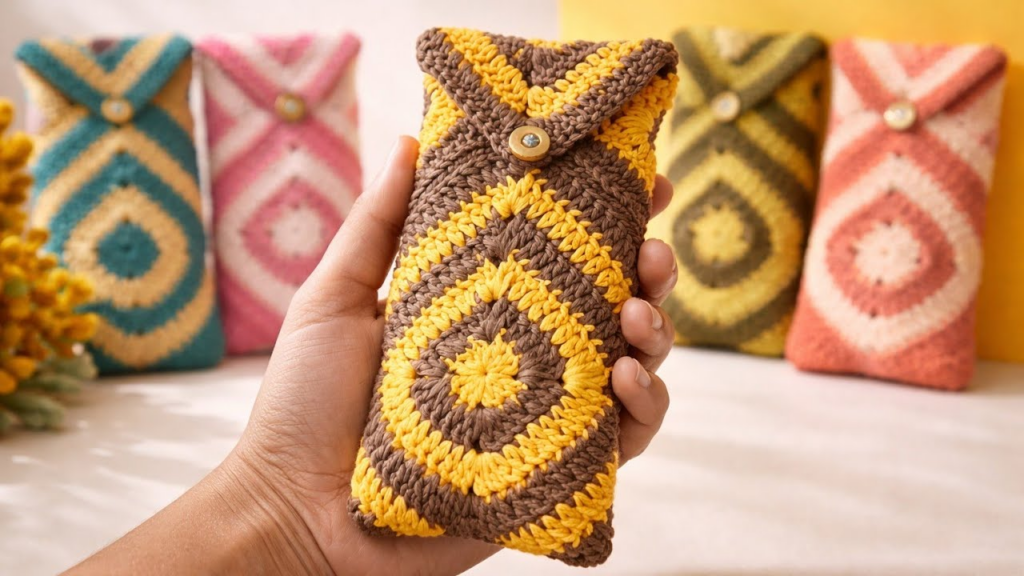
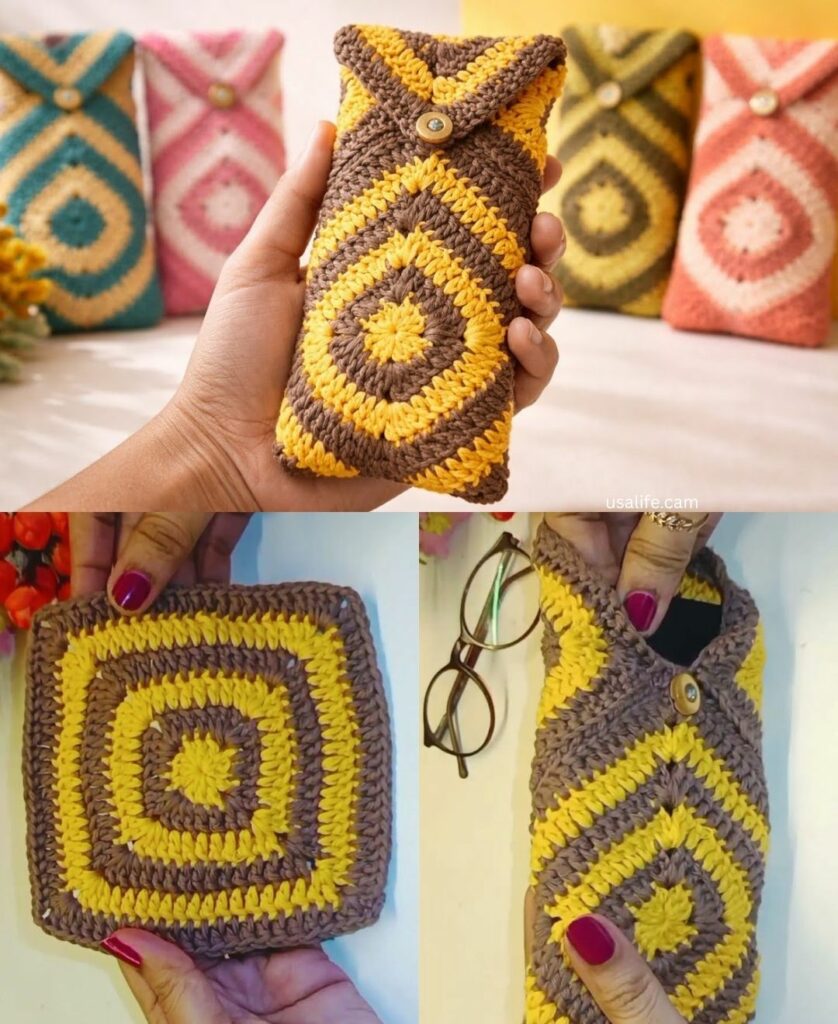
by To create a Simple Phone Bag, the focus should be on a balance between structural integrity (so your phone doesn’t bounce around) and minimalist aesthetics. This pattern is designed for a vertical “Sling” style bag that fits almost any smartphone.
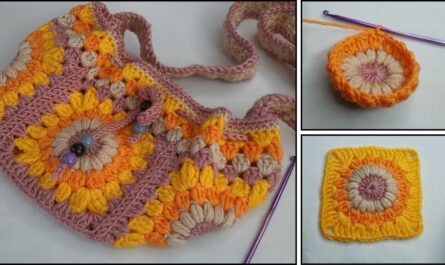
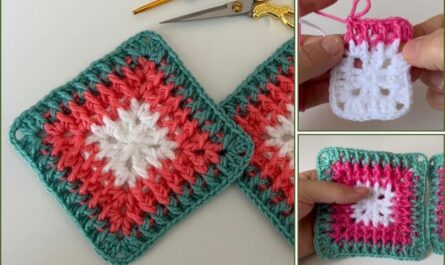
By using the Spider Stitch, we create a dense, modern fabric that looks sophisticated but is remarkably easy to execute.
I. Technical Specifications
- The Fit: Custom-fit (instructions included below).
- Yarn: 100% Cotton or Nylon cord (Worsted weight). Do not use acrylic; it will stretch under the weight of the phone, and your bag will end up hanging by your knees by the end of the day.
- Hook: 3.5mm (E). We want the stitches to be “tight-knit” to prevent the phone corners from poking through.
- Skill Level: Absolute Beginner (requires only $ch$ and $sc$).
II. The “Spider Stitch” Pattern
Step 1: The Foundation (Measuring for Success)
- Measure your phone: Width and Height.
- Chain ($ch$): Make a chain that is roughly 1 inch ($2.5\text{cm}$) wider than your phone.
- Note: Ensure your starting chain is an even number.
- The Base: $sc$ in the second $ch$ from the hook and in each $ch$ across.
- When you reach the last $ch$, work 3 $sc$ into it to turn the corner. Continue working $sc$ along the opposite side of your starting chain.
- Sl st to join. You now have a flat oval “base.”

Step 2: The Body (The Spider Stitch)
The “Spider Stitch” is worked in a continuous spiral—no joining needed!
- Round 1: [sc, ch 1, sc] in the first stitch. Skip the next stitch.
- Round 2 and beyond: Look for the ch-1 space you created in the previous round. Work [sc, ch 1, sc] directly into every ch-1 space.
- Skip the actual $sc$ stitches.
- Repeat: Continue this spiral until the bag is 0.5 inches shorter than your phone.
- Detail: Working 0.5 inches shorter ensures the phone stays snug and doesn’t fall out, while the top “peeks” out for easy grabbing.
Step 3: The Top Border
- Work one round of solid $sc$ in every $sc$ and $ch$ space around.
- Round 2: Sl st in the Back Loop Only (BLO) of every stitch. This creates a professional, “corded” rim that prevents the bag from stretching open.

III. “Detail and Detail”: Making it Extraordinary
1. The “Anti-Stretch” Crossbody Strap
The biggest mistake in phone bags is a stretchy strap. To fix this:
- Ch your desired length (usually $45$–$50$ inches).
- Row 1: Sl st in every $ch$.
- Row 2: Turn and Sl st back along the other side of the $ch$.
- The Result: This creates a “cord” rather than a strap. It is incredibly strong and will never sag.
2. The “Safety” Closure
Since this is a simple bag, a heavy zipper is unnecessary.
- On the back center, join your yarn and ch 15. Sl st back into the same spot.
- Sew a wooden toggle or a large button to the front center.
- Detail: The “loop and button” look is trendy and allows you to access your phone silently (no Velcro ripping sounds in quiet places!).

3. The Internal Lining (The Secret to Longevity)
- If you don’t want to sew a fabric lining, simply Turn the bag inside out and spray the interior with a fabric stiffener or “shoe protector” spray.
- This creates a moisture barrier between your phone and the yarn, keeping your tech dry and the bag’s shape crisp.
IV. Summary Table for Your Project
| Feature | The Simple Choice | The Designer Choice |
| Yarn | Plain Cotton | Variegated (Self-striping) Cotton |
| Stitch | Standard $sc$ | Spider Stitch (Textured) |
| Strap | Single $ch$ | Double Sl-St Cord |
| Closure | None | Button & Loop |
V. Final Styling Tip
To make this bag “Magnificent,” add two small tassels to the bottom corners of the bag. This adds weight to the bottom, ensuring the bag hangs straight and doesn’t “flip” over when you are walking.
Are you making this for a specific phone model? If you give me the dimensions, I can tell you exactly how many chains to start with!