 by
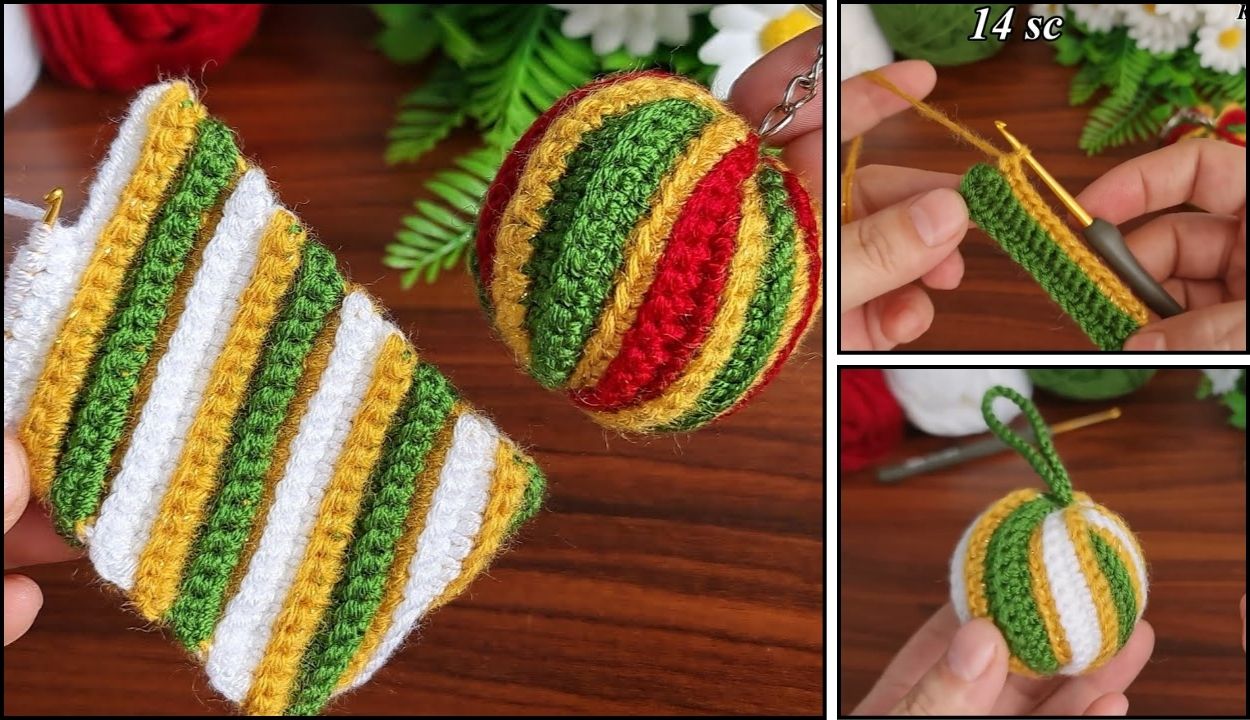
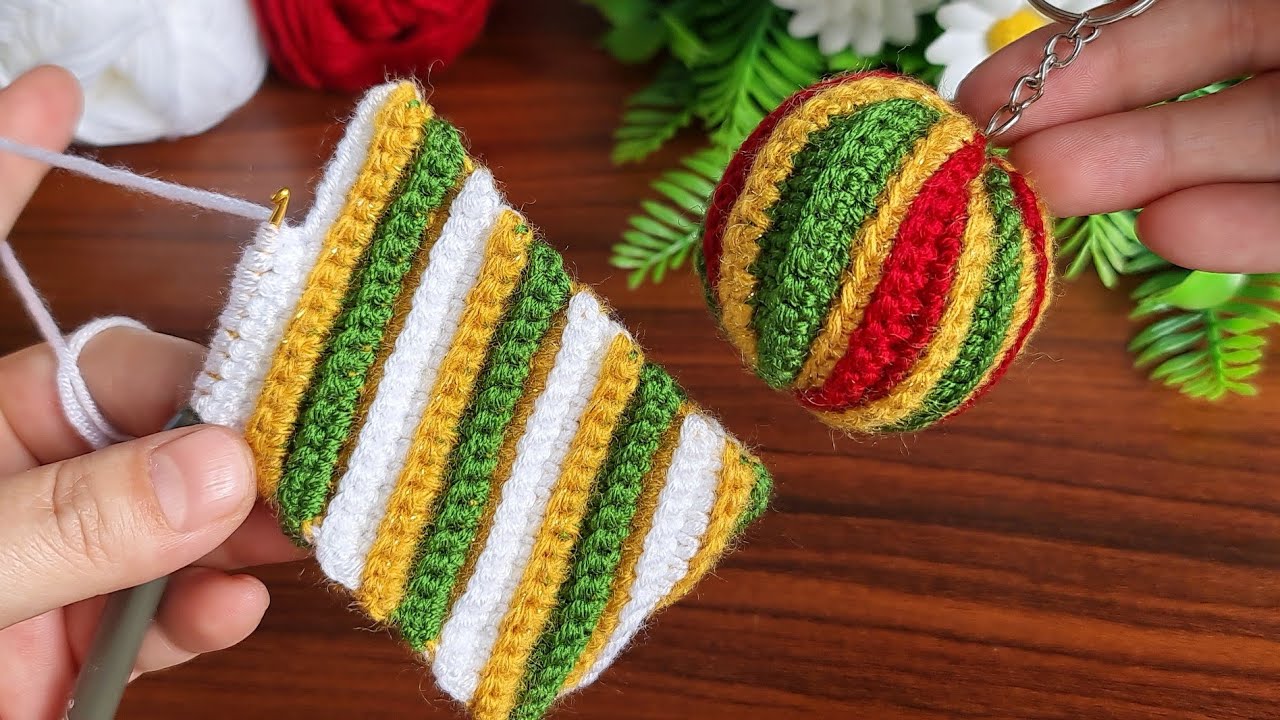
by Crocheting Christmas ball ornaments is a charming and personal way to add handmade warmth to your holiday decorations! They’re quick to make, use very little yarn, and are perfect for beginners looking to create festive items. You can make them in traditional red and green, sparkly metallics, or any color that matches your holiday theme.
For Christmas ornaments, acrylic yarn is a popular choice because it’s affordable, comes in a huge range of festive colors (including glitter varieties), and is durable. Cotton yarn also works well for a more natural, defined stitch look. Given the time of year, warmth isn’t a concern, so you have a lot of flexibility with yarn choice.

How to Crochet Christmas Ball Ornaments (Basic Pattern for Beginners)
This pattern creates a simple, solid crocheted sphere. You’ll work in continuous rounds, much like the crown of a hat, then decrease to close the ball shape.
1. Essential Materials You’ll Need
- Yarn:
- Worsted Weight (Aran / Medium / Category 4) Yarn: Choose festive colors like red, green, white, gold, or silver. You’ll need very small amounts per ornament (great for scrap yarn!).
- Crochet Hook:
- A 3.5mm (US E/4) or 4.0mm (US G/6) hook. The key is to use a hook size that creates a tight fabric with no visible gaps, so your stuffing doesn’t show through. If your stitches are naturally loose, go down a hook size.
- Scissors: For cutting yarn.
- Yarn Needle (Tapestry Needle): Essential for weaving in ends and closing the ornament.
- Stuffing:
- Polyester Fiberfill (Poly-fil): Standard stuffing for amigurumi.
- Yarn Scraps: A great eco-friendly option for stuffing small items like ornaments! Just make sure they’re chopped into small pieces so the ornament fills evenly.
- Stitch Marker (Highly Recommended!): To mark the beginning of each round, as you’ll be working in continuous spirals.
- Optional:
- Small Ribbon or Cord: For hanging the ornament.
- Beads, Glitter Glue, Small Appliqués: For decoration.
2. Basic Crochet Stitches You’ll Use
This pattern uses fundamental crochet stitches:
- Magic Ring (MR) / Adjustable Ring: (Highly Recommended!) Creates a tight, hole-free center. Alternatively, you can
ch 2, then work all stitches of Round 1 into the 2nd ch from the hook. - Chain (ch): For starting.
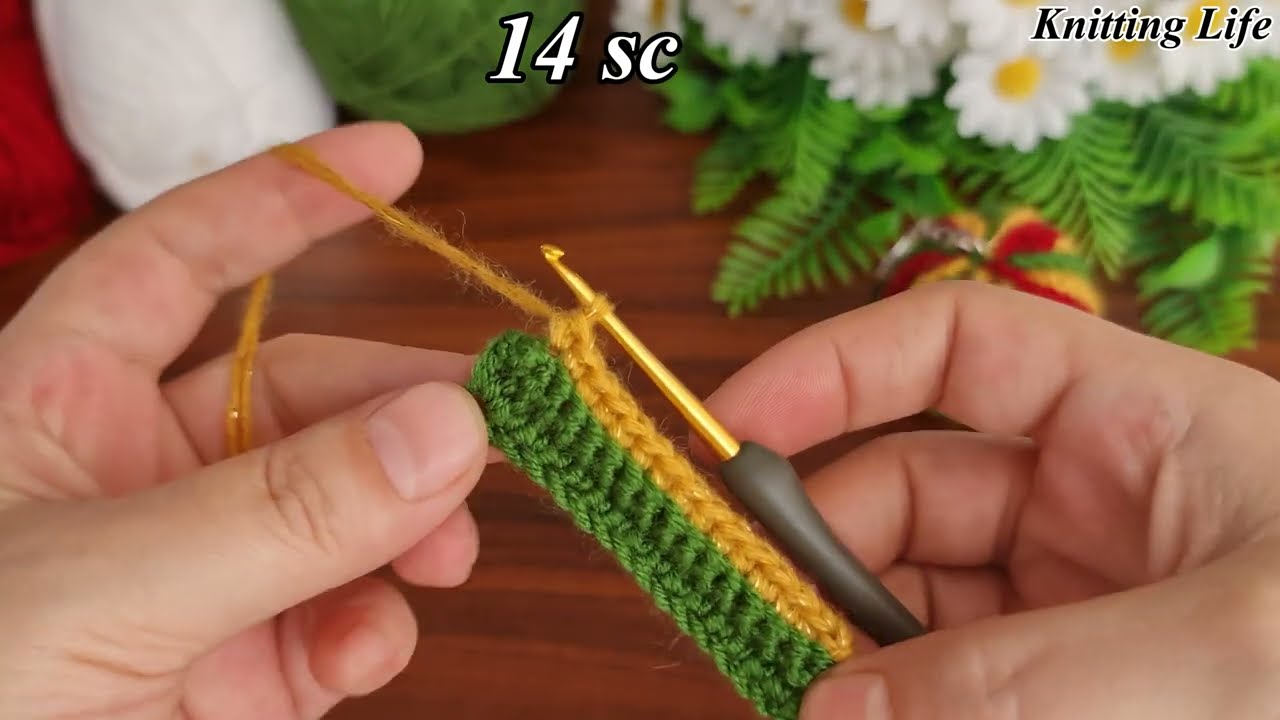
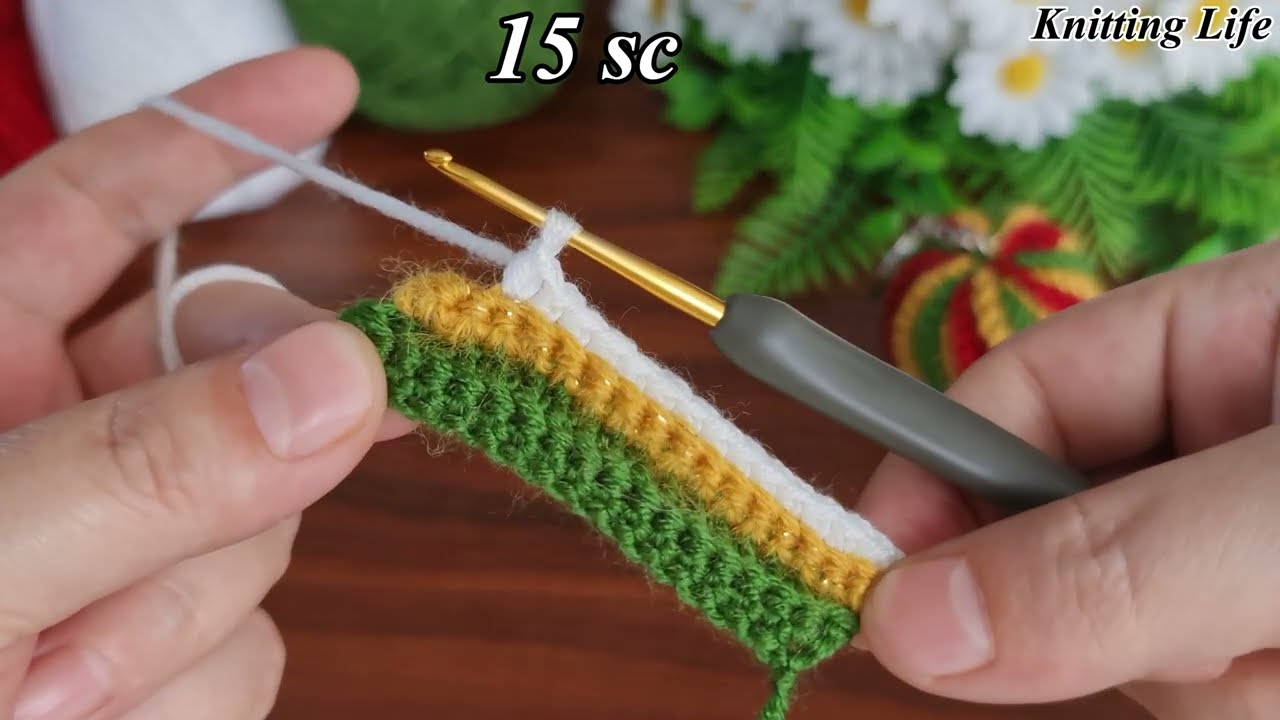
- Single Crochet (sc): This will be your primary stitch, creating a dense fabric.
- Increase (inc): Working 2 sc into the same stitch to add stitches.
- Decrease (sc2tog): Working 2 sc stitches together into one to reduce stitches.
- Working in Rounds (Continuous/Spiral): You’ll build the ball from the top down in a continuous spiral, which creates a seamless look.
- Fasten Off: To securely end your work.
- Weaving in Ends: Hiding yarn tails for a neat finish.
Crochet Christmas Ball Ornament Pattern
This pattern creates an ornament about 2-2.5 inches (5-6.5 cm) in diameter, a common size for tree decorations.
Abbreviations (US Crochet Terms):
- MR: Magic Ring
- ch: chain
- sc: single crochet
- st(s): stitch(es)
- inc: increase (work 2 sc into the same stitch)
- sc2tog: single crochet 2 together (decrease)
(...): work stitches into the same stitch or space[...]: repeat instructions in brackets- FO: Fasten off
Part 1: Forming the Ball (Working in Rounds)
- Round 1: Create a MR. Ch 1. Work 6 sc into the MR. (6 sc)
- Place your stitch marker in the first sc you made. You will move this marker up to the first stitch of each new round.
- Round 2: Inc in each st around. (12 sc)
- Round 3:
*Sc in the next st, inc in the next st.*Repeat from*to*around. (18 sc) - Round 4:
*Sc in the next 2 sts, inc in the next st.*Repeat from*to*around. (24 sc) - Round 5:
*Sc in the next 3 sts, inc in the next st.*Repeat from*to*around. (30 sc)- You now have the widest part of your ball. For a smaller ornament, you can stop increasing here or at Round 4.
- Rounds 6-8 (Straight Sides): Sc in each st around. (30 sc)
- Work these rounds to create the body of the ball without increasing or decreasing. If you made a smaller ball in previous steps, adjust the number of straight rounds accordingly.
- Round 9 (Start Decreasing):
*Sc in the next 3 sts, sc2tog over the next 2 sts.*Repeat from*to*around. (24 sc) - Round 10:
*Sc in the next 2 sts, sc2tog over the next 2 sts.*Repeat from*to*around. (18 sc)- Time to Stuff! At this point, the opening is still large enough to comfortably stuff your ornament. Firmly stuff your ball with polyester fiberfill or yarn scraps. Make sure it’s evenly filled to create a smooth, round shape. Don’t overstuff to the point of distorting stitches, but don’t under-stuff either!
- Round 11:
*Sc in the next st, sc2tog over the next 2 sts.*Repeat from*to*around. (12 sc) - Round 12:
*Sc2tog over the next 2 sts.*Repeat from*to*around. (6 sc)

Part 2: Closing and Finishing the Ornament
- Fasten Off: Cut your yarn, leaving a long tail (about 8-10 inches / 20-25 cm).
- Close the Hole: Thread the yarn tail onto your yarn needle.
- Insert the needle under the front loop only (FLO) of each of the remaining 6 stitches.
- Pull the yarn tail tight. This will gather the stitches and close the hole.
- Secure and Weave In: Push the needle through the center of the ball to the opposite side. Pull firmly (but not so hard you distort the shape) to ensure the hole is tightly closed. Make a small knot to secure, then weave the remaining tail through the inside of the ball and trim any excess.
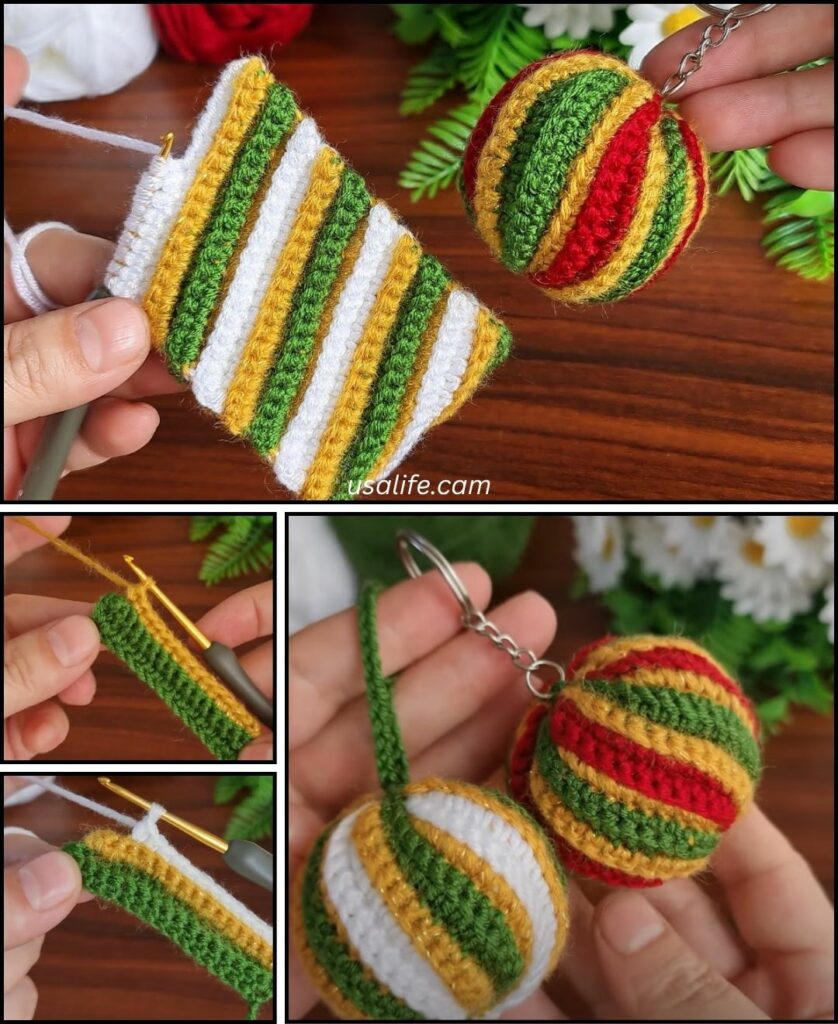
Part 3: Adding a Hanger
- Simple Loop:
- Cut a piece of yarn (same color or contrasting) about 6-8 inches long.
- Fold it in half to form a loop.
- Using your yarn needle, thread the two ends of the loop through the top of your ornament (where you closed the hole).
- Tie the ends securely in a knot. Trim excess.
- Ribbon or Cord:
- Cut a piece of ribbon or decorative cord about 6-8 inches long.
- Tie the ends together in a secure knot to form a loop.
- Attach it to the top of your ornament with a yarn needle, or by simply looping it through a stitch and securing it.
4. Customization and Decoration Ideas
- Stripes/Color Blocks: Change colors every few rounds to create striped ornaments.
- Embroidery: After the ball is finished, use contrasting yarn to embroider snowflakes, stars, polka dots, or initials onto your ornament.
- Beads/Sequins: Sew small beads or sequins onto the surface of the ball for extra sparkle.
- Glitter Glue: Outline patterns or add festive shimmer with glitter glue.
- Felt Appliqués: Cut small shapes from felt (stars, trees, candy canes) and hot glue or sew them onto the ornament.
- Different Stitches: Once you’re comfortable, experiment with other stitches like half double crochet (hdc) or even bobble stitches for texture (you’d need to adjust the pattern’s increase/decrease rate).
- Size Variation: To make larger or smaller ornaments, simply add or remove increase/decrease rounds from the pattern. Maintain the same increase/decrease rate (e.g., always increase by 6 stitches per round, or decrease by 6 stitches per round).
You’re now ready to crochet your own festive and unique Christmas ball ornaments! They make wonderful gifts too. Happy crocheting!