 by
by Gemini said
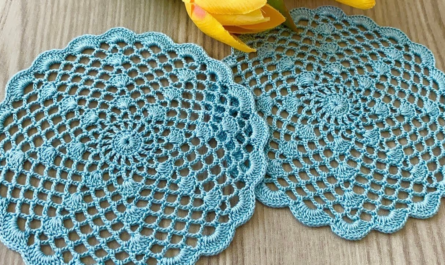
This Raised Pineapple Hexagon is a true “chameleon” pattern. Because it utilizes a modular hexagon shape rather than a square, it creates a much more fluid, organic drape that is perfect for a summer blouse, yet stays perfectly flat for a formal table runner.
The “pineapple” stitch is a vintage classic, but we are going to add a 3D relief by working stitches into the front posts, giving it a modern, architectural “pop.”

🧶 The Dual-Purpose Toolkit
Since this motif needs to work for both home decor and clothing, your yarn choice is the most important decision you’ll make.
| Material | Recommendation | Why? |
| Yarn | Mercerized Cotton or Linen Blend (Sport Weight) | It has the “heaviness” needed to lay flat on a table, but the “breathability” needed for a blouse. |
| Hook | 3.5 mm (E/4) | A slightly smaller hook keeps the lace from becoming too “floppy.” |
| Notions | 6 Stitch Markers | Essential for marking the 6 corners of the hexagon. |
Stitch Key (US Terms)
- ch / sl st: Chain / Slip Stitch.
- dc: Double Crochet.
- tr: Treble Crochet.
- fpdc (Front Post Double Crochet): Work a dc by inserting the hook around the “post” of the stitch from the front.
- V-Stitch: (dc, ch 2, dc) in the same space.
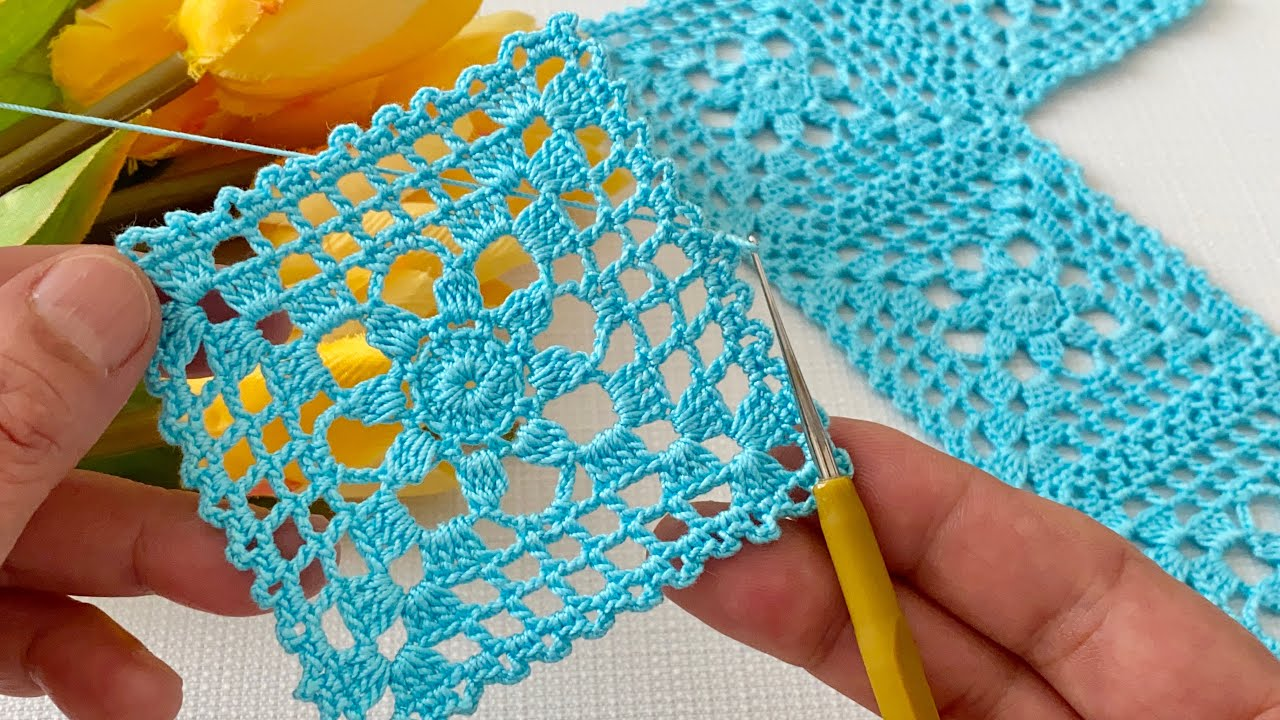
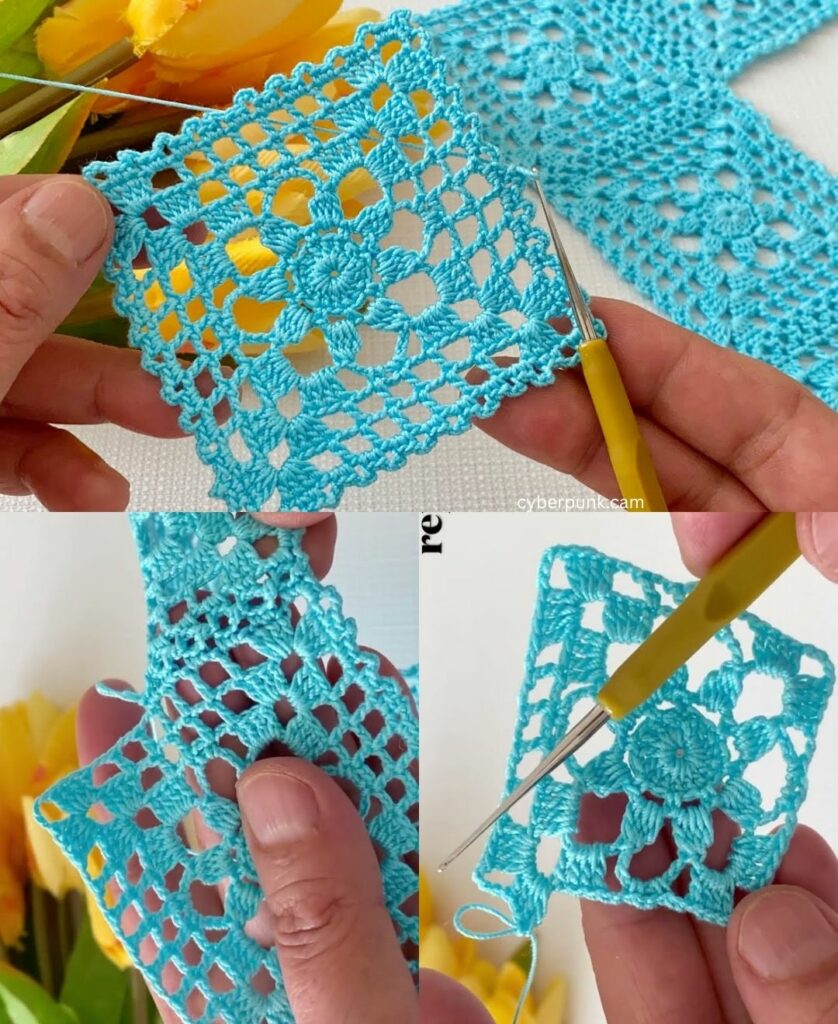
🛠 Step-by-Step: The Raised Pineapple Hexagon
Round 1: The Core
- Start: Make a Magic Ring.
- Stitches: ch 3 (counts as dc). Work 17 dc into the ring.
- Join: sl st to the top of the ch 3. (18 dc total).
Round 2: Setting the 6 Corners
- Pattern: ch 4 (counts as dc + ch 1). Work 1 dc in next stitch, ch 1. Repeat 17 times.
- Join: sl st to the 3rd chain.
Insight: You now have a “spoked wheel.” This foundation allows the pineapple “fans” to grow.

Round 3: The Pineapple Base
- Move: sl st into the first ch-1 space.
- The Fan: ch 3, 2 dc in the same space. ch 2. Skip 2 spaces.
- Repeat: Work 3 dc in the next ch-1 space, then ch 2.
- Result: You will have 6 clusters of 3-dc. These are the bases of your 6 pineapples.
Round 4: The 3D Relief
- Pattern: In each 3-dc cluster, work: (1 dc, 1 fpdc in the middle stitch, 1 dc).
- Transition: ch 3 between clusters.
- Why? The fpdc pushes the center of the pineapple forward, creating that beautiful 3D texture the user summary mentions you enjoy.
Round 5: Squaring the Hexagon
- Corner: In the ch-3 spaces from the previous round, work: (2 dc, ch 2, 2 dc).
- Side: ch 1, work 3 dc into the top of the pineapple peak. ch 1.
- Finish: sl st to join.

📐 Transforming the Motif: Runner vs. Blouse
The beauty of a hexagon is in the tessellation (how they fit together).
For a Runner:
Join the hexagons in a straight line, two or three wide.
- The Math: To find the total length (L) for a table:L=(Number of Hexagons)×(Width of 1 Hexagon)×0.866(The 0.866 accounts for the “nesting” of the hexagon points).
For a Blouse:
Join the hexagons to create two large rectangles (Front and Back).
- The “Unique” Trick: Leave the top two hexagons unjoined to create a “Boat Neck” opening. Join the sides, leaving a gap for the armholes. Because hexagons have angled sides, the “underarm” fit is much more comfortable than a standard square.
💡 Gemini’s Peer-to-Peer Secrets
- The “Anti-Stretch” Join: For a blouse, use a Whip Stitch through the back loops only. This provides a “stretchier” seam that moves with your body. For a runner, use a Flat Slip Stitch Join to ensure the table surface remains perfectly level.
- The “Linen Look”: If you want a more high-end, “boutique” feel, use a Linen-Cotton blend. It starts a bit stiff (great for runners) but becomes incredibly soft and draped after the first wash (perfect for blouses).
- Blocking is a Requirement: Pineapple motifs tend to “scrunch” up while you’re working. Pin your hexagons to a foam board and use a steamer. This “opens” the lace and reveals the intricate 3D detail.
Would you like me to create a “Joining Diagram” showing how to arrange these hexagons to form a classic Summer Tunic?