 by
by To make a crochet motif “extraordinary,” we have to move beyond the flat, traditional granny square. We need depth, texture, and architectural “squaring” techniques.
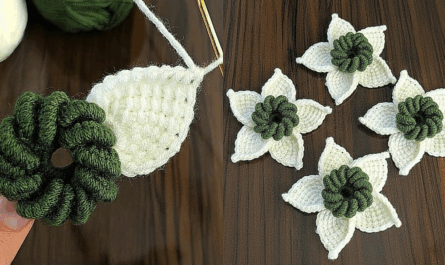
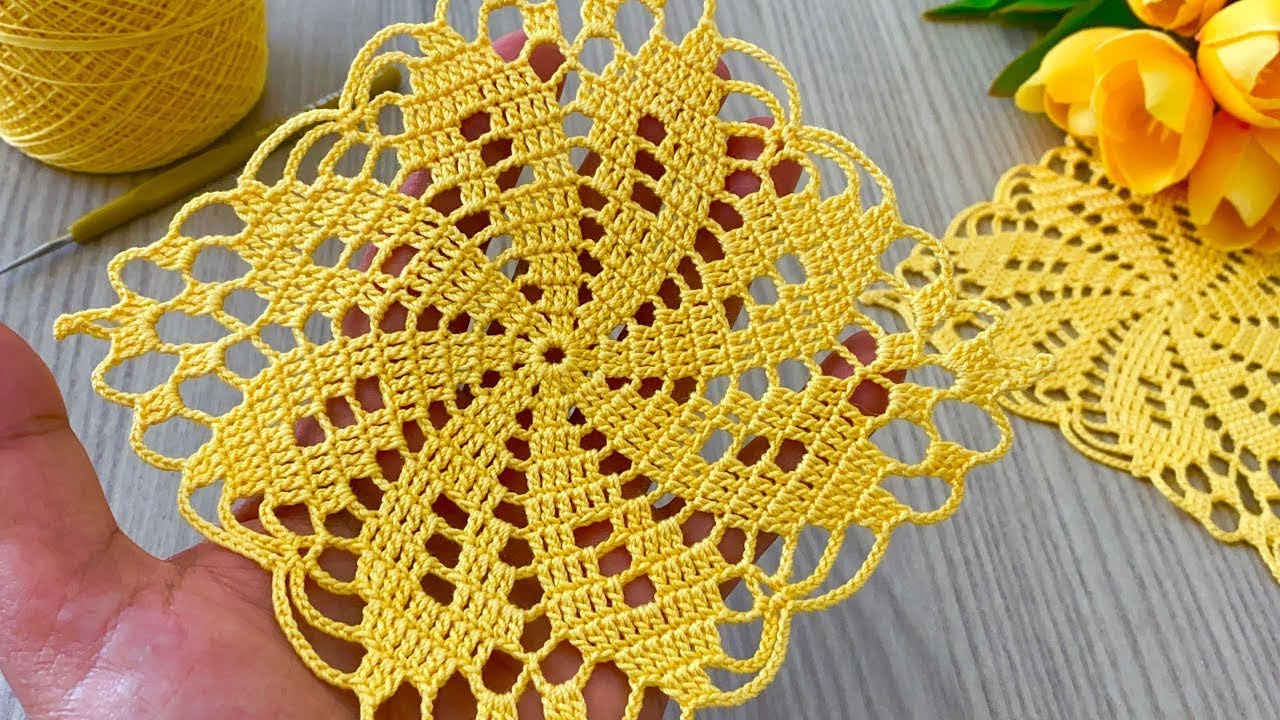
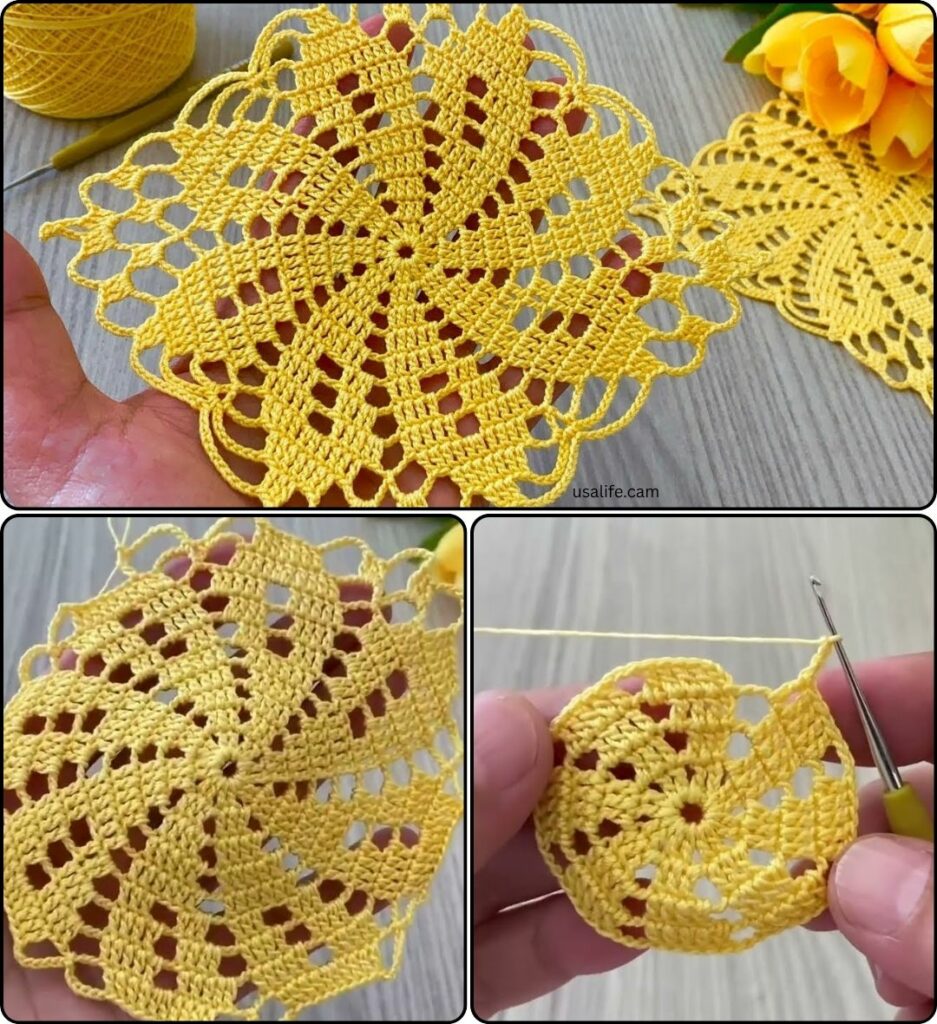
This pattern is for the “3D Lotus-Heart Square.” It features a raised floral center that blooms outward into a crisp, professional square. It is perfect for high-end blankets, decorative pillows, or even the center back of a bohemian blouse.
Phase 1: Preparation & Special Stitches
Before we pick up the hook, let’s define the “Extraordinary” stitches we will use. These create the 3D effect.
Materials Needed
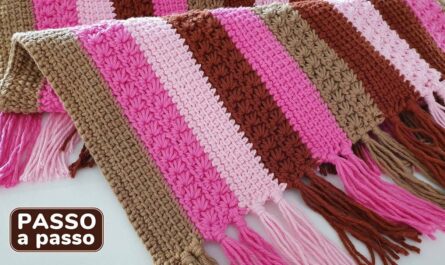
- Yarn: Two contrasting colors (Color A for the flower, Color B for the frame).
- Hook: One size smaller than your yarn recommends (this keeps the 3D stitches “perky” and firm).
- Terminology: US Terms.
Special Stitch Definitions
- Popcorn Stitch (PC): Work 5 DC into the same stitch. Drop the loop from the hook. Insert hook into the first DC made, grab the dropped loop, and pull it through.
- Front Post Double Crochet (FPDC): Instead of the top “V,” wrap your hook around the post (the vertical body) of the stitch from the front. This creates a raised ridge.
- Standing Stitch: Starting a round with a fresh slip knot on your hook rather than joining with a slip stitch. It makes the start of the round invisible.

Phase 2: The Pattern (Step-by-Step)
Round 1: The Golden Core (Color A)
- Start with a Magic Ring.
- Ch 2 (counts as first HDC), work 11 HDC into the ring.
- Sl st to the top of the ch-2 to join.Result: 12 stitches. This is the flat center.
Round 2: The Petal Foundation
- Ch 1. In the same stitch, work (1 SC, ch 2).
- Repeat (1 SC, ch 2) in every stitch around.
- Sl st to the first SC to join.Result: 12 tiny ch-2 loops. This creates the “anchor” for the 3D bloom.
Round 3: The 3D Bloom (The Extraordinary Part)
- Sl st into the first ch-2 loop.
- Work a Popcorn (PC) into every ch-2 loop, separating each PC with a Ch 3.
- Sl st to the top of the first PC to join. Fasten off Color A.Visual Check: You should now have a 12-petaled 3D flower that sits off the surface.

Round 4: Transitioning to the Frame (Color B)
Attach Color B to any ch-3 space between the petals.
- Ch 3 (counts as DC). Work 2 more DC in the same space.
- Work 3 DC in every ch-3 space around.
- Sl st to join.Note: Your work will look like a wavy circle now. Don’t panic—the next round turns it into a square.
Round 5: Squaring the Circle
We use different stitch heights to “stretch” the corners.
- Corner 1: Ch 4 (counts as Tr). In the same stitch, work (2 Tr, ch 2, 3 Tr).
- Side:
- 3 DC in the next space.
- 3 HDC in the next space.
- 3 DC in the next space.
- Corner 2: In the next space, work (3 Tr, ch 2, 3 Tr).
- Repeat the side and corner sequence around.
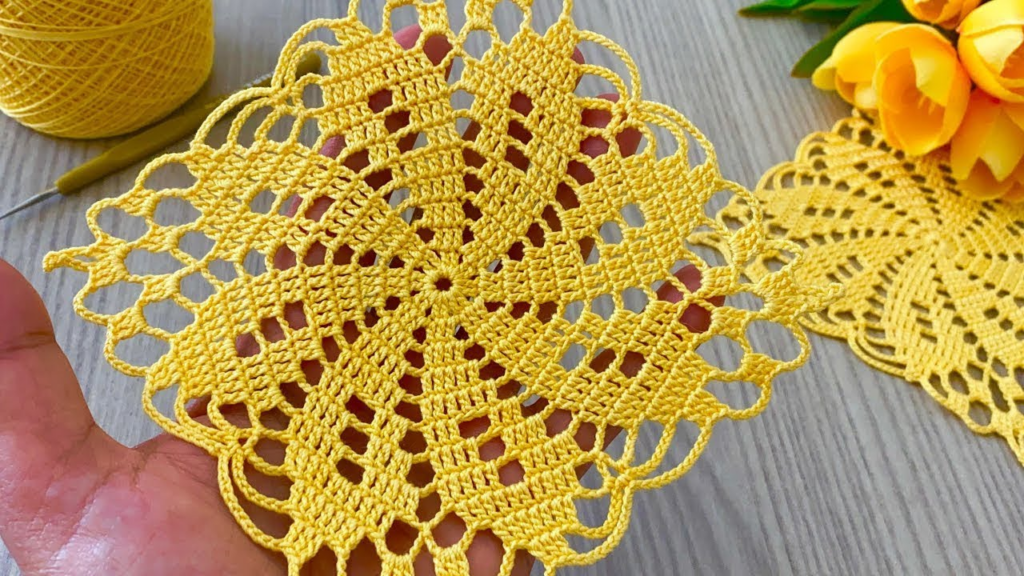
- Sl st to join.Total: You now have 4 distinct corners and flat sides.
Round 6: The Architectural Finish
- Ch 1. SC in every stitch across the sides.
- When you reach the DC stitches from the previous round, work them as FPDC (Front Post Double Crochet) instead.
- In Corners: Work (2 SC, ch 2, 2 SC).
- Sl st to join. Fasten off.

Phase 3: Why This Design Works
| Feature | Extraordinary Impact |
| Popcorn Center | Adds a tactile, luxury feel that “pops” out of the blanket. |
| FPDC Border | The relief stitches in the final round create a “frame” that looks like carved wood or stone. |
| Color Contrast | By using a dark “Frame” color and a bright “Flower” color, the snowflake-like center looks illuminated. |
Phase 4: Expert Tips for “Detail and Detail”
- The “Invisible” Join: When you finish the very last round, don’t sl st. Cut the yarn, pull the tail through, and use a tapestry needle to mimic the “V” of the first stitch. This makes the square look perfectly seamless.
- Blocking for Precision: Because 3D stitches (Popcorns) pull the fabric inward, your square might look a bit “shrunken.” Wet block it. Pin the four corners to a board, spray with water, and let it dry. It will double the “Extraordinary” factor instantly.
- The Weight Factor: If using this for a blouse, use a bamboo blend yarn. It provides the drape needed so the 3D popcorns don’t make the garment feel too heavy or stiff.
This motif is a showstopper. Would you like to know how to connect these squares using a “Flat Braid Join” to keep the texture consistent?