 by
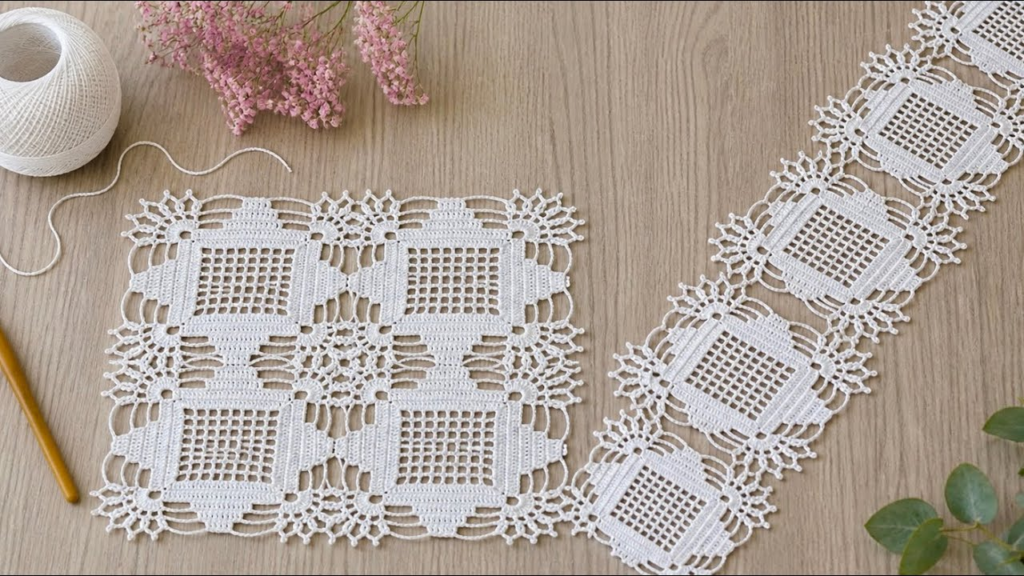
by Since you’re looking for “detail and detail,” let’s move past the basic granny square and dive into the “Sunburst Solid Square.” This motif is a crowd-favorite because it has a gorgeous circular center that magically transforms into a crisp, sturdy square.
It’s perfect for blankets, bags, or even joined together for a boho-style vest.
Phase 1: The Tool Kit & Terms
Before we loop our first stitch, let’s get the logistics out of the way.
Materials
- Yarn: A Medium Weight (Worsted) cotton or acrylic works best for definition.
- Hook: 5.0mm (H) hook.
- Extras: A tapestry needle (for those pesky ends) and sharp scissors.
Abbreviations (US Terms)
- MR: Magic Ring (or “Magic Circle”)
- ch: chain
- sl st: slip stitch
- sc: single crochet
- hdc: half double crochet
- dc: double crochet
- tr: treble crochet (the “corner-maker”)

Phase 2: The Step-by-Step Pattern
We will build this in 4 distinct rounds. Think of it as growing a flower and then putting it in a picture frame.
Round 1: The Core
- Start: Make a MR. (If you hate Magic Rings, Ch 4 and sl st to the first chain to make a circle).
- Inside the ring: Ch 2 (counts as 1st dc). Work 11 dc into the ring.
- Close: Pull the tail to tighten the ring. Sl st to the top of your Ch-2 to join.Stitch Count: 12 dc.
Round 2: The Expansion
- Increase: Ch 2. Work 1 dc in the same stitch you just joined into.
- Continue: Work 2 dc in every stitch around.
- Close: Sl st to the top of the Ch-2 to join.Stitch Count: 24 dc. (Your circle should stay perfectly flat).

Round 3: Squaring the Circle
This is where the magic happens. We use different stitch heights to “stretch” the circle into four corners.
- Corner 1: Ch 4 (counts as 1st tr). In the same stitch, work (2 tr, ch 2, 3 tr). You’ve just made your first corner.
- First Side:
- Ch 1, skip 1 stitch.
- Work 3 dc in the next stitch.
- Ch 1, skip 2 stitches.
- Work 3 hdc in the next stitch.
- Ch 1, skip 2 stitches.
- Work 3 dc in the next stitch.
- Ch 1, skip 1 stitch.
- Corner 2: In the next stitch, work (3 tr, ch 2, 3 tr).
- Repeat: Follow the “Side” and “Corner” pattern until you’ve worked all 4 sides.
- Close: Sl st to the top of the starting Ch-4.
Round 4: The Solid Frame
This round makes the motif “extraordinary” by giving it a clean, professional edge for joining.
- Start: Ch 2 (counts as dc).
- Sides: Work 1 dc in every stitch and 1 dc in every Ch-1 space across the side.
- Corners: When you reach the Ch-2 corner space, work (2 dc, ch 2, 2 dc) inside that hole.
- Finish: Work all the way around. Sl st to the starting Ch-2. Fasten off.

Phase 3: The “Pro-Level” Details
If you want your squares to look like they came from a high-end boutique, don’t skip these two things:
1. The Invisible Join
When you finish your final round, don’t just tie a knot. Cut your yarn, pull the loop all the way through, and use your tapestry needle to “sew” a fake stitch over the top of your first stitch. It makes the edge 100% seamless—no one will know where you started.
2. Blocking is Your Best Friend
Crochet motifs often have a bit of a “personality” (meaning they might curl slightly).
- Get a foam board and some pins.
- Pin your square down so the edges are perfectly straight and the corners are sharp 90-degree angles.
- Give it a light mist of water and let it dry overnight.
- Result: Perfectly uniform squares that are much easier to sew together.
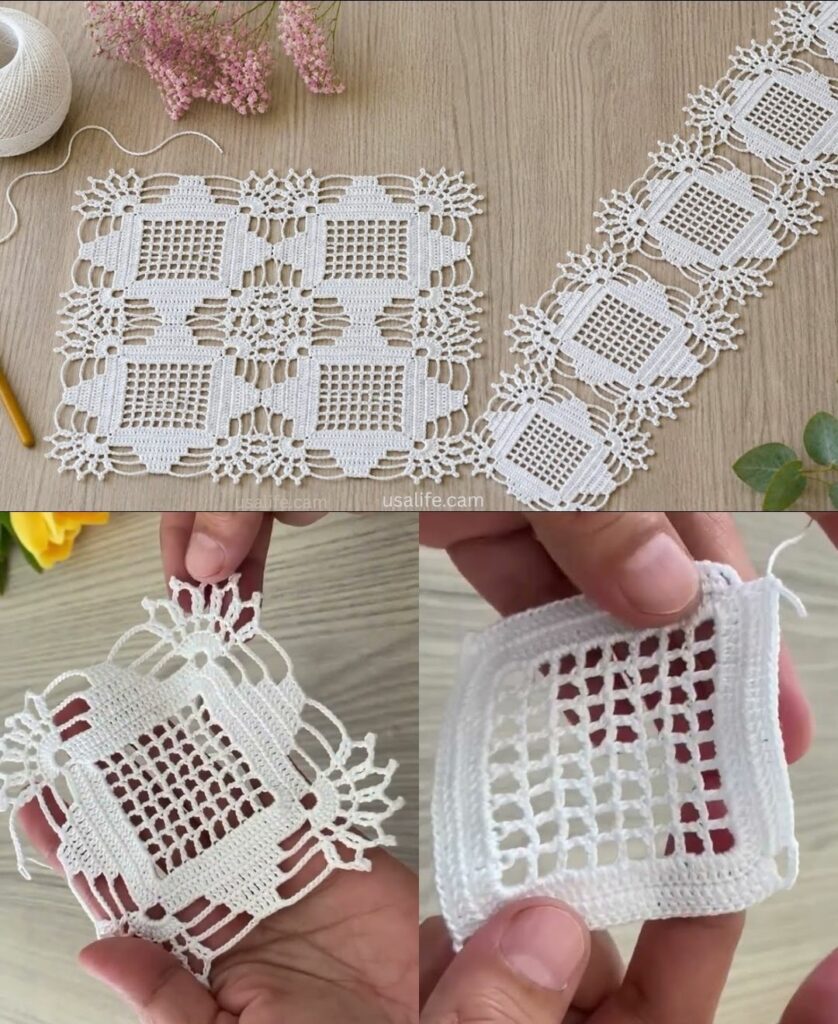
Why this Square works for Everything
- For Blankets: It’s thick and warm.
- For Blouses: Use a lighter yarn (size 3) and a 3.5mm hook for a delicate, lacy look.
- For Runners: The solid Round 4 ensures that when you join them, the runner stays flat and doesn’t “stretch out” on your table.
Now that you have the motif down, are you planning on joining these as you go, or do you prefer to crochet all your squares first and sew them together at the end?