 by
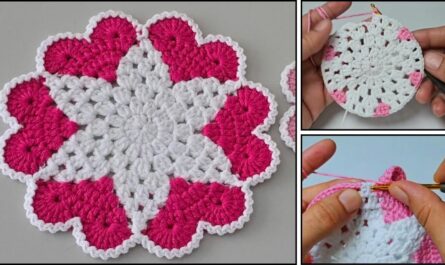
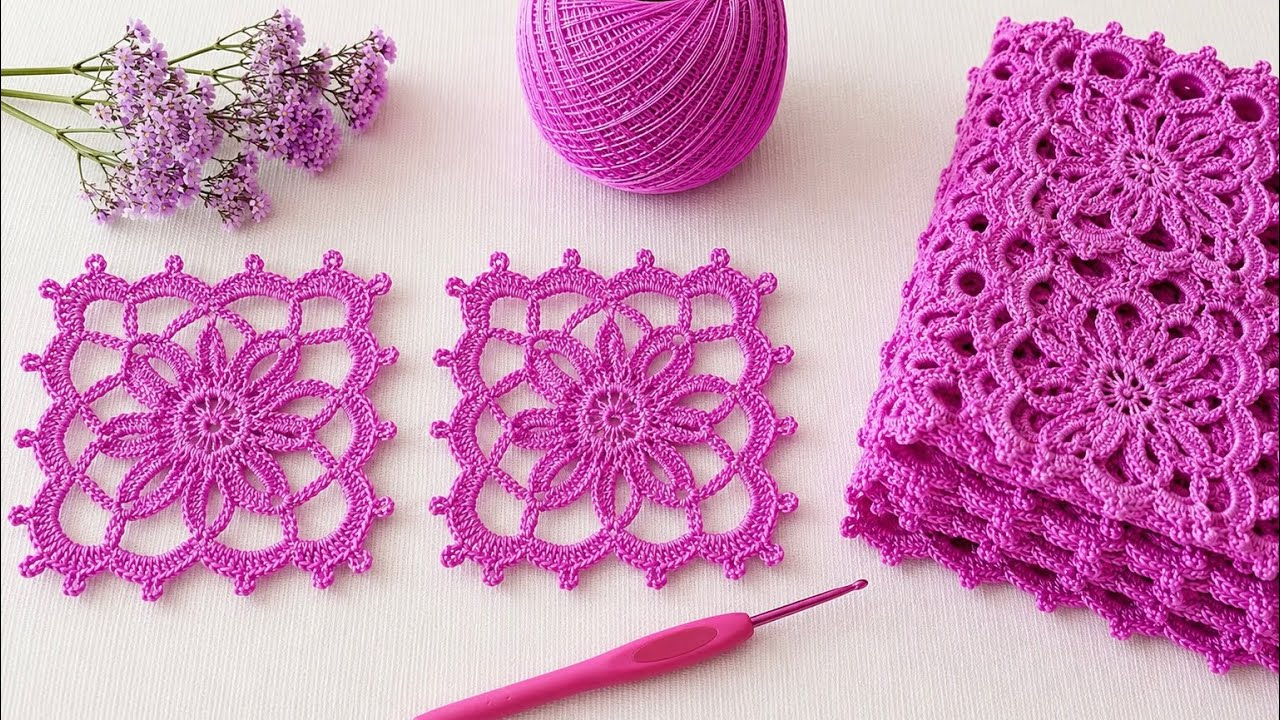
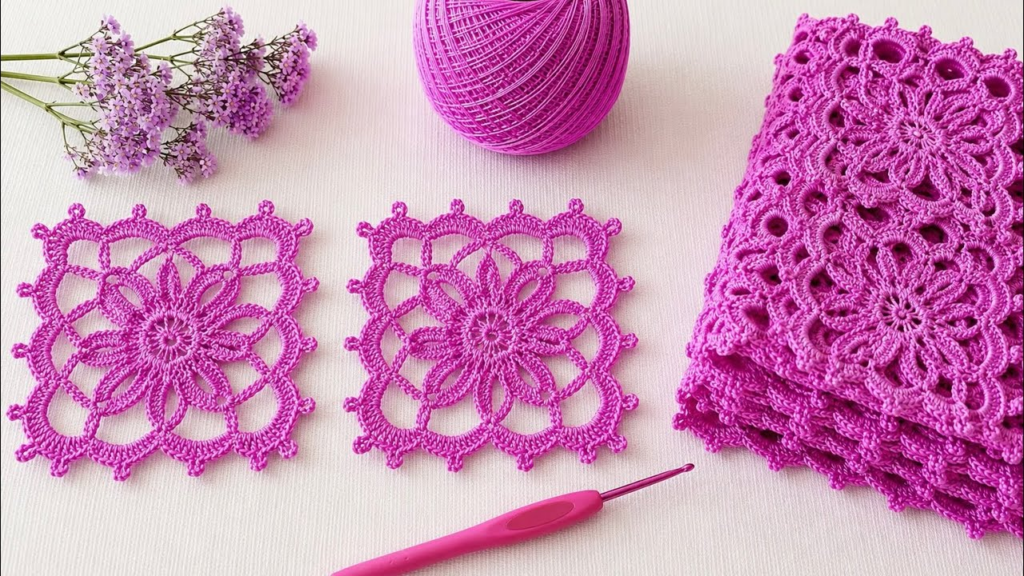
by If you’re looking for a motif that goes beyond the basic “hole-y” granny square and moves into something more elegant and professional, you want the Victorian Garden Square. This motif features a textured, floral-style center that transitions into a solid, sturdy frame—making it perfect for everything from heirloom blankets to high-end blouses.
I. Preparation & Technical Specs
Before you pick up the hook, let’s ensure the “foundation” is solid.
Materials Needed
- Yarn: For best results, use a DK weight (Light 3) cotton or bamboo blend for a blouse, or Worsted weight (4) acrylic for a blanket.
- Hook: $4.0\text{mm}$ (G) or $5.0\text{mm}$ (H) depending on your yarn choice.
- Notions: Tapestry needle and sharp scissors.
Abbreviations (US Terms)
- MR: Magic Ring
- ch: chain
- sl st: slip stitch
- sc: single crochet
- dc: double crochet
- tr: treble crochet (for corner height)
- fpdc: front post double crochet (for texture)

II. The Step-by-Step Pattern
Round 1: The Seed (The Core)
- Start with a Magic Ring. (If you’re a beginner and the MR feels like dark magic, ch 4 and sl st to the first ch).
- Ch 3 (counts as your first dc).
- Work 11 dc into the ring.
- Pull the tail tight and join with a sl st to the top of the ch-3.
Total Stitch Count: 12 dc.
Round 2: The Bloom (Expansion)
- Ch 2 (does not count as a stitch).
- Work 2 dc in every stitch around.
- Sl st to the first dc to join.

Total Stitch Count: 24 dc. (Your circle should be perfectly flat and look like a small coin).
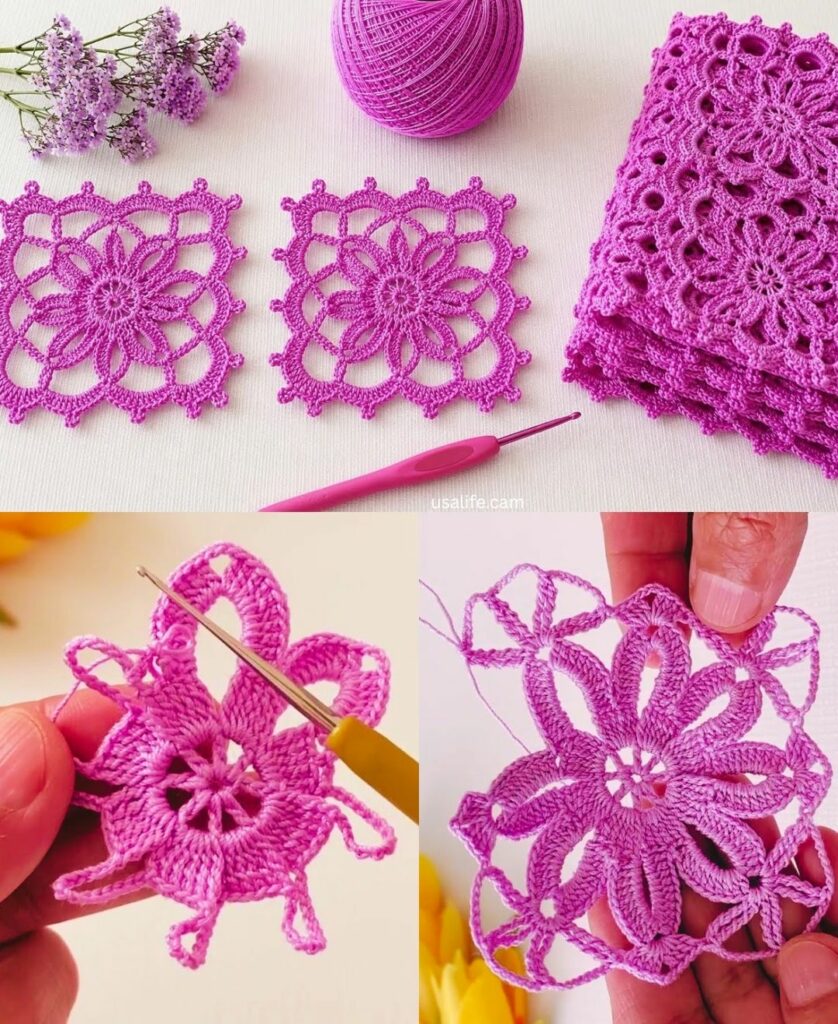
Round 3: The Petal Texture
This round uses the fpdc to create a raised, 3D effect.
- Ch 2.
- Work 1 dc in the next stitch, then 1 fpdc around the post of the same stitch.
- Repeat from * to * all the way around.
- Sl st to join.
Note: This creates a “ribbed” look that makes the motif look expensive. It creates a total of 48 stitches.
Round 4: Squaring the Circle
This is the most critical round. We use varying stitch heights to create the 90-degree corners.
- Corner 1: Ch 4 (counts as tr). In the same stitch, work (2 tr, ch 2, 3 tr).
- Side 1:
- Ch 1, skip 2 stitches.
- 3 dc in the next stitch.
- Ch 1, skip 2 stitches.
- 3 hdc in the next stitch.
- Ch 1, skip 2 stitches.
- 3 dc in the next stitch.
- Ch 1, skip 2 stitches.
- Corner 2: In the next stitch, work (3 tr, ch 2, 3 tr).
- Repeat the side and corner sequence around until you reach the start.
- Sl st to join.

Round 5: The Finishing Frame
- Ch 2.
- Work 1 dc in every stitch and 1 dc in every ch-1 space across the sides.
- In Corners: Work (2 dc, ch 2, 2 dc) in the corner space.
- Sl st to join. Fasten off and weave in ends.
III. How to Scale for All Projects
The beauty of this specific motif is the Stitch Multiple. To calculate how many squares you need for your project, use this simple formula:
$$\text{Squares Required} = \frac{\text{Total Area (Width} \times \text{Length)}}{\text{Area of One Motif}}$$
1. For Baby Blankets
Use pastel colors and join the squares using a Single Crochet Join on the outside of the work. This creates a raised ridge that babies love to touch for sensory play.
2. For Stylish Blouses
Use a fine-weight cotton thread. Crochet your squares, then block them very strictly. Join them with a Slip Stitch Join on the inside to keep the seams invisible and the drape fluid.
3. For Table Runners
Arrange your motifs in a $1 \times 10$ row. Add a heavy tassel to the four outer corners of the runner to give it weight so it hangs beautifully off the table.
IV. The “Pro-Tip” Detail
Blocking is not optional. Because Round 3 (the fpdc round) adds texture, it can cause the square to “pull” or pucker slightly. To make it look professional:
- Soak the finished squares in room-temp water with a drop of wool wash.
- Pin them to a foam board in a perfect square.
- Let them dry for 24 hours.
- The result: Your squares will be perfectly uniform and snap together like puzzle pieces.
How many of these squares are you planning to make—are we looking at a small accessory or a massive “forever” blanket?