 by
by Making your own unique pattern is the “Master Level” of crochet. It’s the moment you stop following the map and start building the road. To create a design that works for all projects—from a tiny coaster to a floor-length cardigan—you need a Universal Design System.
Here is the detailed breakdown of how to architect your own unique crochet patterns.

1. The Foundation: The “Magic Multiple”
Every unique pattern starts with math. To make a design adaptable, you must determine its stitch multiple. This allows you to scale the project up or down.
- How to do it: Decide on a sequence of stitches (e.g., 2 Double Crochets followed by 1 Puff Stitch).
- The Formula: Count how many stitches are in one “set” of your design. If your design takes 6 stitches to complete, your multiple is 6.
- The Equation: To start your project, your foundation chain must be:$$\text{Chain} = (n \times \text{Multiple}) + \text{Turning Chain}$$(Where $n$ is how many times you want the pattern to repeat).
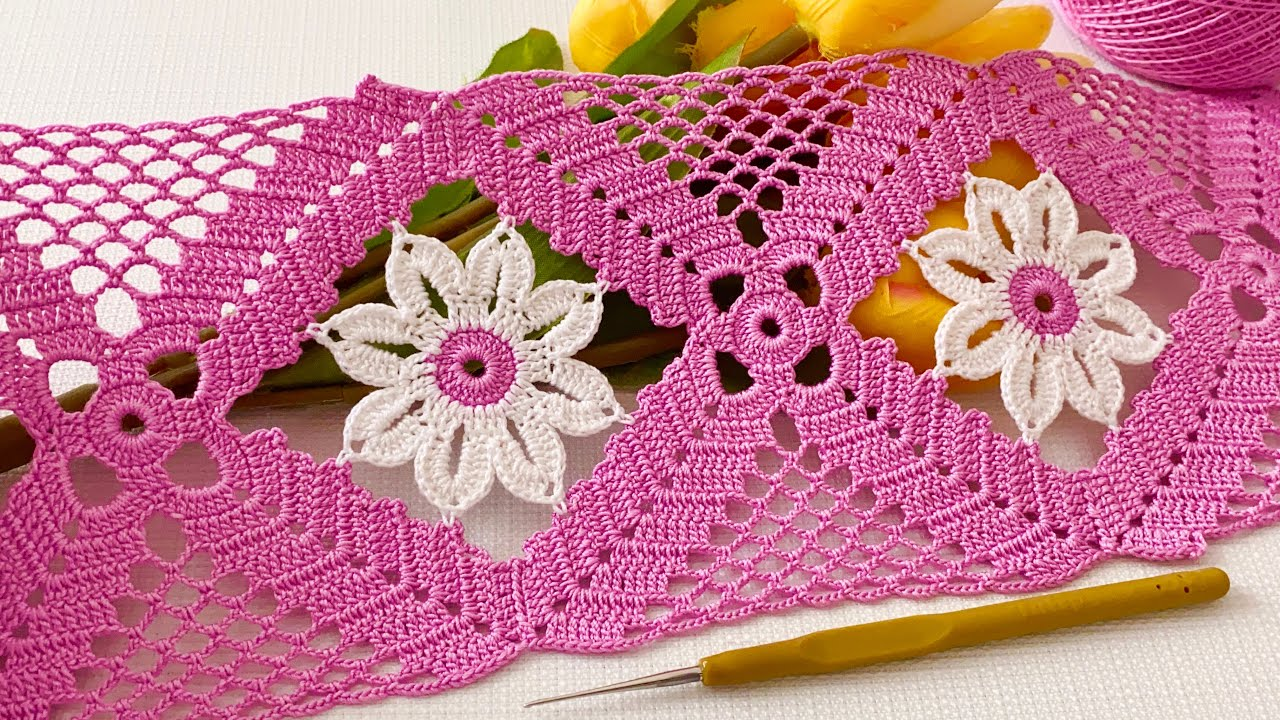
2. The Stitch “Sandwich” (Texture Design)
A unique pattern usually consists of three layers. If you mix these, the design becomes yours alone.
| Layer | Purpose | Examples |
| The Anchor | The “flat” part that gives the project structure. | Single Crochet, Half Double Crochet, Moss Stitch. |
| The Feature | The “star” of the show that adds texture. | Bobbles, Cables, Shells, or Alpine Stitches. |
| The Negative Space | “Holes” that add drape and breathability. | Chain-1 spaces, V-stitches, or Solomon’s Knot. |
The Unique Secret: Combine an Anchor with a Feature in an unusual ratio. For example: 4 rows of flat Moss Stitch followed by 1 row of highly textured Popcorn stitches.

3. The 60-30-10 Color Rule
Borrowed from interior design, this rule ensures your unique pattern looks professional and not “cluttered.”
- 60% Primary Color: Usually a neutral or your favorite main shade (The background).
- 30% Secondary Color: A contrasting color used for stripes or specific motif sections.
- 10% Accent Color: A “pop” color used only for the final border or the very center of a flower.
4. Engineering for “All Projects”
To make your pattern work for everything, you must design it in modules.
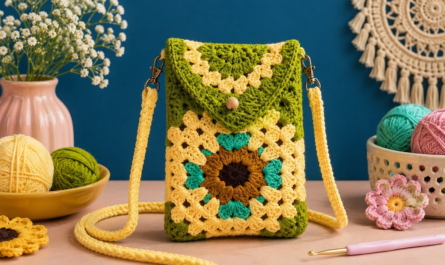
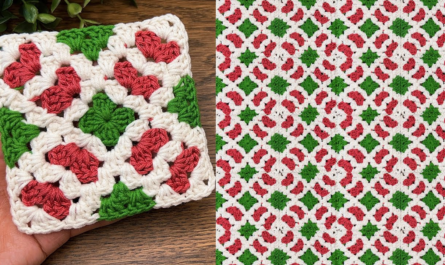
The “Square” Module (For Blankets, Bags, Sweaters)
Design a 6-inch square using your unique stitch.
- Blanket: Join $10 \times 12$ squares.
- Top: Join 2 large rectangles made of these squares.
- Bag: Join 2 squares for the sides and 1 for the bottom.
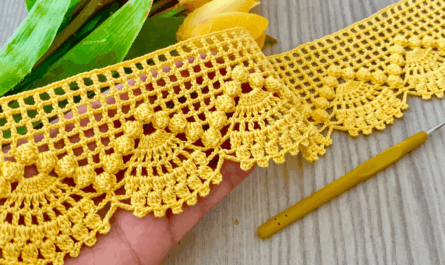
The “Row” Module (For Runners, Scarves, Shawls)
Design a repeatable row.
- Runner: Work the rows until you reach 72 inches.
- Scarf: Work the rows with a thinner yarn and a smaller hook.
- Shawl: Increase by 1 multiple at the start of every row to create a triangle.

5. Adding the “Designer Signature”
What makes a “Unique Pattern” famous is the small, unexpected detail. Choose one:
- The “Reverse” Border: Finish a delicate lace project with a heavy, chunky Crab Stitch (Reverse Single Crochet) border.
- The Hidden Texture: Use a “Back Loop Only” (BLO) technique on every 10th row to create a hidden ridge.
- The Fiber Switch: Start the project with matte cotton and finish the edges with a shiny silk or metallic yarn.
6. Pro-Tip: The Swatch Test
Before starting a full project, always crochet a 10cm x 10cm (4″ x 4″) swatch.
- Wash it: See if the stitches grow or shrink.
- Stretch it: Does the “Unique Pattern” look good when pulled, or does it lose its shape?
Expert Advice: Don’t be afraid of “Frogging” (ripping out your work). Every time you unravel a design that didn’t work, you are actually “debugging” your pattern. That is how the most extraordinary designs are born!
What is the first project you want to apply your new unique design to—a piece of clothing or something for the home?