 by
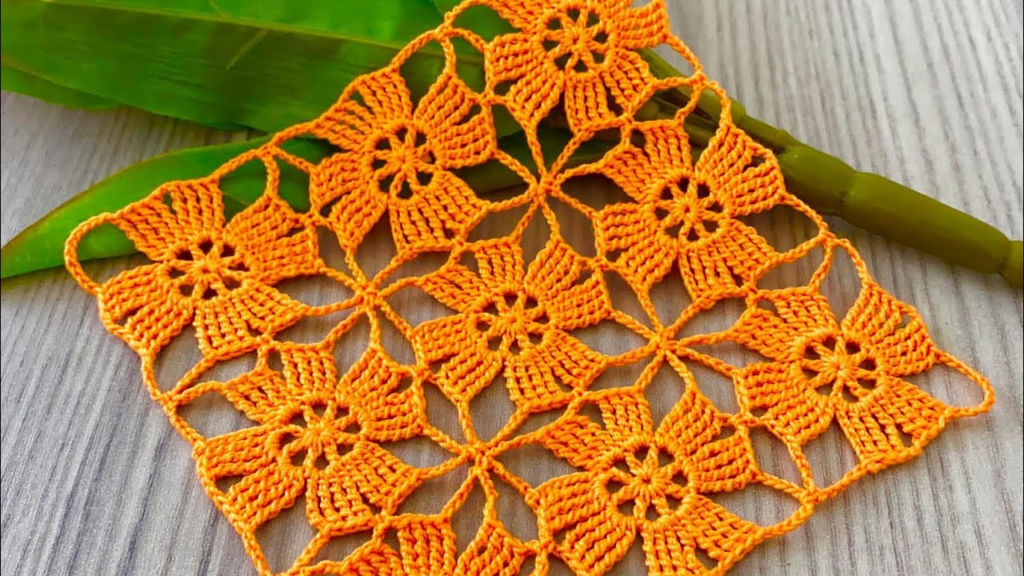
by To master a crochet square motif that works for everything—from structured home decor to soft, wearable apparel—you need a design that balances stability (to keep its shape) with openness (to allow for drape and easy joining).
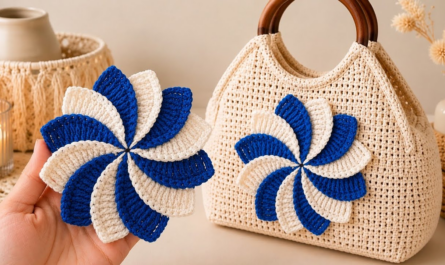
The “Versatile Solid-Center Square” is the gold standard for this. It is elegant enough for a blanket, durable enough for a table runner, and flexible enough to be fashioned into a blouse or bag.
🧶 The Versatile Toolkit
- Yarn: Mercerized Cotton (DK weight). This is the secret to a “multi-purpose” motif. It has a slight, professional sheen, doesn’t stretch out of shape like wool, and is easy to clean.
- Hook: 4.0 mm (G/6). This size creates a tight, professional stitch that won’t have large, unsightly holes.
- Extras: Stitch markers (to keep track of corners).

Stitch Key (US Terms):
- ch: Chain
- sl st: Slip Stitch
- dc: Double Crochet
- Cluster: 3 dc in the same space.
🛠 The “Versatile Classic” Pattern
Round 1: The Core
- Start:
ch 4, join withsl stto the first chain to form a ring. - The Start:
ch 3(counts as first dc). Work 2 dc into the ring.ch 2(corner). - The Pattern: Work 3 dc into the ring, ch 2. Repeat 3 times total.
- Join:
sl stto the top of the initialch 3.
Round 2: Growing the Square
- Travel:
sl stto the first corner space. - Corner:
ch 3(counts as dc),2 dc,ch 2,3 dc(all in the same corner). - The Pattern:
ch 1. In each of the remaining 3 corners, work(3 dc, ch 2, 3 dc). - Join:
sl stto the top of the initialch 3.

Round 3: The “Adaptable” Row
- Travel:
sl stto the corner. - Corner:
ch 3,2 dc,ch 2,3 dc(in corner). - The Side:
ch 1,3 dcin the side space (thech-1gap from the row below),ch 1. - The Pattern: Repeat:
(3 dc, ch 2, 3 dc)in every corner and3 dcin every side space. - Join:
sl stto the top of the initialch 3.
📐 Adapting the Motif for Different Projects
1. For Home Decor (Runners, Coasters, Pillows)
- The Join: Use the Mattress Stitch. Lay your motifs side-by-side and sew them through the back loops only. This creates a hidden, sturdy seam that keeps the project flat.
- The Finish: To make a runner, always add a “frame” round: crochet one full round of
dcaround the entire perimeter of your finished project, putting(2 dc, ch 2, 2 dc)in the four outer corners.
2. For Wearables (Blouses, Tops, Bags)
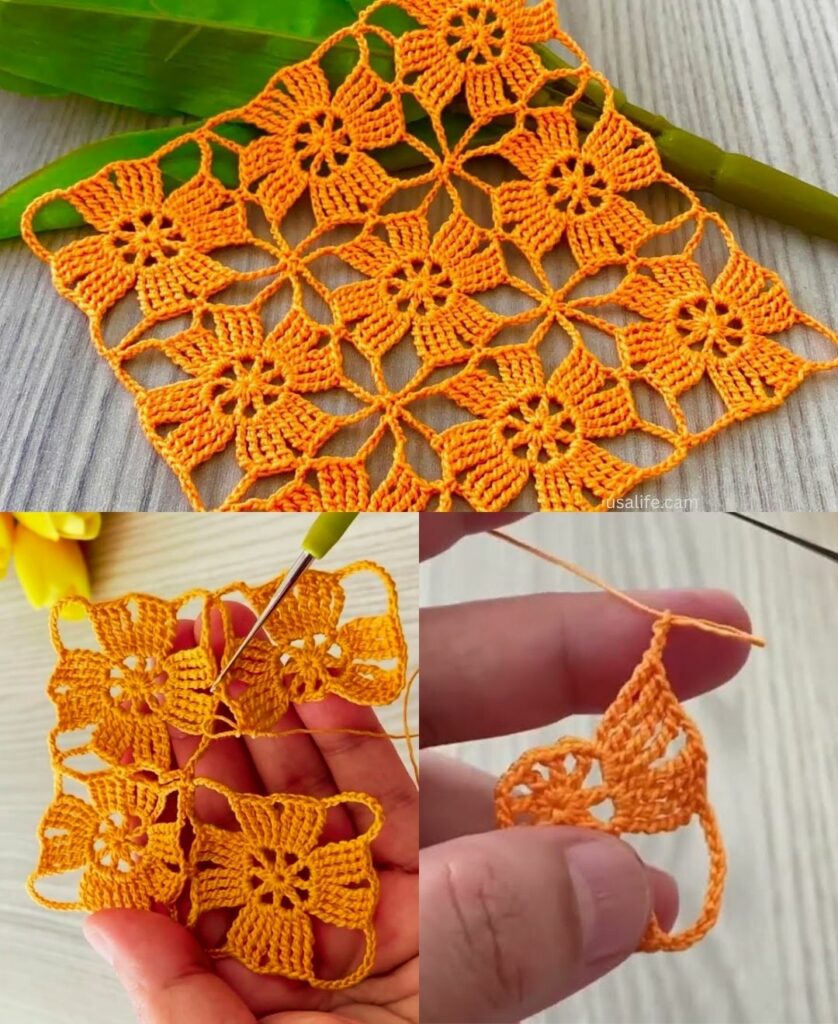
- The Join: Use the “Join-As-You-Go” (JAYG) method. While making the final round of a new motif,
ch 1,sl stinto the neighboring motif’s space, thench 1and continue. This creates a tiny, flexible bridge that allows the garment to move and drape naturally on your body. - The Fit: If making a blouse, don’t sew the motifs into a rigid rectangle. Arrange them into a “T” or “Boxy” layout, leaving the neck and armholes open.
✨ The “Designer” Finishing Techniques
- Steam Blocking (Non-Negotiable): This is the single most important step for a professional look. Pin your squares to a foam board (or a thick towel), stretching them to be perfectly square. Hover a handheld steamer over them. As the yarn cools, it will “lock” into that perfect shape forever.
- The “Neutral” Frame: If you are using many different colors in your motifs, join them all using a single, neutral yarn color (like cream or charcoal). This acts as a visual border, turning a collection of colorful scraps into a sophisticated, unified design.
- Tension Consistency: If you are switching between projects, always test one motif first. If you notice your squares are coming out different sizes, use a slightly larger or smaller hook to calibrate your tension before starting a large batch.
Which project would you like to start first? I can help you calculate the exact number of squares needed for a specific size, whether for a table runner or a blouse.