 by
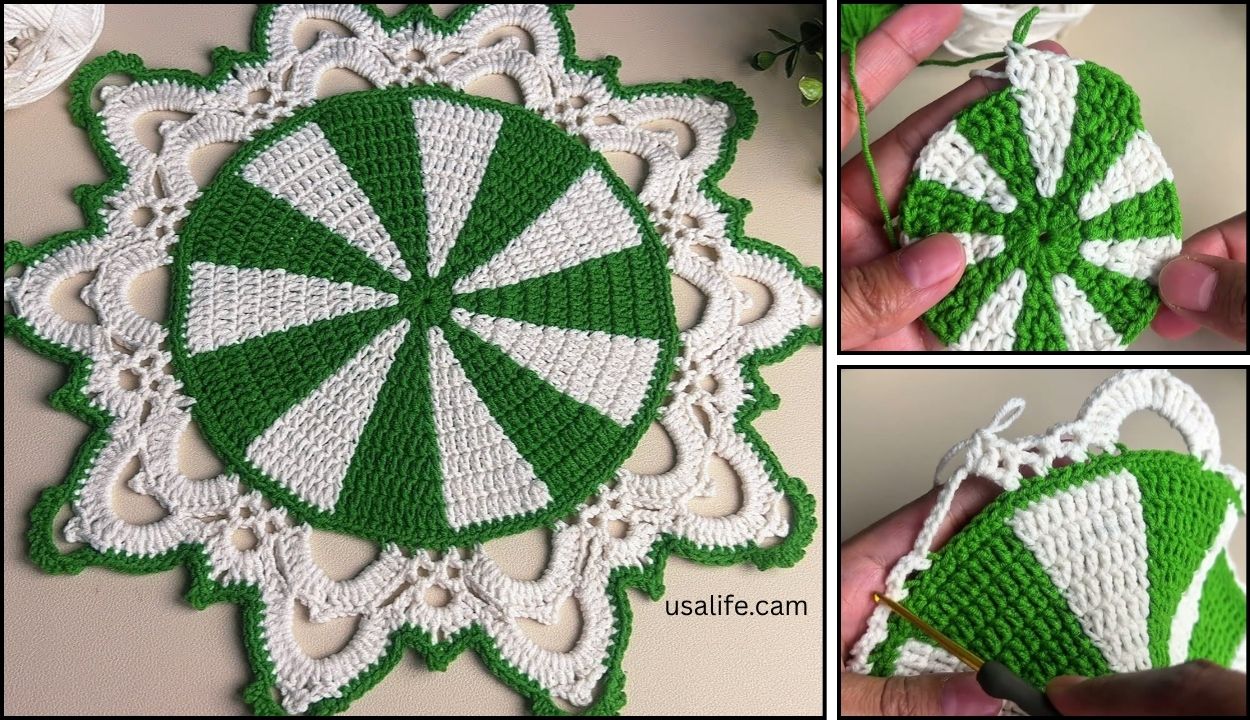
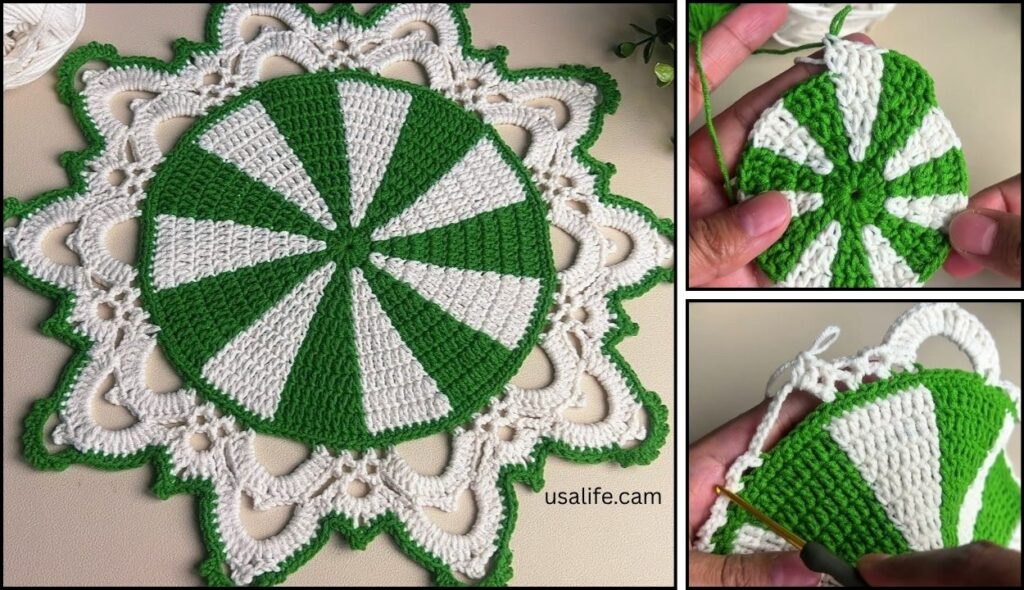
by Crocheting a doily is a wonderful project that showcases the beauty of lace and symmetry. Doilies are traditionally worked in fine thread, but starting with yarn is much easier for a beginner.
This tutorial focuses on a classic Round Lace Doily using simple stitches and pattern repeats.
Materials Needed
- Yarn/Thread: For beginners, a DK or sport weight cotton yarn (size 3) is easiest to handle. If you want a traditional look, use Size 10 Cotton Thread.
- Crochet Hook: The size recommended for your chosen thread/yarn (e.g., 3.0 mm for sport weight yarn or 1.75 mm for size 10 thread).
- Scissors
- Tapestry Needle: For weaving in the end.
- Stitch Marker (Optional): Helpful for tracking the start of rounds.

Abbreviations
- ch: chain
- sl st: slip stitch
- sc: single crochet
- dc: double crochet
- tr: treble crochet (triple crochet)
- sp: space
- st(s): stitch(es)
Step-by-Step Doily Pattern (Round Lace)
This pattern uses chain spaces and double crochet clusters to create the beautiful lace effect.
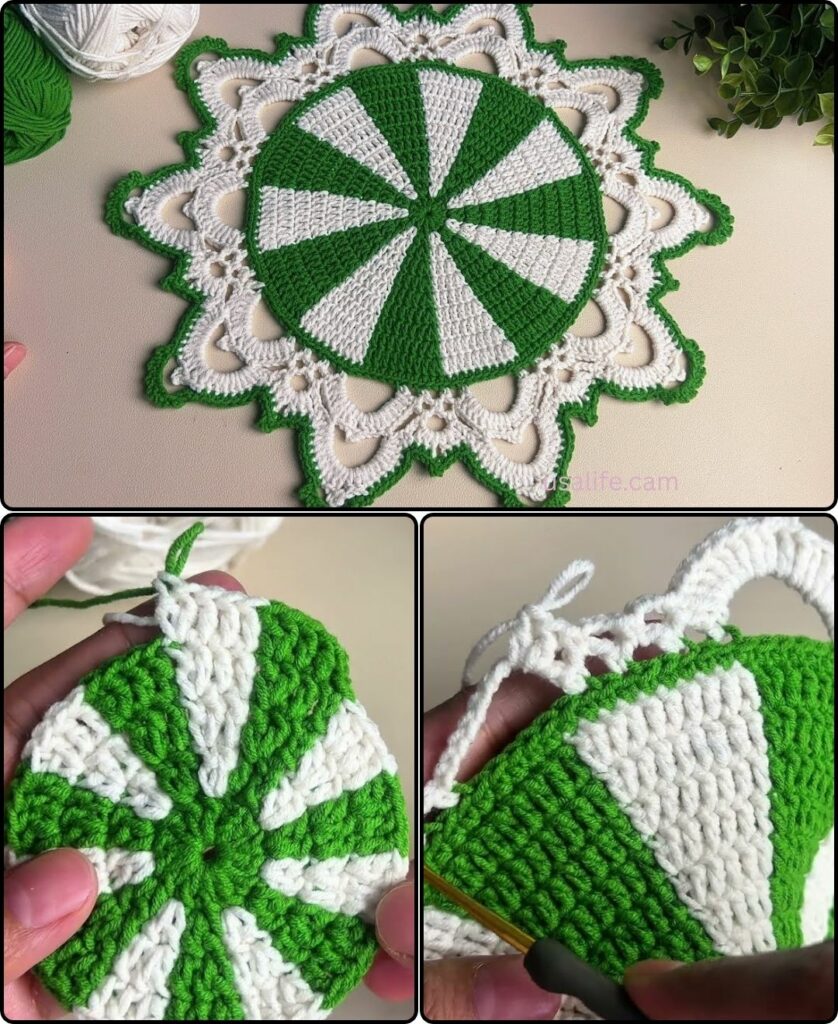
Part 1: The Solid Center
- Round 1: Start with a Magic Ring (or ch 4 and sl st to join). ch 3 (counts as first dc). Work 11 dc into the ring. Join with a sl st to the top of the beginning ch 3. (12 sts)
- Round 2: ch 3 (counts as first dc). Work 1 dc into the same stitch. Work 2 dc (dc-inc) in each stitch around. Join with a sl st to the top of the beginning ch 3. (24 sts)

Part 2: Creating the Lace Windows
This section introduces chain spaces to begin building the open, airy lace design.
- Round 3: ch 3 (counts as dc). dc in the next st. ch 1. Skip the next stitch. Repeat [dc in the next 2 sts, ch 1, sk 1 st] around. You will have 8 pairs of dc stitches separated by chain spaces. Join with a sl st to the top of the beginning ch 3.
- Round 4: ch 3 (counts as dc). dc in the next st. ch 2. Skip the ch-1 space and the next stitch. Repeat [dc in the next 2 sts, ch 2, sk 2 sts] around. Join with a sl st to the top of the beginning ch 3.
- Round 5: ch 3 (counts as dc). dc in the next st. ch 3. Skip the ch-2 space and the next stitch. Repeat [dc in the next 2 sts, ch 3, sk 3 sts] around. Join with a sl st to the top of the beginning ch 3.
Part 3: Adding Petal Details (Shells)
We will use shell stitches to create a gentle, floral edge.
- Round 6: sl st into the next dc, and sl st into the ch-3 space.
- First Shell: ch 3 (counts as dc). Work [2 dc, ch 1, 3 dc] into the same ch-3 space. (This is your shell stitch).
- Anchor: Work sc into the space between the next two dc clusters from Round 5.
- Repeat: [Shell (3 dc, ch 1, 3 dc) in the next ch-3 space, sc in the space between the next two dc clusters] around. You should have 8 shell stitches.
- Join with a sl st to the top of the beginning ch 3.

Part 4: The Final Scalloped Edge
This round creates the delicate, scalloped border.
- Round 7 (Traveling): sl st into the next 3 dc’s, and sl st into the ch-1 space at the peak of the first shell.
- First Scallop: ch 3 (counts as dc). Work [3 tr, ch 1, 4 tr] into the same ch-1 space. (This uses taller stitches for a dramatic edge).
- Anchor: sc into the sc anchor stitch between the two shell motifs from the previous round.
- Repeat: [Work a Scallop (4 tr, ch 1, 4 tr) into the ch-1 space of the next shell, sc into the sc anchor stitch] around.
- Join with a sl st to the top of the beginning ch 3.
Finishing and Blocking
- Fasten Off: Cut the yarn, leaving a tail, and weave it securely into the back of the doily using your tapestry needle.
- Blocking (Crucial Step!): For any lace work, blocking is essential to open up the stitches and define the final shape.
- Soak the doily thoroughly in lukewarm water (with a little fabric softener if desired).
- Gently squeeze out the excess water (do not twist).
- Pin the doily onto a foam board or thick towel, stretching the picots/scallops out into a perfect circle.
- Allow the doily to dry completely, which may take 12-24 hours.
Your beautiful crocheted doily is now ready for display! Would you like a pattern for a square doily next?
Video tutorial: