 by
by Crocheting square motifs is a fundamental skill that opens up endless possibilities for blankets, garments, and home decor. The most famous square motif is the Granny Square, but there are countless variations.
Here is a detailed guide covering three popular types of crochet square motifs: the classic Granny Square, the Solid Square, and the Textured Popcorn Square.
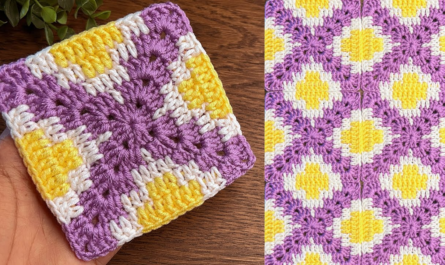
1. The Classic Granny Square
This is the most well-known motif, defined by clusters of three double crochet (dc) stitches separated by chain spaces. It’s excellent for color changes and has a beautiful, lacy texture.
Key Features
- Stitches: Double Crochet (dc) and Chain (ch).
- Construction: Worked in rounds, using spaces (sp) from the previous round instead of stitches.
Step-by-Step Instructions
- Round 1 (Center): Make a Magic Ring (or ch 4, join). ch 3 (counts as first dc), work 2 dc into the ring. [ch 2 (corner), 3 dc] 3 times. ch 2. Join with a sl st to the top of the beginning ch 3. (4 clusters, 4 ch-2 corner spaces).
- Round 2 (First Expansion):sl st into the next two dc’s, then sl st into the first ch-2 corner sp.
- First Corner: ch 3, 2 dc, ch 2, 3 dc into the same corner sp.
- Side: ch 1 (side space).
- Repeat: [3 dc, ch 2, 3 dc] into the next corner sp, ch 1. Repeat this sequence two more times.
- Finish: Join with a sl st to the top of the beginning ch 3.
- Round 3 and Beyond:sl st to the next corner sp.
- Corner: Work (ch 3, 2 dc, ch 2, 3 dc) in every corner sp.
- Side: Work (3 dc, ch 1) into every ch-1 side sp from the previous round.
- Repeat until the square is the desired size.

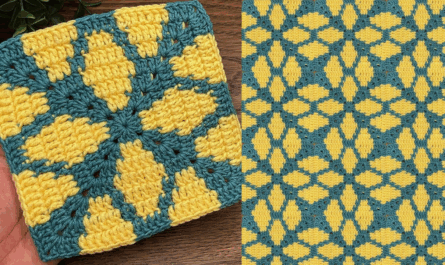
2. The Solid Square Motif
Solid squares are denser and provide more warmth and less transparency than classic granny squares. They are ideal for baby blankets or washcloths.
Key Features
- Stitches: Double Crochet (dc) worked into every stitch.
- Construction: Corners are created by working multiple stitches into a single corner stitch or chain space.
Step-by-Step Instructions
- Round 1 (Center): Make a Magic Ring. ch 3 (counts as dc). Work 11 dc into the ring. Join with a sl st to the top of the beginning ch 3. (12 sts).
- Round 2 (First Corner Definition):ch 3 (counts as dc).
- Corner: Work [2 dc, ch 2, 3 dc] into the next stitch.
- Side: dc in the next 2 stitches.
- Repeat: Repeat the sequence [3 dc, ch 2, 3 dc in the next st, dc in the next 2 sts] two more times.
- Finish: Join with a sl st to the top of the beginning ch 3. (You should have 4 defined corners).
- Round 3 and Beyond:ch 3. dc in every stitch along the sides.
- When you reach a ch-2 corner sp, work (2 dc, ch 2, 2 dc) into that space.
- Continue dc in every stitch along the next side.
- Repeat until the square is the desired size.

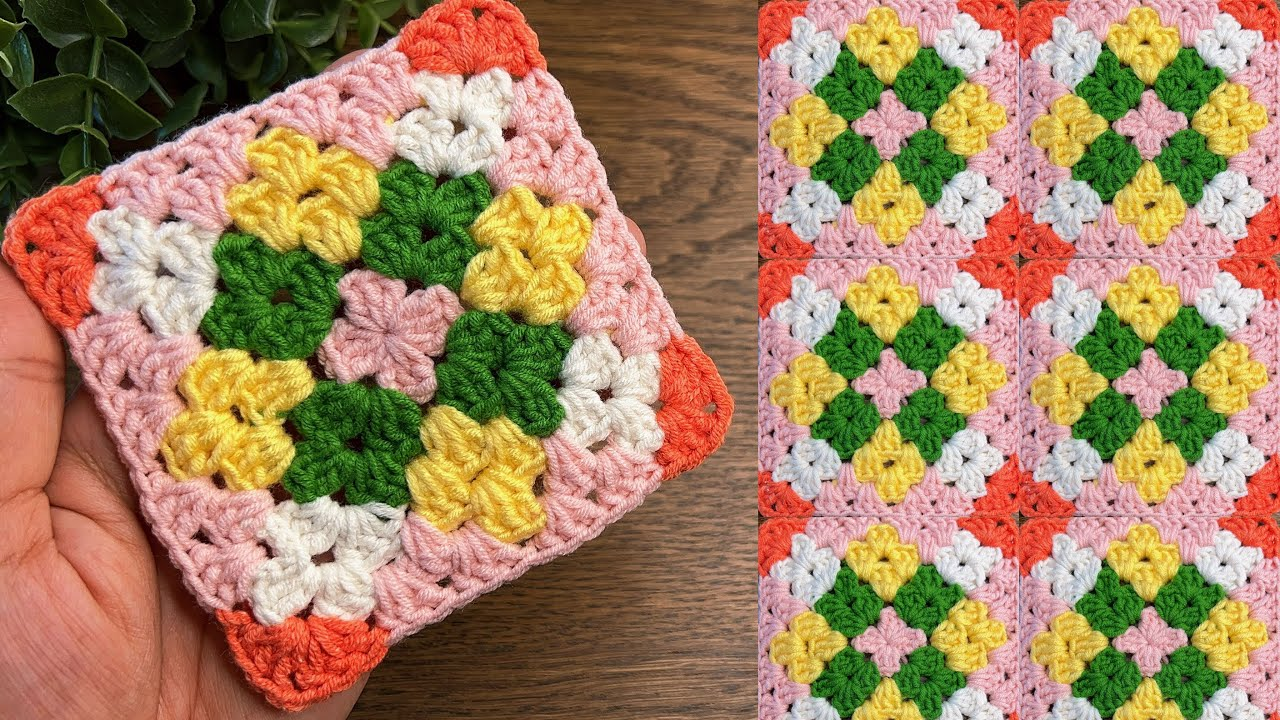
3. The Textured Popcorn Square
This design uses a Popcorn Stitch or a Cluster Stitch to create a raised, bobble-like texture. This adds dimension and tactile interest.
Special Stitch: Popcorn (PC)
Work 5 dc into the same stitch. Drop the loop from the hook. Insert the hook into the top of the first dc. Catch the dropped loop and pull it through the top of the first dc. ch 1 to lock the stitch.
Step-by-Step Instructions
- Round 1 (Center): Make a Magic Ring. ch 3 (counts as dc). Work 11 dc into the ring. Join with a sl st to the top of the beginning ch 3. (12 sts).
- Round 2 (First Popcorns):ch 3 (counts as dc). dc in the same stitch.
- PC in the next stitch.
- Corner: Work [2 dc, ch 2, 2 dc] in the next stitch.
- Repeat: Repeat the sequence [PC in the next st, 2 dc in the next st, PC in the next st, 2 dc, ch 2, 2 dc in the next st] two more times.
- Finish: Join with a sl st to the top of the beginning ch 3.
- Round 3 (Squaring Off):ch 3. dc in every stitch along the side.
- Popcorn Placement: Strategically place a PC over the center of the Popcorn stitches from the previous row to keep the texture aligned.
- Corner: Work (2 dc, ch 2, 2 dc) in every corner sp.
- Continue this pattern, ensuring your corner increases match the square shape.

Tips for Working Square Motifs
- Blocking: Always block your finished squares. Wetting or steaming them and pinning them to shape ensures they are all the same size and lie perfectly flat, which is essential for joining.
- Yarn Tails: Weave in ends as you go! This prevents a large chore at the end.
- Color Changes: When changing colors, always complete the last pull-through of the final stitch with the new color to get a clean switch.

Which of these square motifs looks most appealing to you to start with?
Video tutorial: