by
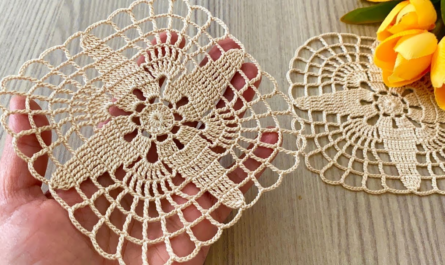
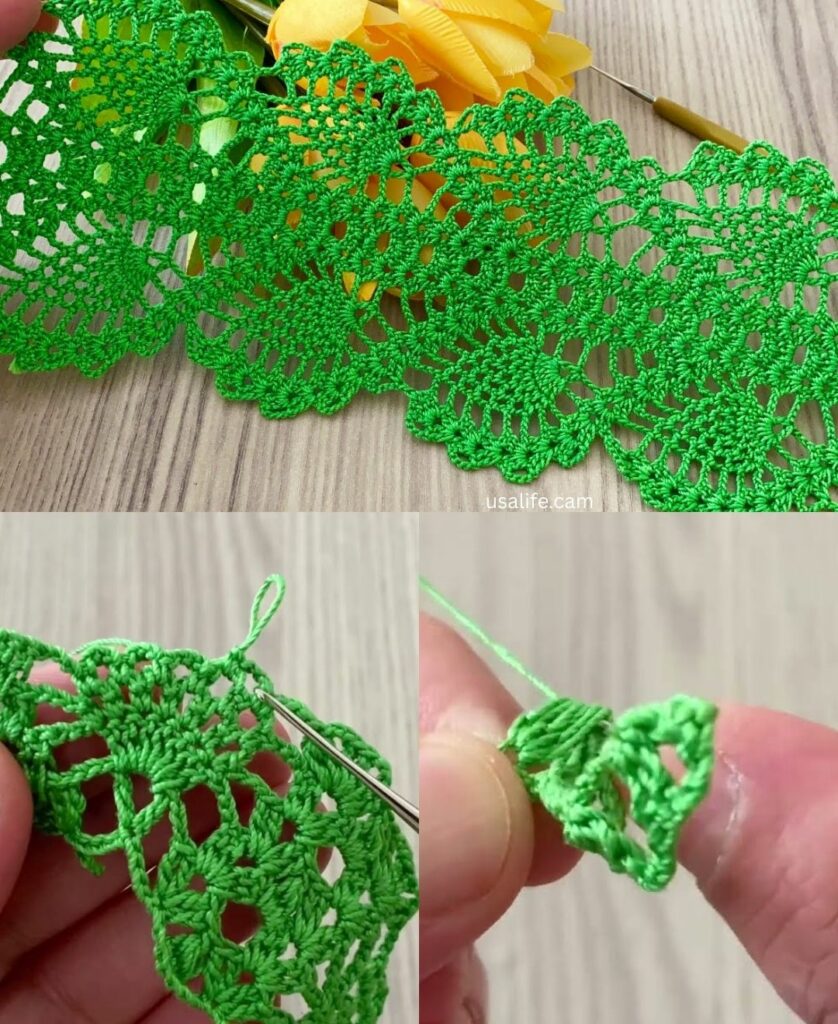
by The Leaf Patterned Lace Motif is a pinnacle of “Multi-Purpose” design. Because leaves are organic shapes, they create a beautiful, interlocking “evergreen” effect when joined together.
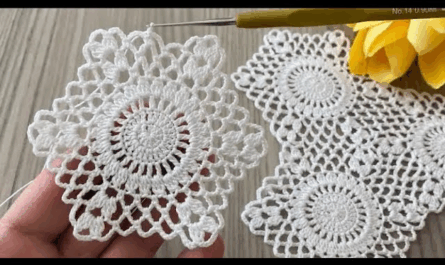
This specific tutorial focuses on the “Relief Leaf Square.” It uses Front Post stitches to create a raised, 3D leaf vein that literally pops off the fabric.
🌿 The Relief Leaf Square Tutorial
This motif is worked in the round. The leaf grows diagonally from the center toward the four corners.
Materials You’ll Need
- Yarn: For lace/runners, use Mercerized Cotton (Size 10 or 3). For garments, use Cotton/Acrylic blend (DK weight).
- Hook: 3.0mm (for lace) or 4.0mm (for garments).
- Skills: You should know how to do a Front Post Double Crochet (fpdc).
Special Stitch: Front Post Double Crochet (fpdc)
Instead of inserting your hook into the top of the stitch, insert it around the post (the vertical body) of the stitch from front to back and out to the front again. This creates the raised “vein” of the leaf.

Step-by-Step Instructions
Round 1: The Foundation
- Start: Make a Magic Ring.
- Stitches: ch 3 (counts as dc). Work 15 dc into the ring.
- Join: sl st to the top of ch 3. (16 dc total).
Round 2: Starting the 4 Leaves
- ch 3 (counts as dc), fpdc around the same stitch (this is the start of Leaf 1).
- ch 2, skip 1 stitch.
- Repeat: [dc in next stitch, fpdc around the same stitch, ch 2, skip 1 stitch] 3 more times.
- Join: sl st to top of ch 3.
Result: You have 4 pairs of stitches (the leaf bases) separated by ch-2 spaces.
Round 3: Widening the Leaf
- ch 3, dc in the same stitch. fpdc around the fpdc of the previous row. dc in the next stitch.
- ch 2, skip the ch-2 space.
- Repeat: [2 dc in first stitch, fpdc around post, 1 dc in next stitch, ch 2] around.
- Join: sl st to top of ch 3.
Result: Your leaves are now 4 stitches wide with a raised vein in the middle.

Round 4: Creating the Square Corners
- sl st to the fpdc (the center of the leaf).
- The Corner: In that fpdc stitch, work (2 dc, ch 3, 2 dc). This turns the tip of the leaf into a corner.
- The Side: ch 4, sc into the ch-2 space from the previous row. ch 4.
- Repeat: Work the Corner into the center of the next leaf, and the ch-4/sc/ch-4 bridge on the sides.
- Join: sl st to top of ch 3.
Round 5: The Lace Frame
- sl st into the corner ch-3 space.
- Corner: (3 dc, ch 2, 3 dc). ch 1.
- Side: Work 4 dc into the first ch-4 loop, ch 1, 4 dc into the next ch-4 loop. ch 1.
- Repeat: Corner in corners, two 4-dc clusters on the sides.
- Join: sl st to top of ch 3 and fasten off.
💡 Multi-Purpose Application Guide
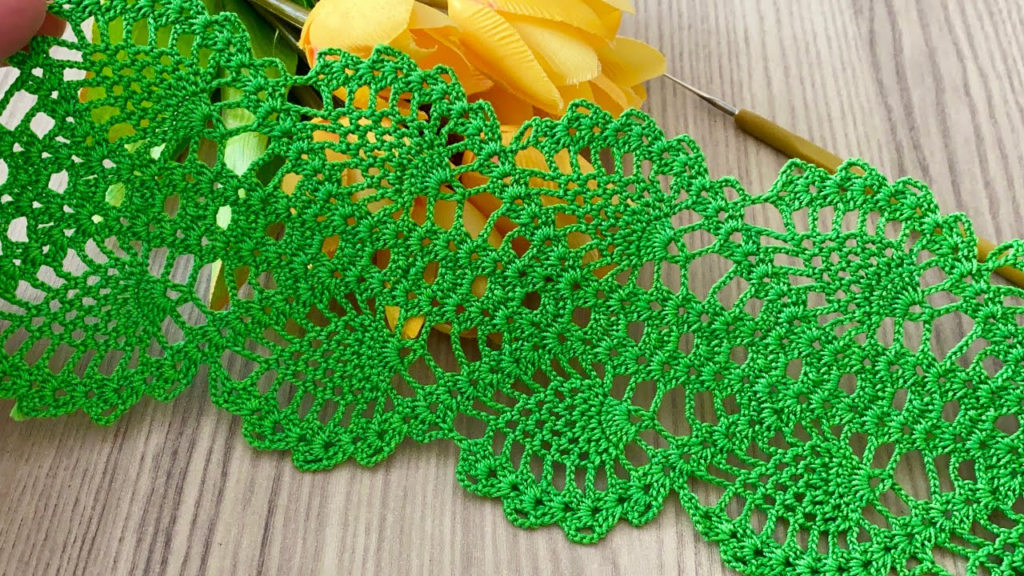
1. The Stylish Runner (Home Decor)
- Design: Join motifs in a Diamond Orientation (point to point).
- Border: Add a “Vandyke” edge (triangular points) to the ends of the runner to mimic the shape of a leaf.
- Effect: When laid on a dark wood table, the “negative space” in the lace makes the leaf pattern highly visible.

2. The Magnificent Blouse (Garment)
- Design: Use the Join-As-You-Go method.
- Style: Because the leaves are 3D (relief), this blouse does not need a complex stitch pattern elsewhere. Keep the sleeves simple mesh so the leaf squares on the body remain the focal point.
- Yarn Tip: Use a yarn with a slight sheen (like Silk or Mercerized Cotton) to catch the light on the raised leaf veins.
3. The Lace Curtain or Wrap
- Design: Join motifs in a large grid.
- Texture: The “Relief” (fpdc) stitches provide weight, which helps a lace wrap or curtain hang straight down without curling at the edges.
❗️ Pro-Tip for Leaf Patterns
When you finish a Leaf Motif, it often looks a bit “bunched up” because of the post stitches. Steam blocking is your best friend here. Use a steam iron (do not touch the yarn, just hover over it) to relax the fibers. Pull the corners out to reveal the star-like shape of the leaves.
Would you like me to draw a diagram of how to arrange these leaf squares for a V-neck blouse?
Video tutorial: