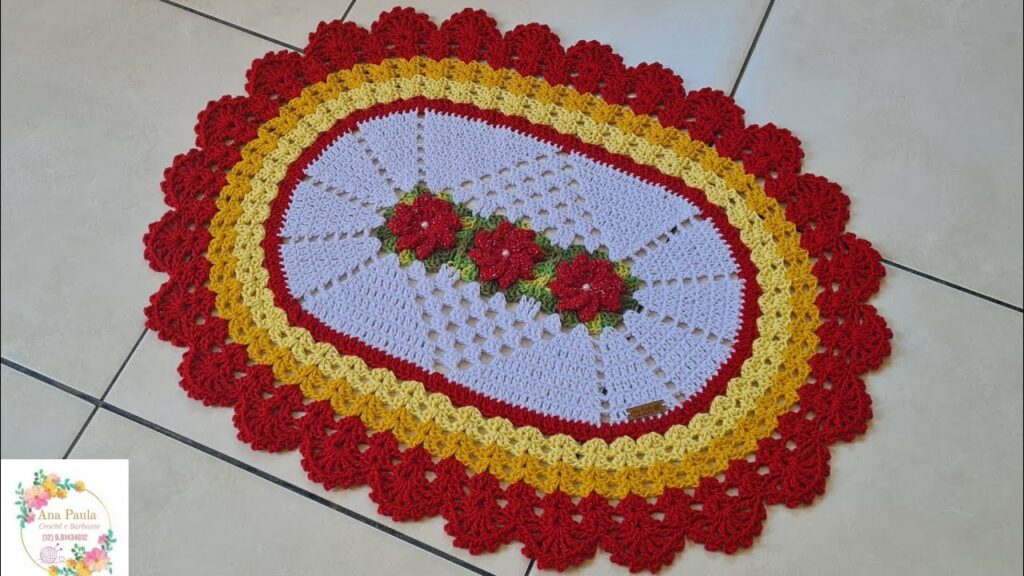
How to Crochet a Rug
Crocheting a rug is a great way to add a touch of personality and comfort to your home. It’s also a relatively straightforward project that can be completed in a weekend, even if you’re a beginner. In this blog post, we’ll walk you through the steps of crocheting a rug, from choosing the right materials to weaving in the ends.
Materials
- Yarn: You’ll want to choose a yarn that is thick and durable, such as cotton or wool. You can also use recycled materials like t-shirt yarn or plastic bags.
- Crochet hook: The size of your hook will depend on the thickness of your yarn. A good rule of thumb is to use a hook that is one size larger than the recommended size for your yarn.
- Scissors: You’ll need scissors to cut your yarn.
- Tapestry needle: A tapestry needle is used to weave in the ends of your yarn.
- Optional: Rug gripper, sewing needle and thread
Choosing a Pattern
Once you have your materials, you’ll need to choose a pattern. There are endless possibilities, so take some time to browse online or in your local craft store. If you’re a beginner, you might want to start with a simple pattern that uses basic stitches.
Getting Started
Once you have your pattern, it’s time to get started! The first step is to chain the foundation row. The length of the foundation row will determine the width of your rug.
Once you have chained the foundation row, you’ll start working your rows. The pattern will tell you what stitches to use and how many to work in each stitch.
As you work your rows, you’ll want to pay attention to your tension. Your stitches should be even and not too tight or too loose.
Finishing Up
Once you’ve reached the desired length of your rug, it’s time to finish up. The pattern will tell you how to bind off your stitches.
Once your stitches are bound off, you’ll need to weave in the ends of your yarn. This will help to prevent your rug from unraveling.
Tips for Success
- Use a yarn needle to weave in the ends of your yarn. This will make it easier to weave in the ends and will help to prevent them from coming undone.
- Block your rug when you’re finished. This will help to even out the stitches and give your rug a more professional look.
- Add a rug gripper to the bottom of your rug to prevent it from slipping.
- Get creative! There are endless possibilities when it comes to crocheting rugs. Experiment with different colors, textures, and stitches to create a rug that is uniquely you.
I hope this blog post has inspired you to crochet your own rug! With a little practice, you’ll be amazed at what you can create.
Happy crocheting!
I would also like to add a few additional tips for success:
- If you’re a beginner, don’t be afraid to make mistakes. Everyone makes mistakes when they’re first learning how to crochet. Just rip out the stitches and start over.
- Take your time and don’t rush. Crocheting should be a relaxing and enjoyable experience.
- If you get stuck, don’t hesitate to ask for help. There are many online resources and forums where you can get help from other crocheters.
With a little practice, you’ll be crocheting beautiful rugs in no time!
I hope this blog post has been helpful. Please let me know if you have any questions.
Video tutorial
