 by
by 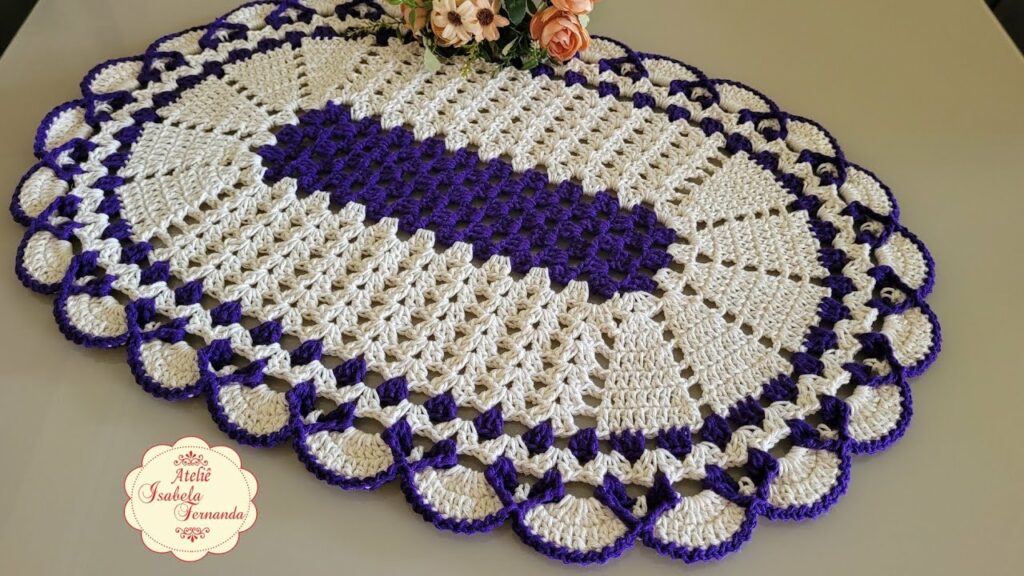
Materials:
- Yarn of your choice. I recommend using a medium-weight yarn that is machine-washable and dryable.
- Crochet hook in a size appropriate for your yarn.
- Stitch markers (optional)
- Scissors
- Tapestry needle
Instructions:
- Start by making a magic ring. To make a magic ring, pinch the yarn together to form a loop. Insert your crochet hook through the loop and yarn over. Pull the yarn through the loop to make a slip knot. Yarn over again and pull through both loops on your hook. You should now have a small ring with 2 loops on your hook.
Opens in a new windowwww.justalittlecrochet.com
Magic ring crochet
- Chain 3. This will count as your first double crochet (dc) stitch.
- Work 11 dc in the magic ring.
- Slip stitch (sl st) in the top of the first dc to close the ring.
- Chain 3 (counts as your first dc).
- Work 2 dc in the same stitch as the chain 3.
- Work dc in each stitch around the ring. You should have 24 dc at the end of the round.
- Place a stitch marker in the first stitch of the round. This will help you keep track of where the beginning of each round is.
- Chain 3 (counts as your first dc).
- Work 2 dc in the same stitch as the chain 3.
- Work dc in each stitch around the ring, increasing 2 dc in the corner spaces. The corner spaces are the spaces between the last dc of the previous round and the first dc of the current round. At the end of the round, you should have 28 dc.
- Continue working rounds in this way, increasing 2 dc in each corner space on each round. The number of dc in each round will increase by 4 each round.
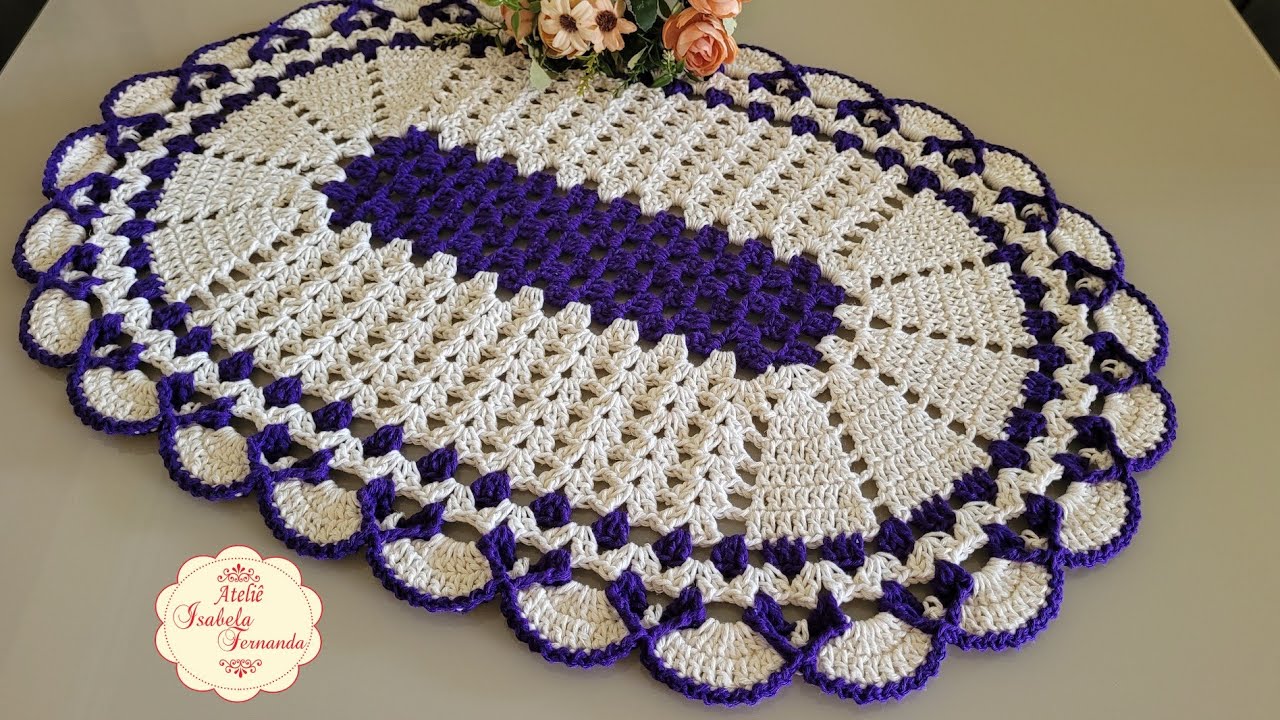
- Once your oval rug reaches the desired size, stop increasing in the corner spaces. Continue working dc in each stitch around until you reach the desired length of your rug.
- Slip stitch in the top of the first dc to close the final round.
- Weave in all loose ends.

Tips:
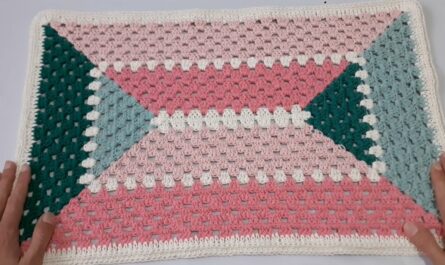
- You can use different colors of yarn to create a striped or patterned rug.
- If you are using a variegated yarn, you can change the direction of your work each round to create a different look.
- You can add a border to your rug by working a few rows of single crochet (sc) or half double crochet (hdc) around the edge.
- To make your rug more durable, you can back it with fabric or felt.
Here are some additional tips for crocheting an oval rug:

- Use a stitch marker to mark the beginning of each round. This will help you keep track of your progress and make sure that your oval is symmetrical.
- Chain 3 at the beginning of each round to count as your first double crochet.
- Work into the back loops of the stitches in the previous round to create a smoother finish.
- Be careful not to work too tightly, as this can make your rug stiff and difficult to lay flat.
- If you make a mistake, don’t panic! Just frog (undo) your stitches back to the mistake and start over.
With a little practice, you can crochet a beautiful oval rug that will add a touch of handmade charm to your home.
I hope this blog post has been helpful! If you have any questions, please feel free to leave a comment below.
Happy crocheting!
I would also like to add that there are many different ways to crochet an oval rug. The method I have described above is just one way to do it. You can find many other patterns and tutorials online.
I hope this gives you a good starting point for crocheting your own oval rug!
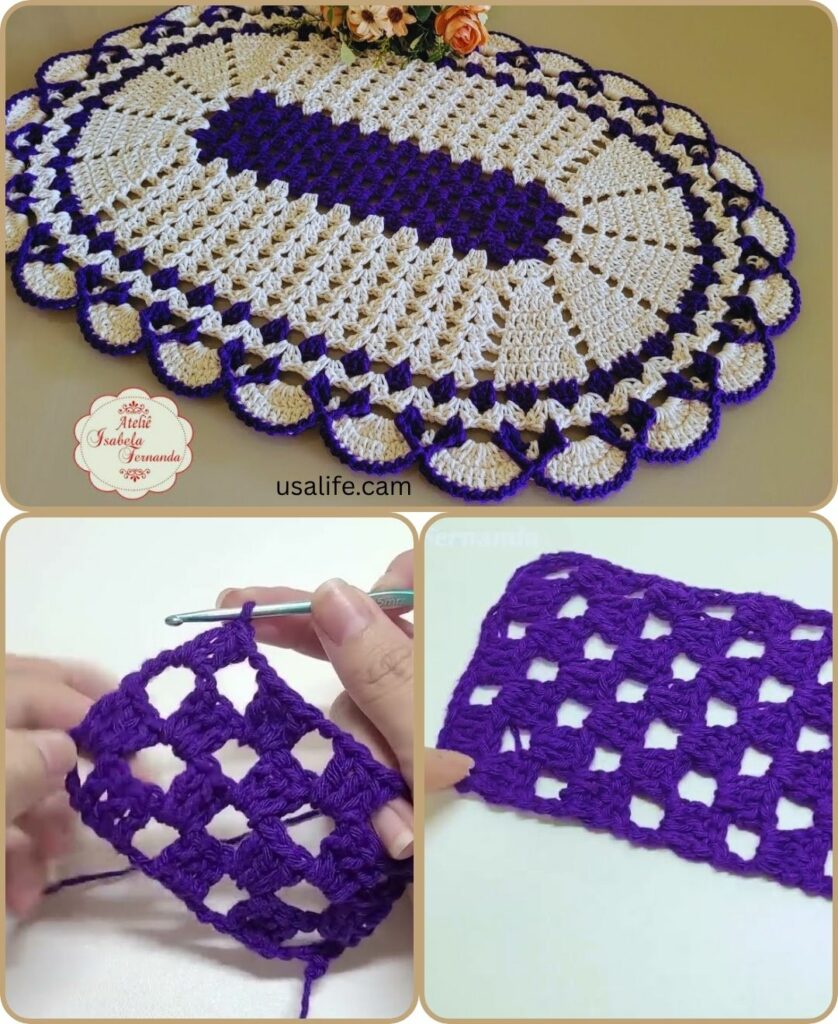
Video tutorial