 by
by 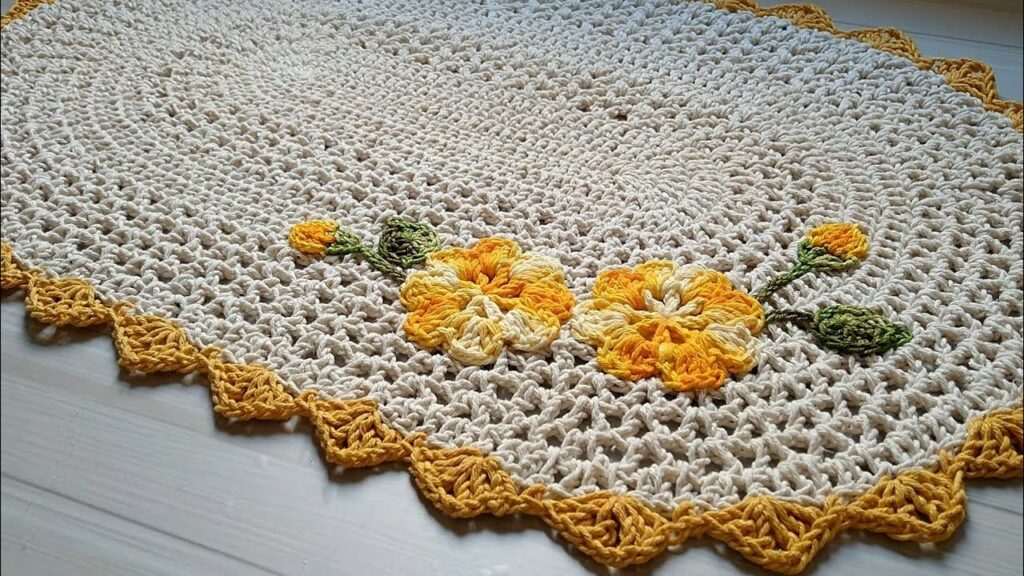
The humble sink carpet, often relegated to a utilitarian rectangle of plastic, deserves an upgrade! Enter the world of crochet, where you can craft a sink-side oasis that’s as functional as it is charming. This detailed blog will guide you through the process of crocheting your own sink carpet, from choosing the perfect yarn to adding those final flourishes.
Materials:
- Yarn: Opt for washable cotton yarn, preferably worsted weight, for its absorbency and durability. Choose colors that complement your bathroom decor. You’ll need approximately 200-300 yards, depending on your desired size.
- Hook: A size H-8 (5mm) crochet hook is a good starting point, but adjust based on your yarn and desired stitch tightness.
- Other Supplies: Measuring tape, scissors, stitch marker (optional), yarn needle for weaving in ends, and a non-slip backing (optional).
Choosing a Pattern:
- Beginner-friendly: Start with a simple rectangle worked in single crochet or half double crochet. You can adjust the length and width to fit your sink.
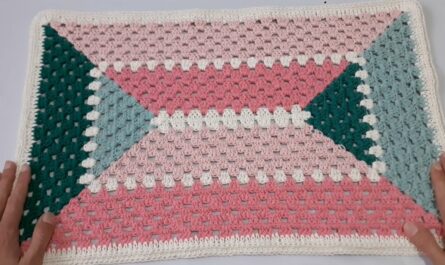
- Intermediate: Level up with textured stitches like clusters or bobbles for added dimension. Experiment with color changes or stripes for a playful touch.
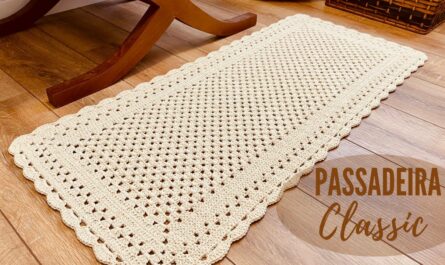
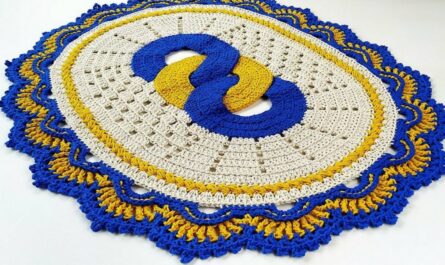
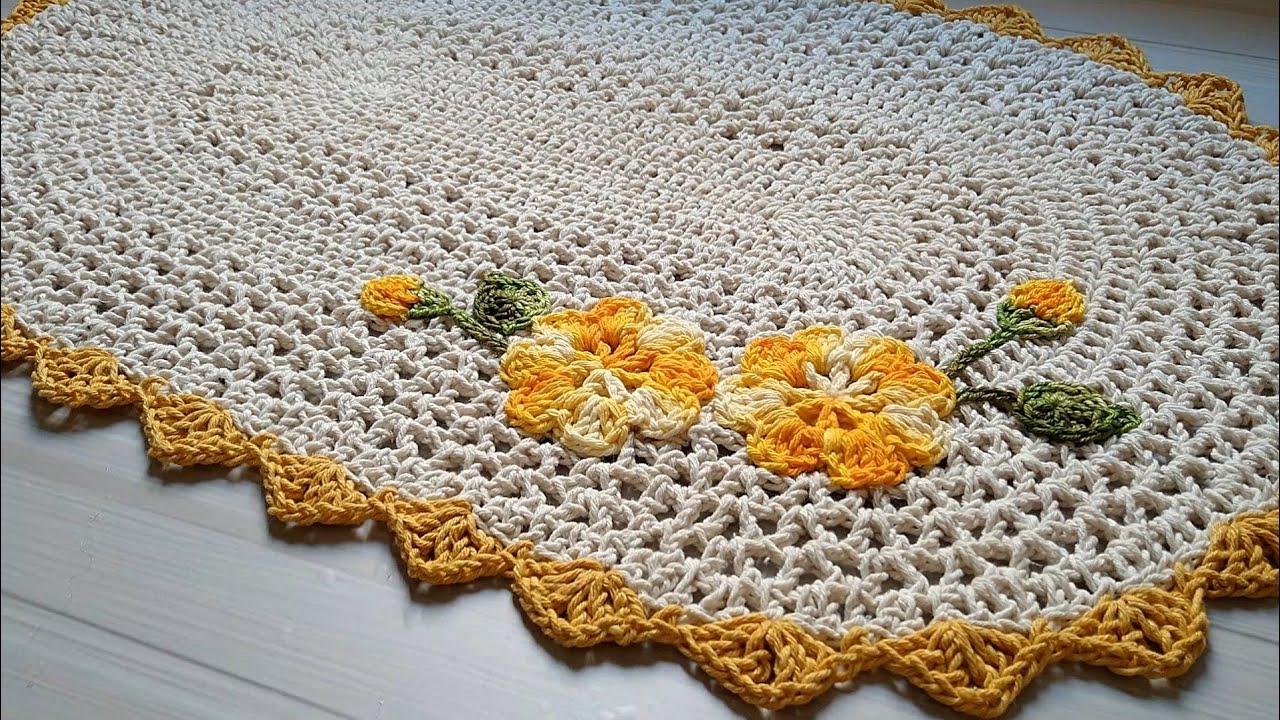
- Advanced: Get creative with shapes! Make a half-circle or oval rug that contours around your sink. Or, try a more intricate pattern like a pineapple stitch or granny square design.
Crocheting Your Sink Carpet:
- Measure your sink area and add a few inches for overhang. Chain a starting chain the desired length of your rug.
- Follow your chosen pattern or work rows of your chosen stitch until you reach the desired width.
- Finish and border: Secure the final stitch and weave in all ends. Add a simple border for a polished look, using single crochet or a decorative stitch like the crab stitch.
- Non-slip optional: If desired, attach a non-slip backing to the bottom of your rug for added safety.
Tips & Tricks:
- Gauge swatch: Before starting, work a small swatch to gauge your tension and adjust hook size if needed.
- Color magic: Play with yarn colors to create borders, stripes, or even simple motifs.
- Shape it up: If your sink has rounded corners, work short rows or decrease stitches gradually to achieve the desired shape.
- Personalize it: Add a touch of personality with buttons, tassels, or crochet flowers.
Show it Off!
Once you’ve finished your sink carpet, take a moment to admire your handiwork! Share it with friends and family, or post it online for the crochet community to appreciate. Your cozy creation will add a touch of handmade charm to your bathroom and make washing dishes a more delightful experience.
Video tutorial
Happy crocheting!
Remember, this is just a starting point. Feel free to experiment with different patterns, stitches, and colors to create a sink carpet that’s uniquely yours. So grab your hook, let your creativity flow, and step into a world of sink-side comfort!
Bonus Resources:
- Check out online resources like Pinterest and Ravelry for inspiration and free sink carpet patterns.
- Don’t hesitate to reach out to fellow crocheters for tips and support.
- Most importantly, have fun and enjoy the process of creating something beautiful with your own hands!
I hope this detailed blog has provided you with everything you need to crochet a sink carpet that’s both practical and stylish. Now, go forth and get your hook on!