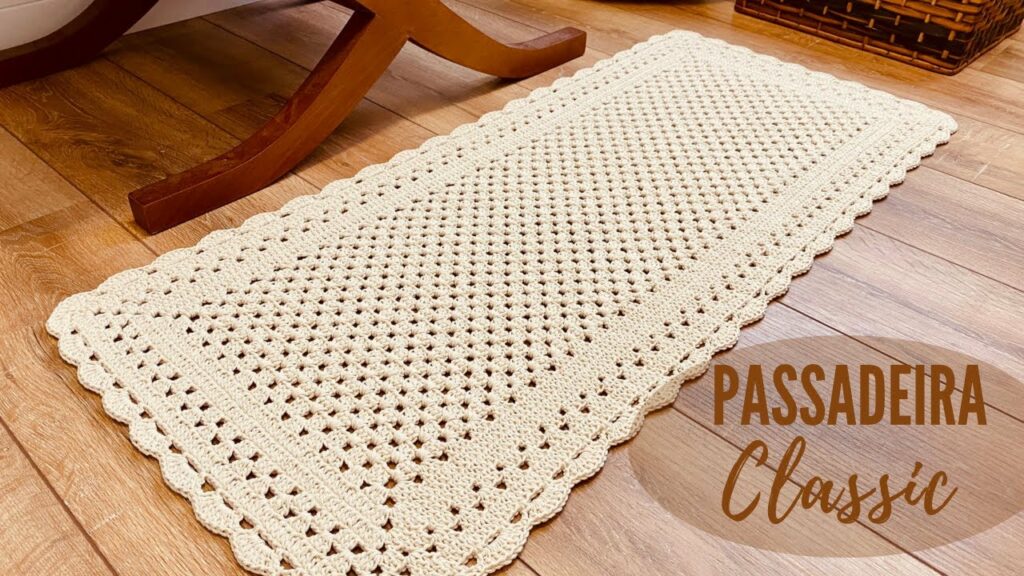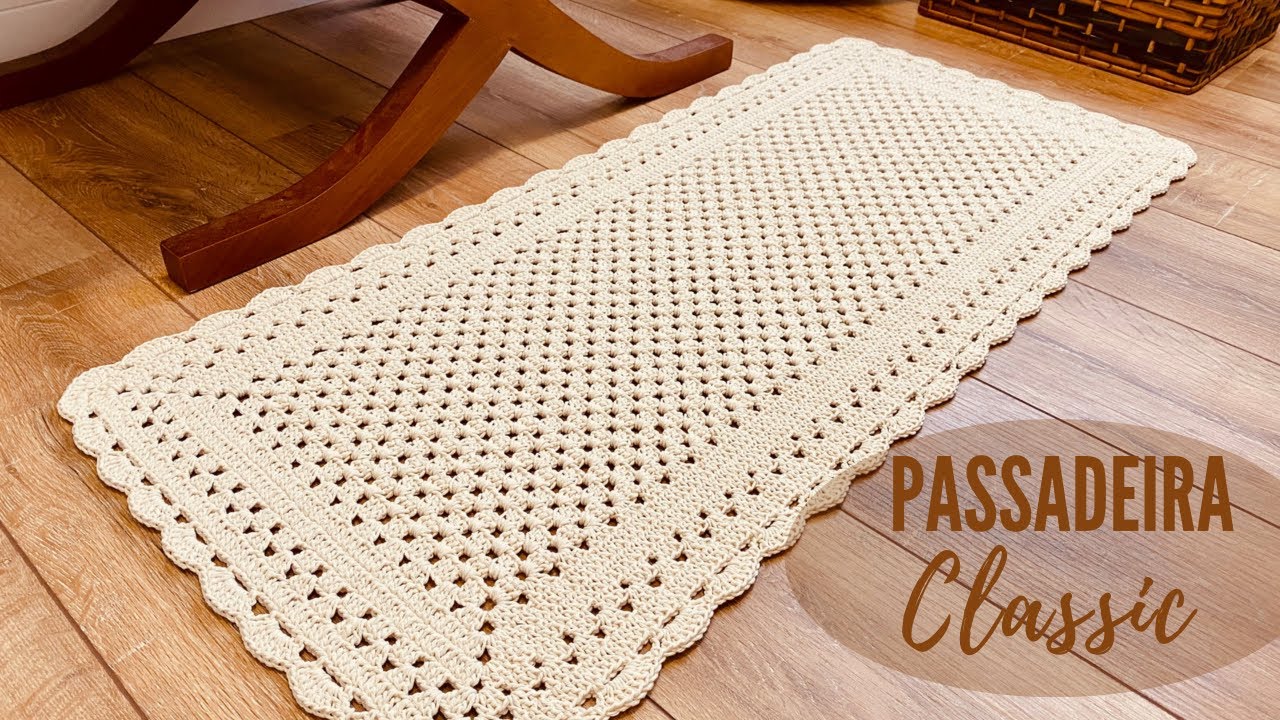
Crocheted rugs are all the rage – and for good reason! They’re stylish, customizable, and surprisingly simple to make. Plus, a square rug is a great beginner project, as it allows you to practice basic stitches and techniques without getting overwhelmed by shaping.
In this blog post, we’ll walk you through the steps of crocheting your own square rug, from choosing materials to tying off the final ends. We’ll also offer some tips and tricks to make the process even smoother.
Materials:
- Yarn: Choose a medium-weight yarn that’s both durable and soft. Cotton or acrylic are good options. You’ll need approximately 200-300 yards of yarn, depending on the size of your rug.
- Crochet hook: The size of your hook will depend on the weight of your yarn. For medium-weight yarn, a size H-8 (5mm) hook is a good starting point.
- Scissors:
- Tapestry needle: This will be used to weave in the ends of your yarn.
- Optional: Stitch markers, blocking mats, rug backing
Instructions:
- Chain 40 stitches. This will create the starting foundation chain for your rug.
- Work a row of single crochets (sc) into each chain stitch. This will create your first row of the rug.
- Chain 2 and turn your work.
- Work another row of sc into each stitch of the previous row.
- Repeat steps 3-4 until your rug reaches the desired size. A good rule of thumb is to make your rug about 3 times the size of a chair or ottoman you plan to place it under.
- To finish, tie off the yarn and weave in the ends.
Tips and tricks:
- Change colors! If you want to add a pop of personality to your rug, try crocheting with two or more colors of yarn. Simply tie a new color of yarn to the end of the old color when you’re ready to switch.
- Use stitch markers. These handy little tools can help you keep track of your stitches and make sure your corners are nice and square.
- Block your rug. This will help it lay flat and even out any bumps or irregularities. To block your rug, simply wet it gently and lay it flat on a blocking mat or towel. Pin it down at the corners and edges to help it keep its shape. Allow it to dry completely before using.
- Add a rug backing. This will help prevent your rug from slipping and sliding on the floor. You can purchase rug backing at most fabric stores.
Here are some additional resources that you may find helpful:
- A video tutorial on how to crochet a square rug: https://m.youtube.com/watch?v=7GDNnTZQQGw
- A free pattern for a simple square rug: https://www.ravelry.com/patterns/sources/100-colorful-granny-squares-to-crochet
- A blog post with tips for choosing yarn and hooks for crocheting rugs: https://www.yarnspirations.com/en-ca/blogs/how-to/blog-101019-guide-to-understanding-the-materials-used-with-crochet-hook-sizes
With a little time and effort, you can create a beautiful and functional crocheted square rug that will add a touch of cozy charm to your home. So grab your hook, some yarn, and get started!
I hope this helps! Please let me know if you have any other questions.
Happy crocheting!
P.S. Don’t forget to share your finished rug with me on social media!
Video tutorial


