by
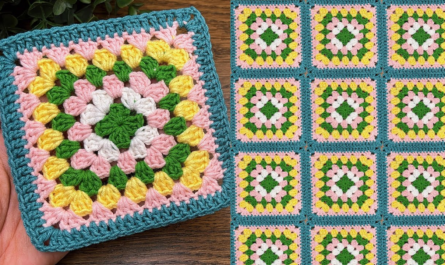
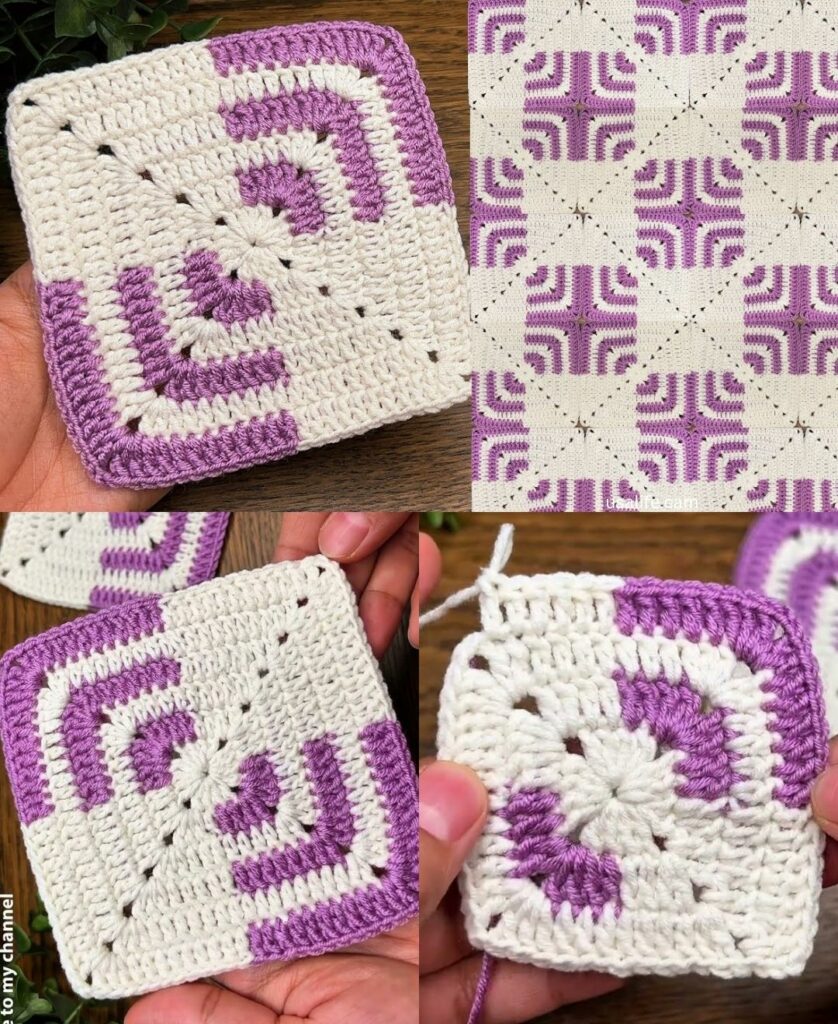
by For a blanket that feels both timeless and modern, the best approach is the “Tonal Solid Granny Square Blanket.” By using a solid stitch pattern instead of the traditional “holey” granny square, you create a blanket that is heavier, warmer, and looks like a high-end, woven designer piece.
Here is your detailed guide to the “Tonal Solid Square” and how to turn it into a stunning blanket.
🧶 The Blanket Designer’s Toolkit
| Item | Recommendation | Why? |
| Yarn | Worsted Weight (Size 4) Wool or Acrylic | Provides the best warmth and structural integrity. |
| Hook | 5.0 mm (H/8) | Creates a dense, professional fabric. |
| Color Strategy | “Tonal Gradient” | Use 3 shades of the same color (e.g., Light, Mid, Dark Blue). |
🛠 Step-by-Step: The “Solid” Granny Square
Round 1: The Core
- Start: ch 4, join with sl st to form a ring.
- The Start: ch 3 (counts as dc). Work 2 dc into the ring. ch 2 (the corner).
- The Pattern: [Work 3 dc into the ring, ch 2] three more times.
- Join: sl st into the top of the ch 3. Tighten ring.
Round 2: Growing the Square
- Travel: sl st to the nearest corner.
- Corner: ch 3, 2 dc, ch 2, 3 dc (all in the same space).
- Side: ch 1.
- Next Corner: (3 dc, ch 2, 3 dc) in the space. Repeat around.
- Join: sl st to top of ch 3.

Round 3+: The Solid Fill
- Travel: sl st to corner.
- Corner: ch 3, 2 dc, ch 2, 3 dc (all in the corner).
- The Side: Work 1 dc into every single stitch along the side.
- Join: sl st to the top of the ch 3.
Why this works: By filling the side spaces with dc stitches, you remove the holes, making the blanket much warmer and more durable.
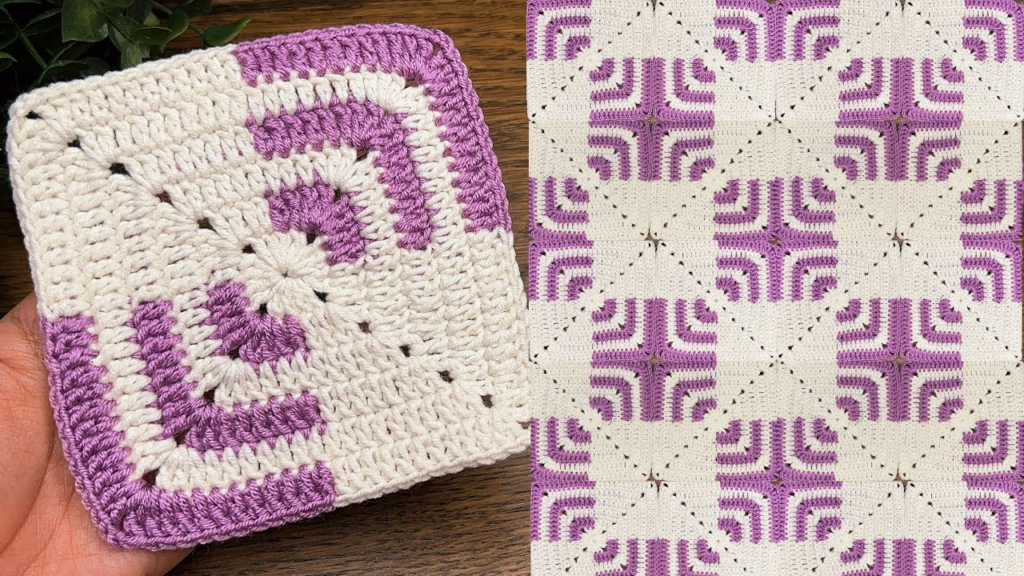
📐 The “Tonal Gradient” Blanket Idea
Instead of a chaotic mix of colors, use a Gradient Layout to make your blanket look like a piece of high-end home decor:
- The Concept: Create your squares in three different color tones (Light, Medium, Dark).
- The Layout:
- Place the Light squares in the center of the blanket.
- Transition to Medium squares as you move outward.
- Frame the entire blanket with a border of Dark squares.
- The Join: Use the Flat Slip Stitch Join in the darkest color. This creates a dark, recessed “grid” that makes the lighter colors pop and gives the blanket a professional, framed look.

✨ 3 Secrets for a “Boutique” Blanket
- The “Border Frame”: Never leave the edges of your blanket raw. Once all your squares are joined, work 4 rounds of half-double crochet around the entire perimeter of the blanket. This adds a “weighted” edge that makes the blanket drape beautifully over the side of a bed or sofa.
- Steam Blocking: Before joining your squares, pin them to a board and steam them. This ensures every square is exactly the same size. If one square is slightly larger or smaller, your final blanket will “pucker” or pull.
- The “Invisible” Weave: When working with multiple colors, do not tie knots! Use a tapestry needle to weave your yarn tails back and forth through the base of the stitches for at least 5 cm. This makes the ends disappear completely and ensures they will never unravel, even after years of washing.
💡 Quick Math for Your Blanket
For a standard Throw-Sized Blanket (approx. 50″ x 60″):
- You will need approximately 30 to 35 squares (if each square is 10″ x 10″).
- Always buy 10% more yarn than the pattern estimates to account for the border and the joining thread. Dye lots change, and running out of a specific color mid-blanket is the most common reason for abandoned projects!
Would you like me to help you create a color palette for your blanket based on a specific room theme (e.g., modern/neutral, boho, or nursery)?