 by
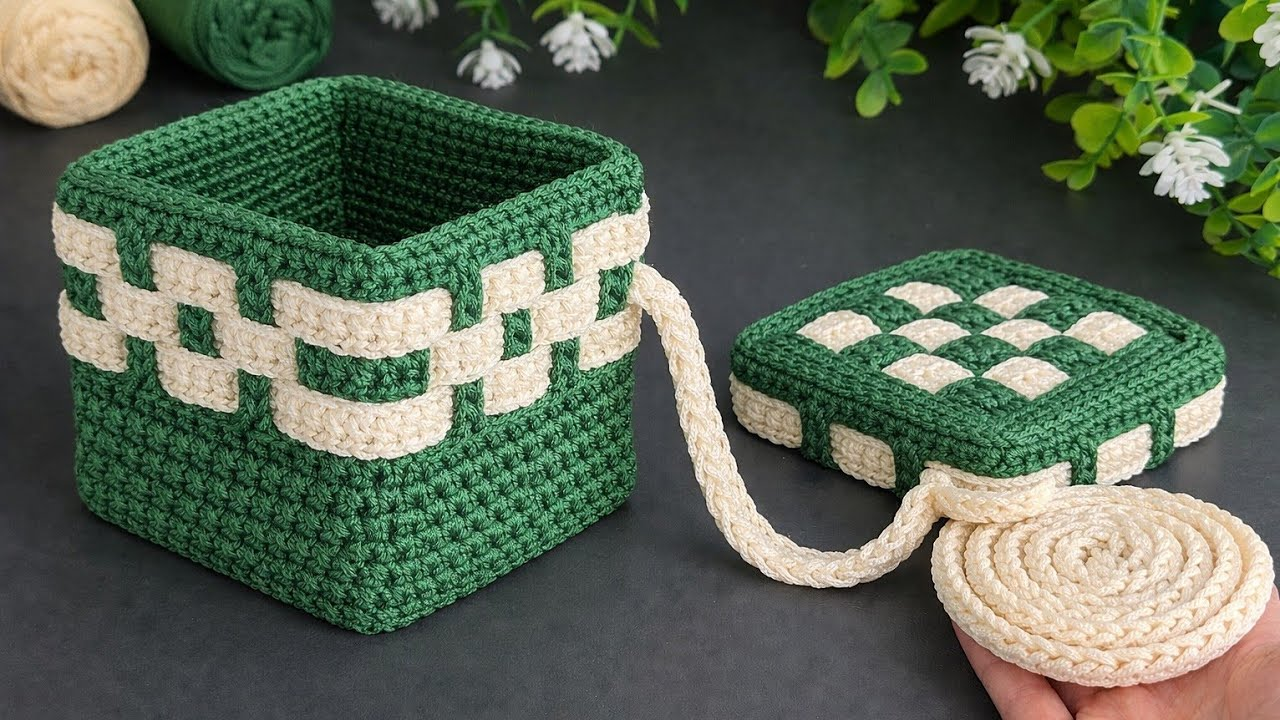
by Crocheting a decorative basket is one of the most rewarding home decor projects. Unlike blankets or clothing, a basket is all about rigidity, weight, and structure. To make a basket that stands tall and doesn’t collapse, you have to approach the crochet process differently.
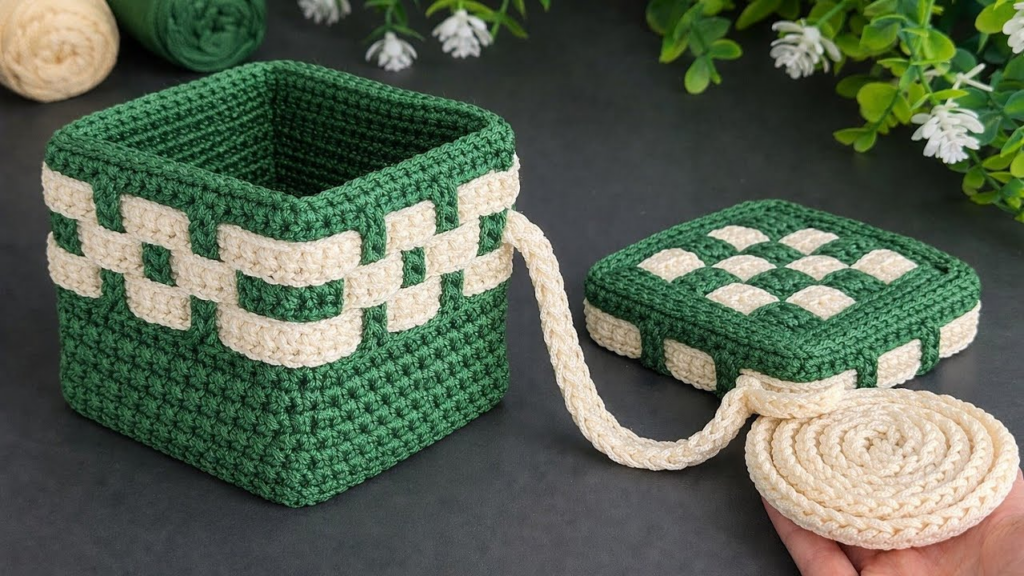
Here is your detailed guide to crafting a professional-looking, sturdy decorative basket.
🧶 The Toolkit for Structure
- Yarn: Do not use soft acrylic or thin cotton. Use T-shirt yarn, braided cotton cord (3mm–5mm), or jute. These materials are inherently thick and heavy.
- Hook: Use a hook 1.0 mm to 2.0 mm smaller than what is recommended on the yarn label. You want your stitches to be extremely tight—so tight that you have to use a bit of muscle to pull the yarn through.
- Optional: A piece of thick cardboard or wood cut to the size of your base to insert for extra support.
🛠 Phase 1: The Bulletproof Base
If your base is wavy, your basket will wobble. You want a flat, dense circle or rectangle.
- The Technique: Use the “Waistcoat Stitch” (also known as the Knit Stitch). You work your
scby inserting your hook into the center of the stitch below, rather than under the top loops. This creates a thick, woven-looking fabric that is very rigid. - The Increase: To keep a circle flat, you must follow the mathematical rule of circles:
- Round 1: 6 sc in magic ring.
- Round 2: 2 sc in each st (12 sts).
- Round 3: 1 sc, 2 sc in next st (18 sts).
- Round 4: 1 sc, 1 sc, 2 sc in next st (24 sts).
- The Test: Lay it flat. If it starts to ruffle, you are increasing too much. If it starts to cup, you are not increasing enough.

🛠 Phase 2: Creating the Walls
Once your base is the desired size, it is time to make the walls turn upward.
- The Turning Round: Work one round of
scby inserting your hook into the back loop only (BLO) of the last base round. This creates a visible “seam” that acts as a hinge, forcing the walls to stand straight up rather than flaring out. - The Build: Continue with the Waistcoat Stitch or a simple, tight
sc. Avoid usingdc(double crochet), as the extra height creates gaps that make the basket flimsy. - The Height: Continue until you reach your desired height. Remember, the taller the basket, the more likely it is to lean; if you want a tall basket, consider using a thicker cord.

🛠 Phase 3: The Finishing Touches
- The Reinforced Rim: To prevent the top from stretching, work your final round using a slip stitch along the very top edge. This creates a non-stretch “binding” that keeps the rim looking neat.
- Adding Handles: To create handles, skip 6–8 stitches, then chain 8–10 stitches, then skip 6–8 stitches and continue the pattern. On the next round, work
scover the chain space to create a thick, sturdy handle. - Decorative Details:
- Leather Tabs: Buy pre-made leather tags or handles and screw/sew them onto the sides. This immediately elevates a “homemade” basket into a “designer” piece.
- Color Blocking: Switch to a different color of cord for the final 3 rounds to create a modern, dip-dyed look.

✨ Pro-Tips for Rigidity
- The Steam Trick: If your basket feels a little soft, place it over a bowl (or a similar-sized object) and steam it heavily with a garment steamer. As the fibers cool while molded over the object, they will “lock” into that shape.
- Fabric Stiffener: For very decorative (non-food) baskets, you can brush the exterior with a mixture of PVA glue and water. Once dry, it will become as hard as wood.
- Inner Support: If you want a tall laundry-style basket, crochet a “sleeve” for a plastic bin. Use the plastic bin as a frame, and crochet your basket to fit snugly around it. You get the stability of plastic with the beautiful aesthetic of handmade crochet.
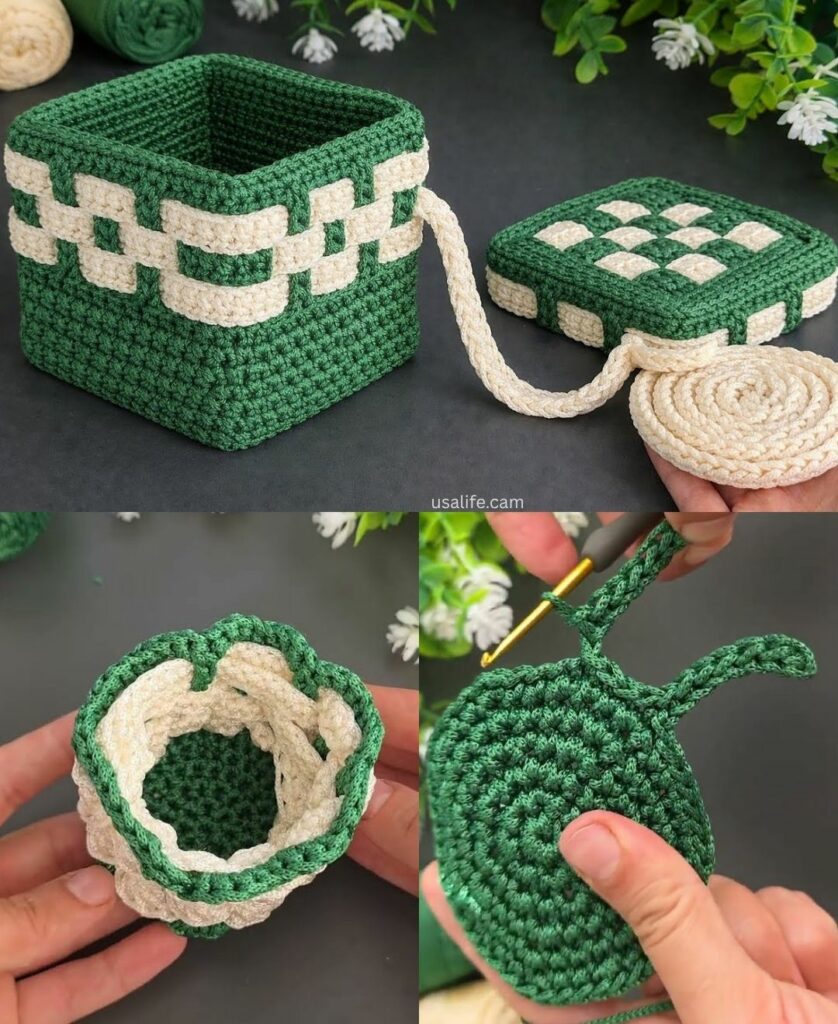
💡 Project Ideas
- The “Plant” Basket: Create a basket slightly wider than your favorite plant pot. Add a heavy cardboard disc to the bottom so it sits perfectly flat.
- The Entryway Tray: Use a rectangular base pattern to create a shallow basket for keys and mail. Use a dark-colored jute for a rustic, sophisticated look.
Would you like me to explain the specific math for a rectangular basket base, or would you like to know how to crochet a decorative “tassel” to hang from your basket handles?