by
by 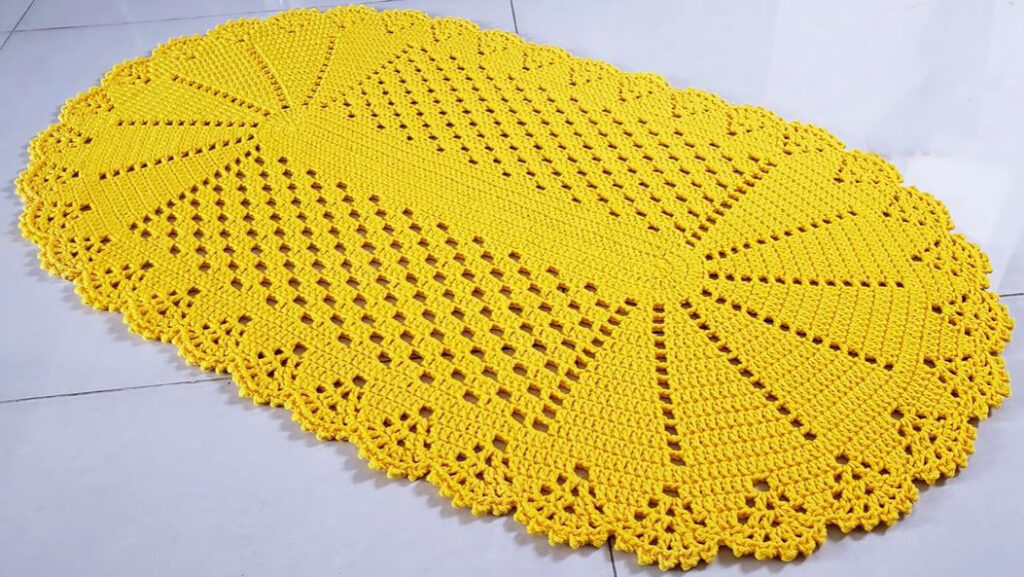
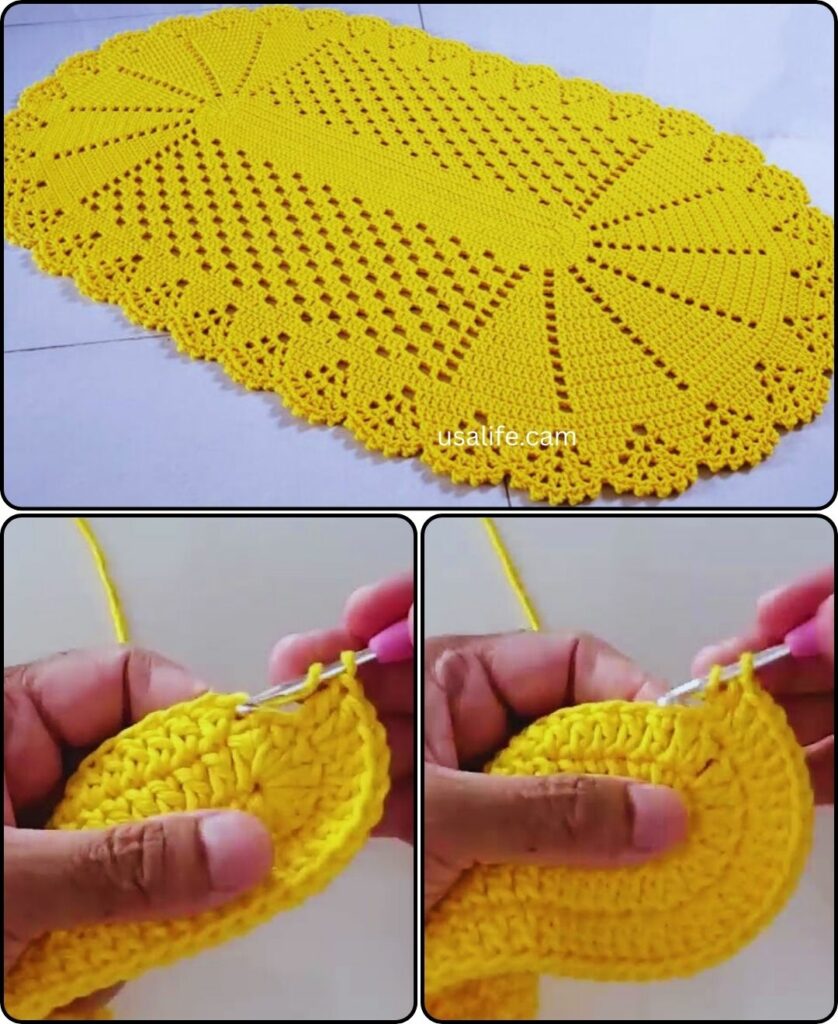
Transform your space with a touch of handmade charm! Crocheting an oval rug is a delightful project that’s surprisingly beginner-friendly. Dive into this detailed guide, and soon you’ll be basking in the warmth of your own handcrafted creation.
Materials:
- Yarn: Choose a medium-weight yarn suitable for rugs. Cotton or wool blends are durable options. Consider texture and color combinations for visual interest!
- Crochet hook: Opt for a hook size recommended for your chosen yarn. Remember, a tighter gauge creates a sturdier rug.
- Stitch markers (optional): These come in handy for marking the center and turning points of your oval.
- Scissors and tapestry needle: To weave in ends and add finishing touches.
Choosing Your Size and Shape:
Before diving into stitches, decide on your rug’s dimensions. Measure the space you intend it for, or freestyle for a unique centerpiece. Remember, the longer the chain you start with, the wider your oval will be. The number of rows determines the length. Sketch an oval on paper to visualize your desired shape.
Foundation Chain:
- Magic Ring: This method creates a seamless center. Make a magic ring and chain the desired number of stitches (remembering the width-to-length ratio). Slip stitch to join and close the ring.
- Chain Method: Alternatively, chain the desired number of stitches, turn, and skip the first stitch. Work your first row into the remaining chain stitches.
Shaping the Oval:
Now comes the magic! To create the oval shape, we’ll work increases and decreases at specific points. Here’s the basic principle:
- Increases: Work two stitches into the same stitch at the designated points on the short ends of the oval. This adds width and rounds out the shape.
- Decreases: Skip a stitch before working into the next. This tapers the oval at the ends.
Basic Crochet Stitch:
For a beginner-friendly rug, the single crochet stitch is a perfect choice. It creates a dense, sturdy fabric ideal for high-traffic areas. Insert your hook under both loops of the stitch below, yarn over, and pull through. Repeat for each stitch across the row.
Working Rounds:
Once you’ve established the foundation chain and shaping technique, it’s time to crochet rounds! Each round builds upon the previous one, gradually increasing the size of your oval. Remember to mark the turning points to maintain your shape.
Tips and Tricks:
- Tension: Maintaining consistent tension is key for a neat and even rug. Practice on a scrap piece before starting your project.
- Color Changes: Add pops of personality with yarn changes! Experiment with stripes, patterns, or simply a contrasting border.
- Changing Stitches: Don’t be afraid to venture beyond single crochet! Half double crochet or double crochet create a thicker texture.
- Blocking (optional): This technique stretches and evens out your finished rug. Soak it in lukewarm water with mild detergent, lay it flat to dry, and pin it to the desired shape.
Finishing Touches:
Weave in all loose ends to secure your handiwork. Add a fringe or border for a decorative touch. Finally, step back and admire your beautiful creation!
Beyond the Basics:
This guide lays the foundation for crocheting an oval rug. As you gain confidence, explore endless possibilities! Incorporate textured stitches, cables, or colorwork for unique designs. You can even add a backing for extra comfort and grip.
Remember, crocheting is a journey of creativity and self-expression. So grab your hook, let your imagination flow, and get hooked on ovals!
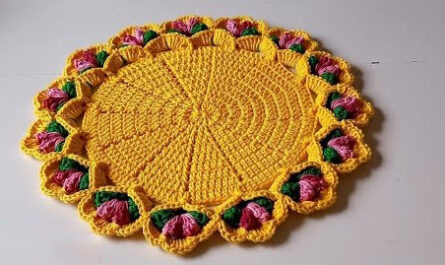
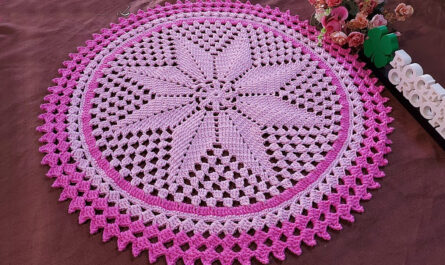
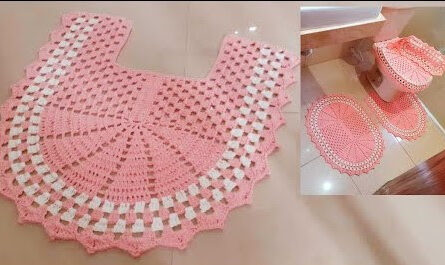
Inspiration Gallery:
Get inspired by these stunning examples of crocheted oval rugs:
With dedication and a dash of creativity, you’ll soon be gracing your floors with a one-of-a-kind, handcrafted oval rug! Happy crocheting!
Video tutorial