 by
by 
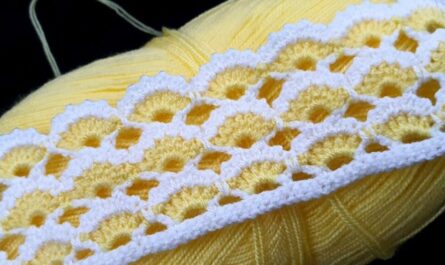
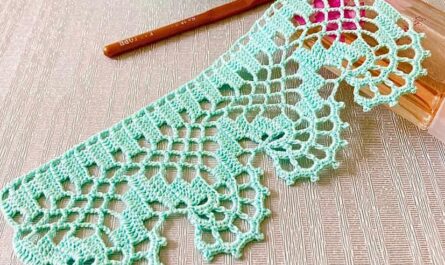
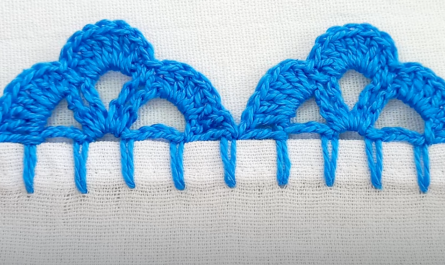
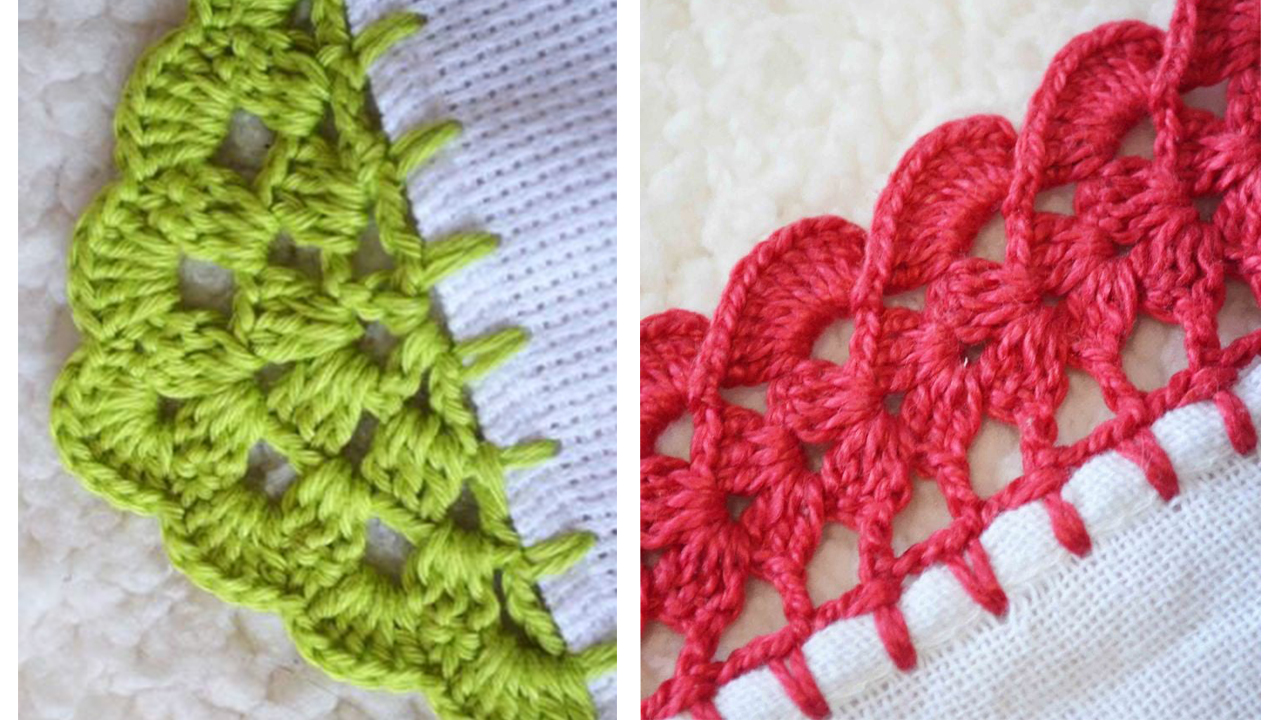
The arcade stitch, with its textured shells and airy spaces, creates beautiful blankets. But why not elevate your creation with a stunning arcade stitch border? This detailed pattern will guide you through the process, step-by-step, even if you’re a beginner!
Materials:
- Crochet hook appropriate for your yarn weight and gauge (recommended size listed in the stitch multiple below)
- Yarn of your choice, enough to complete the border
- Measuring tape
- Tapestry needle (optional, for weaving in ends)
Skill Level: Beginner with basic crochet knowledge
Gauge: You don’t necessarily need to match the blanket gauge, but a similar gauge will create a more harmonious look. Check your blanket pattern for its gauge or work a small swatch to determine yours.
Stitch Multiple: The key to this border is understanding the stitch multiple of your blanket. This refers to the number of stitches that repeat across a row. Since the border utilizes groups of stitches, it needs to be a multiple of 6 + 3 (e.g., 9, 15, 21). If your blanket stitch multiple doesn’t work, consider adding foundation chains at the beginning of each row to adjust it.
Pattern:
Foundation Row:
- Around your entire blanket, work a row of single crochets (sc) into each stitch. At the corners, work 2 sc into the corner stitch.
Border Rows:
Row 1:
- Ch 2, skip 1 sc, dc (double crochet) into the next sc, ch 2, skip 2 sc, dc into the next sc. Repeat from * to * across the entire row, finishing with a dc in the last sc. At the corners, work 3 dc into the corner sc, ch 2, turn.
Row 2:
- Ch 2, dc into the ch-2 space, ch 3, skip 3 stitches (including the top of the dc from the previous row), sc into the next 3 stitches (these form the center of a shell). Repeat from * to * across the entire row, finishing with a sc in the ch-2 space of the last dc from the previous row. At the corners, work sc into the ch-2 space, ch 3, sc into the next sc, ch 2, sc into the corner sc, turn.
Rows 3 & 4:
- Repeat row 2 two more times (rows 3 and 4).
Final Round:
- Work a row of single crochets around the entire border, working 2 sc into each corner stitch.
Finishing Touches:
- Weave in all ends securely.
- Block your blanket for a neat and even finish (optional).
Tips:
- Use stitch markers to mark the beginning and end of each repeat within the rows.
- Pay close attention to your stitch count, especially at the corners.
- Adjust the number of border rows for the desired border width.
- This border can be adapted to work with different stitch multiples by adding or removing foundation chains at the beginning of each row.
- For a different look, experiment with different stitch combinations within the border pattern.
Video tutorial
Video Tutorials:
Additional Resources:
- https://www.windingroadcrochet.com/arcade-waffle-crochet-blanket-pattern/
- https://m.youtube.com/watch?v=7s9Qsuwq3Gc
With this detailed guide and a little patience, you’ll be adding a beautiful and unique arcade stitch border to your blanket in no time! Remember, practice makes perfect, so don’t be discouraged if it takes a few tries to get the hang of it. And most importantly, have fun and express your creativity!tunesharemore_vert