 by
by 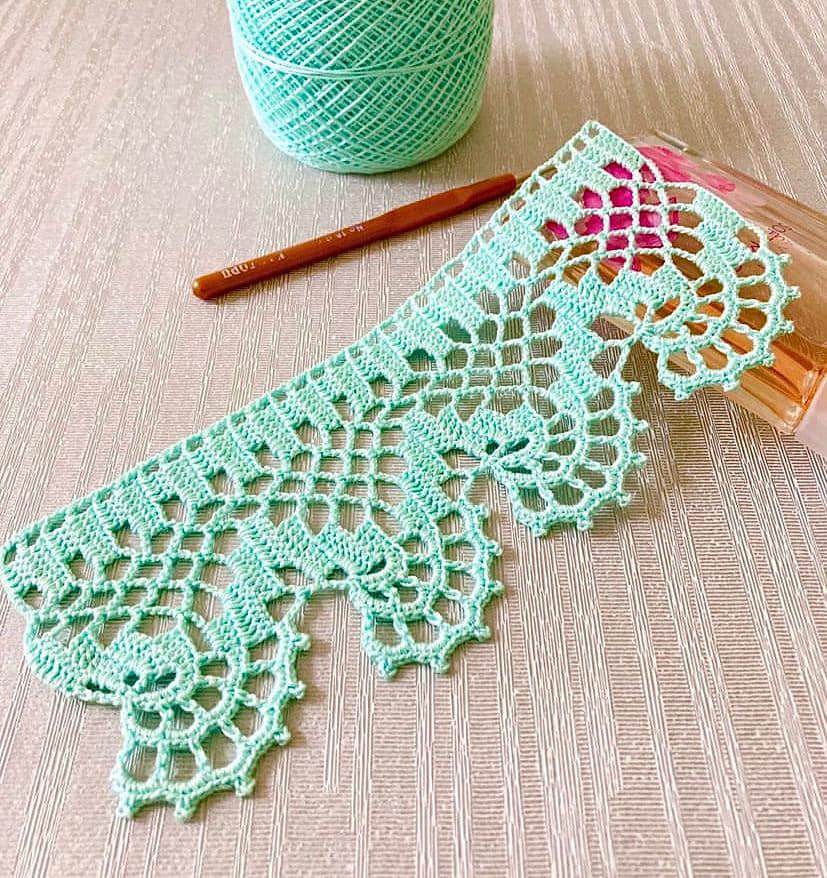
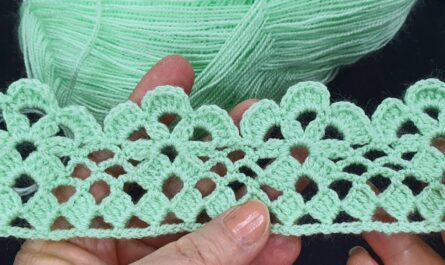
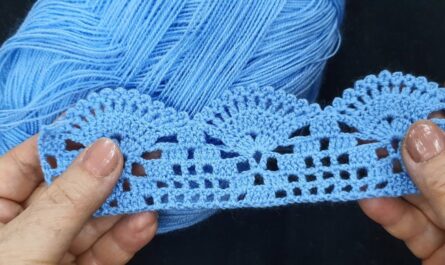
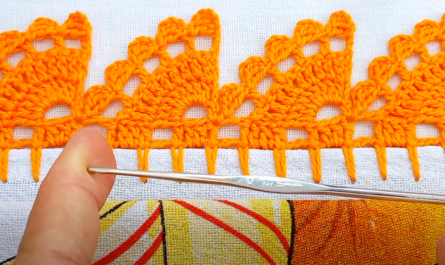
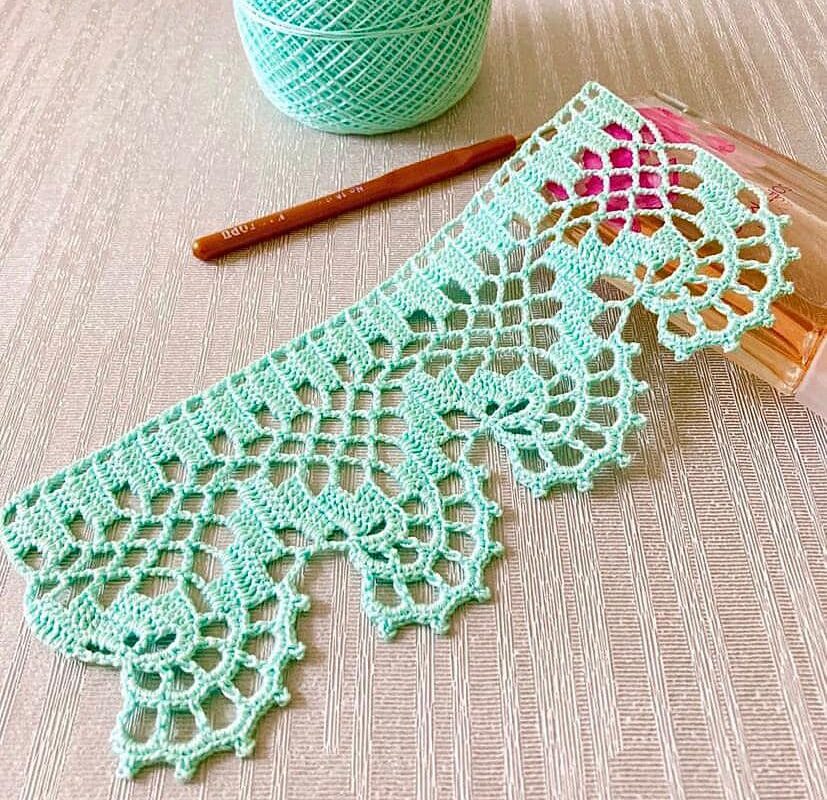
Adding a touch of delicate lace to your next project is a fantastic way to elevate its look and feel. Whether you’re embellishing a blanket, tablecloth, or potholder, a charming lace edge can transform it into a treasured piece. Today’s blog post guides you through creating a beautiful cover lace edge using basic crochet stitches.
Materials:
- Crochet hook appropriate for your yarn weight (recommended size: 3.5mm/E)
- Yarn in a color that complements your project (cotton or acrylic yarn works well)
- Tapestry needle (optional, for weaving in ends)
- Scissors
Skill Level: Beginner-friendly (basic crochet stitches required)
Gauge: Gauge is not crucial for this project as it’s decorative. However, matching the gauge of your main project will ensure a seamless transition.
Instructions:
1. Starting Chain:
Create a chain of stitches equal to the desired finished length of your lace edge. Remember to leave an extra tail of yarn for weaving in later.
2. Foundation Row:
Starting in the second chain from the hook, work single crochets (sc) across the entire chain. Turn your work.
3. Picot Row:
Chain 3, skip 2 stitches, slip stitch into the next stitch. This creates your first picot. Repeat chain 3, skip 2 stitches, slip stitch in the next stitch until you reach the end of the row. Turn your work.
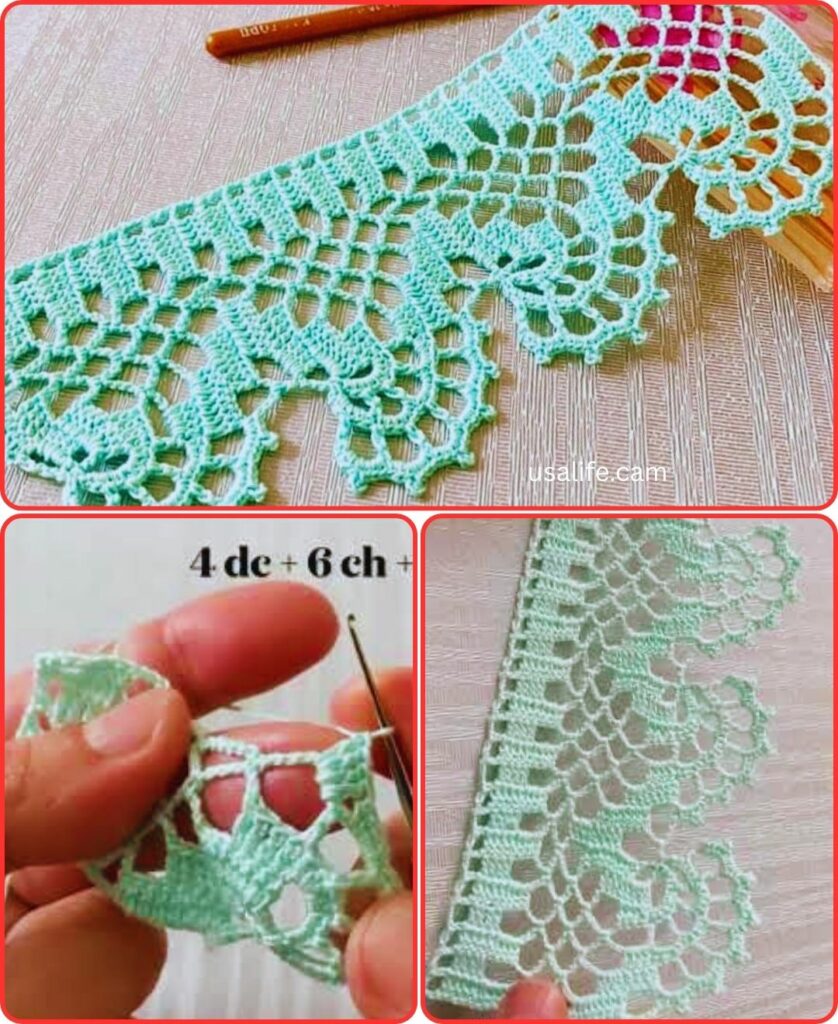
4. Shell Row:
Chain 2, 3 double crochets (dc) in the same stitch, chain 2, skip 2 stitches, 3 dc in the next stitch. Repeat this pattern until you reach the end of the row. Turn your work.
5. Repeat Rows 3 & 4:
Continue working rows 3 and 4 alternately, creating a repeating pattern of picots and shells. You can adjust the number of rows to achieve your desired lace width.
6. Finishing Touches:
Bind off by slip stitching into the last stitch of the final row. Weave in any loose ends with a tapestry needle.
Video tutorial
Tips:
- Use a smaller hook size for a more delicate lace edge.
- Experiment with different stitch combinations for unique designs.
- Add beads or other embellishments for a personalized touch.
- Block your finished project for a crisp and even look.
Additional Resources:
- For visual learners, check out these helpful video tutorials:
- Explore online resources for a wider variety of cover lace edge patterns:
Remember, practice makes perfect! Don’t hesitate to experiment and have fun with different colors, textures, and stitch combinations. With a little patience and creativity, you’ll soon be crocheting stunning cover lace edges that add a touch of elegance to your projects!tunesharemore_vert