by
by 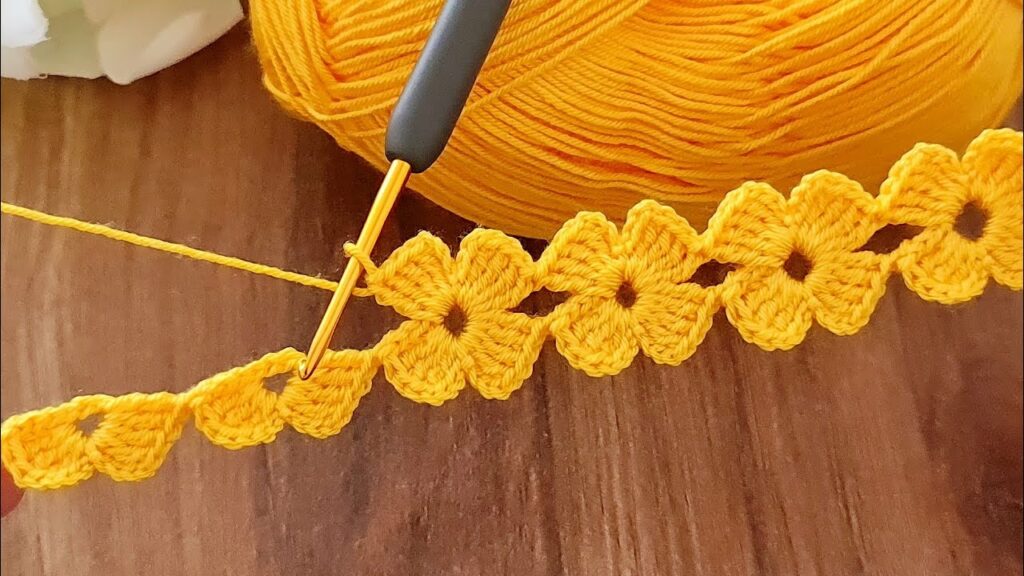
The beauty of crochet lies in its versatility. With just a few basic stitches, you can create endless textures and patterns. Today, we’ll embark on a journey to crochet a Stitchtacular Blanket, where each stitch becomes a celebration of crochet’s boundless potential.
Before we begin:
- Choose your yarn: Consider weight, fiber content, and color palette. Bulky yarn creates a quick and cozy blanket, while thinner yarn offers more drape and detail. Experiment with color combinations to match your style.
- Select your hook: Match the hook size to your yarn weight for optimal tension.
- Gather your tools: You’ll need a tapestry needle for weaving in ends, scissors, and stitch markers (optional).
Let’s get stitching!
1. Foundation Chain:
Start with a chain long enough for your desired blanket width. Chain multiples of 2 (for even rows) or 3 (for chevron patterns) depending on your chosen stitch.
2. Stitch Exploration:
This is where the fun begins! There are countless stitch combinations to explore. Here are some ideas to get you started:
- Easy Peasy:
- Single Crochet: For a classic, timeless look.
- Double Crochet: Creates a denser fabric, perfect for warmth.
- Half Double Crochet: Adds a bit of texture and drape.
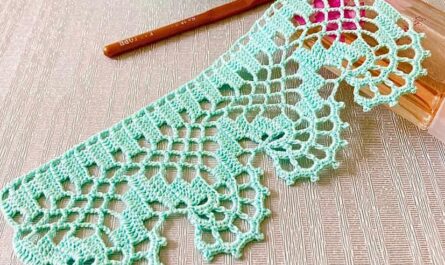
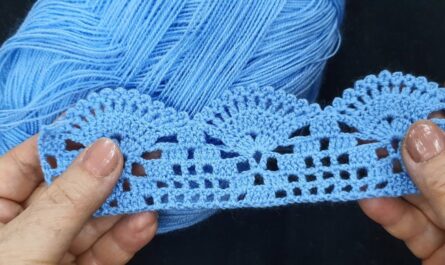
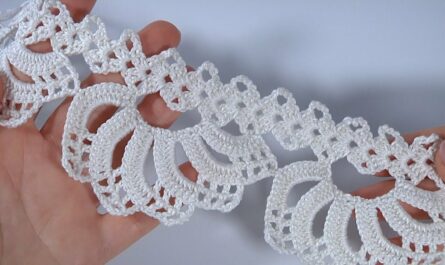
- Textured Delights:
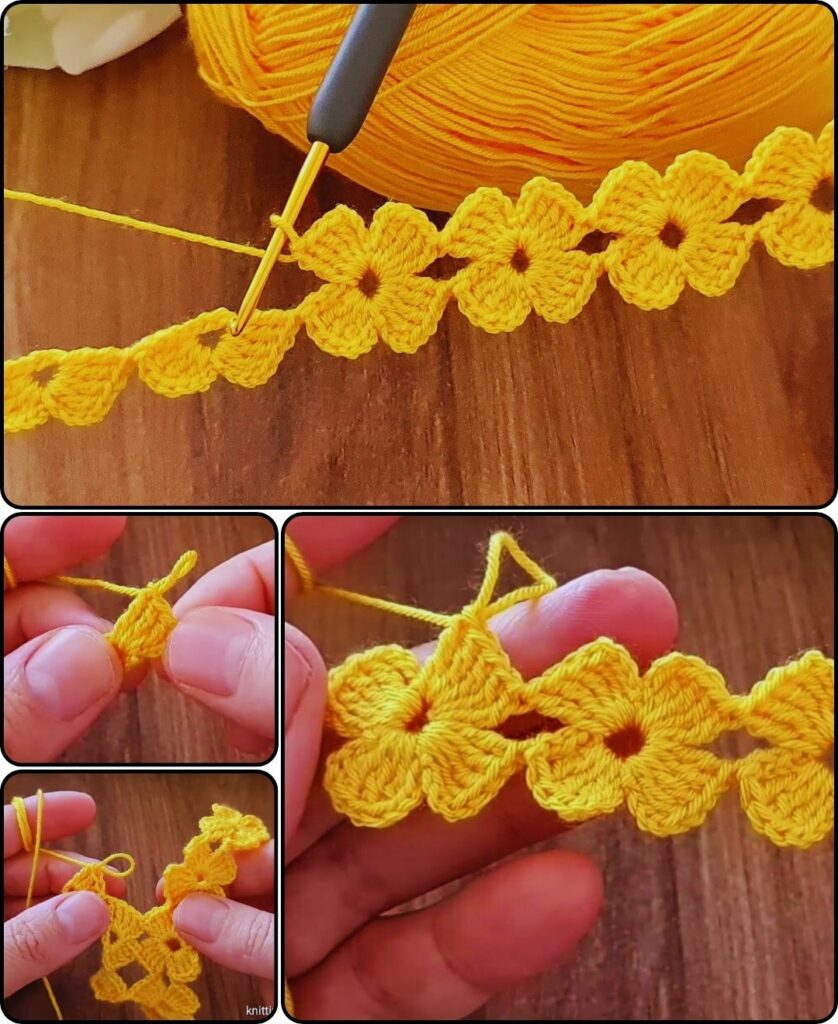
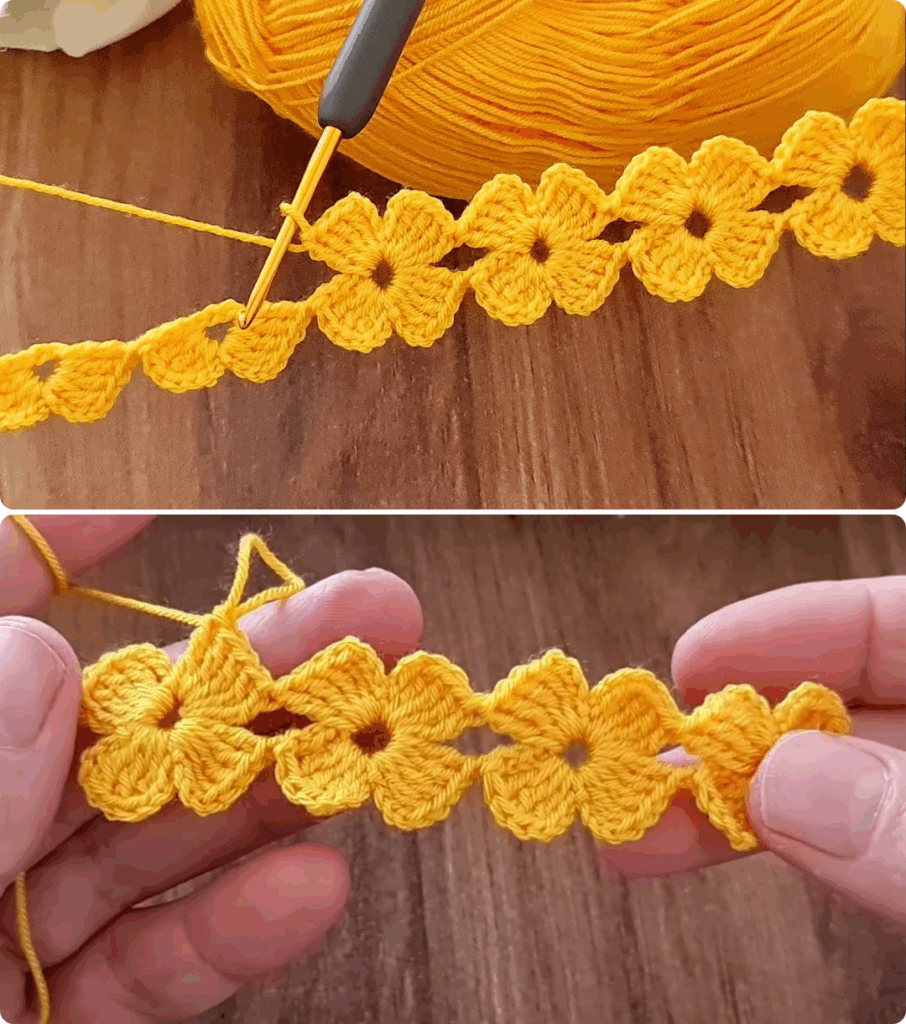
- Granny Stitch: A versatile stitch with endless variations.
- Waffle Stitch: Creates a beautiful grid-like texture.
- Popcorn Stitch: Adds playful pops of dimension.
- Fancy & Fun:
- Cluster Stitches: Experiment with different cluster sizes and arrangements.
- Cable Stitch: Creates a raised, rope-like effect.
- Brioche Stitch: Achieve a reversible, two-color fabric.
Remember, you can even combine different stitches within the same blanket!
3. Row by Row:
Once you’ve chosen your stitch, follow its instructions to work across the first row. Turn your work and repeat, following the pattern for each row. Use stitch markers to keep track of your progress.
4. Color Magic (Optional):
Incorporate color changes to add another dimension to your blanket. You can change colors at the end of each row, create stripes, or use more complex colorwork techniques like intarsia or mosaic crochet.
5. Finishing Touches:
Once you’ve reached your desired length, fasten off your yarn and weave in all ends securely. You can add a border for a polished look, using a simple single crochet or a more decorative stitch.
Tips & Tricks:
- Practice makes perfect: Don’t be discouraged if your first few stitches aren’t perfect. Keep practicing, and you’ll soon be a crochet pro!
- Use online resources: There are countless websites, blogs, and YouTube tutorials to help you learn new stitches and patterns.
- Don’t be afraid to experiment: The beauty of this project lies in its flexibility. Try different stitches, colors, and combinations to create a unique and personalized blanket.
Embrace the Stitchtacular journey!
With a little creativity and these basic steps, you can crochet a beautiful and unique blanket that showcases your love for the craft. Share your creations online with the hashtag #StitchtacularBlanket and inspire others!tunesharemore_vert
Video tutorial