by
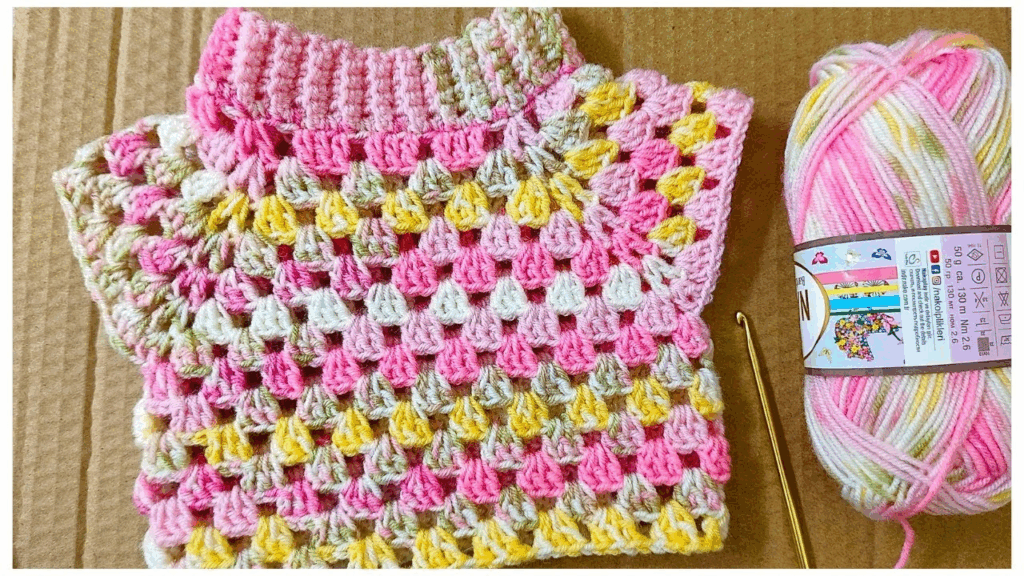
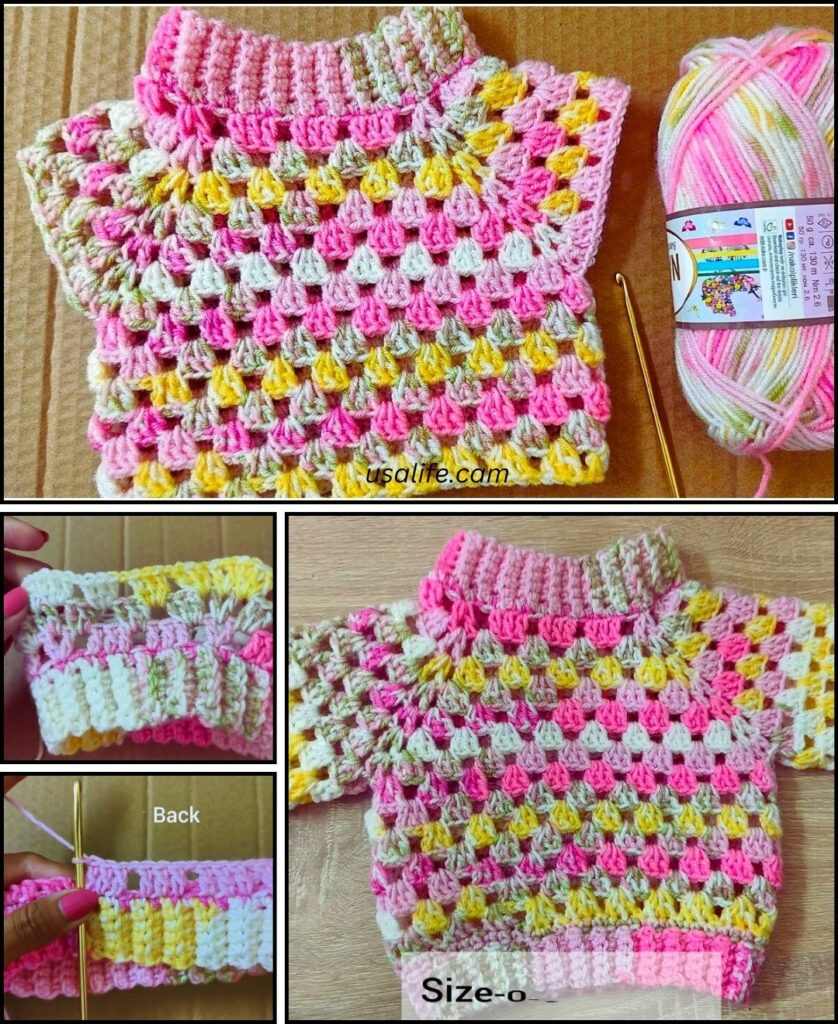
by Crocheting a baby cardigan is a rewarding project, perfect for a gift or a shower. For beginners, the simplest method is often the top-down seamless design, which starts at the neckline and increases evenly to form the yoke (shoulders and chest). This eliminates the need for separate pieces and a lot of sewing.
Here is a detailed guide on how to crochet a basic top-down seamless baby cardigan, typically sized for a 6-9 month old baby.
Materials Needed
- Yarn: About 300-400 yards of DK weight (size 3/light worsted) or worsted weight (size 4) acrylic, cotton, or blend yarn. Choose a yarn that is soft and machine washable.
- Crochet Hook: The size recommended for your chosen yarn (e.g., 4.0 mm for DK or 5.0 mm for worsted).
- Stitch Markers: 4 markers are essential for tracking the corners of the yoke.
- Buttons: 3-5 small buttons.
- Scissors
- Tapestry Needle: For weaving in ends and sewing on buttons.
Abbreviations
- ch: chain
- sl st: slip stitch
- sc: single crochet
- hdc: half double crochet (The main stitch for this project)
- dc: double crochet
- inc: increase (2 hdc in one stitch)
- st(s): stitch(es)

Part 1: The Yoke (Top-Down Shaping)
We will use the half double crochet (hdc) stitch for a great blend of speed, drape, and warmth.
- Foundation Chain (Neckline): ch 44 (This is a good size for a 6-9 month neckline. Adjust by adding or subtracting 4 stitches, maintaining an even number).
- Row 1 (Setup):hdc in the 3rd ch from the hook (this counts as the first hdc) and hdc in the next 4 sts.
- ch 2 (First Corner). Place a stitch marker in the ch-2 space.
- hdc in the next 7 sts (Shoulder 1).
- ch 2 (Second Corner). Place a stitch marker.
- hdc in the next 14 sts (Back).
- ch 2 (Third Corner). Place a stitch marker.
- hdc in the next 7 sts (Shoulder 2).
- ch 2 (Fourth Corner). Place a stitch marker.
- hdc in the remaining 5 sts (Front Band 2).
- ch 2 and turn. (40 hdc total, plus 4 ch-2 spaces)
- Row 2 (Increase Row):hdc in each st until you reach the first ch-2 space.
- Corner Increase: In the ch-2 space, work (hdc, ch 2, hdc). Move the stitch marker to the new ch-2 space.
- hdc in each st until you reach the next ch-2 space.
- Repeat the Corner Increase (hdc, ch 2, hdc) in the next three corner spaces, moving the marker each time.
- hdc in each remaining st.
- ch 2 and turn.
- (Note: The stitch count increases by 8 stitches in every increase row.)
- Repeat Row 2 until the yoke measures approximately 6 to 7 inches from the neckline, or until you can comfortably join the underarms. Typically, this takes about 8 to 10 rows. Do not chain 2 and turn on the final yoke row.

Part 2: Separating for Sleeves and Body
This row connects the front and back sections, creating the openings for the sleeves.
- Body Joining Row: hdc in each st up to the first corner ch-2 space.
- Skip First Sleeve: ch 2 (this forms the underarm chain). Skip all stitches up to the next corner ch-2 space (all the shoulder/sleeve stitches).
- Back: hdc in the second corner ch-2 space, and hdc in each st across the back until you reach the third corner ch-2 space.
- Skip Second Sleeve: ch 2. Skip all stitches up to the fourth corner ch-2 space.
- Front: hdc in the fourth corner ch-2 space, and hdc in each remaining st across the front.
- ch 2 and turn.
- (You have now joined the body and separated the front and back sections from the sleeves.)
Part 3: The Body
- Continue the Body: hdc in each st across the row, including working hdc in each of the ch-2 underarm chains.
- Repeat this row (hdc in every st, ch 2 and turn) until the cardigan measures approximately 10 to 12 inches from the neckline to the bottom hem, or your desired length.

Part 4: Finishing the Cardigan
A. The Bottom Ribbing (Optional)
- Row 1 (Ribbing Setup): ch 1 and turn. sc in each st across.
- Row 2 (Ribbing): ch 1 and turn. Working in the back loop only (BLO), sc in each st across.
- Repeat Row 2 for 3-5 rows for a simple ribbed border. Fasten off.

B. The Front Bands (Buttonholes)
- Right Front Band (Buttonholes): Rejoin yarn to the bottom corner of the right front edge. Work sc evenly up the side. Place stitch markers where you want your buttons (about 1.5 inches apart).
- Buttonhole Row: ch 1 and turn. sc up the row. When you reach a stitch marker, work [ch 2, skip 2 sts] to create the buttonhole. Continue sc to the end.
- Work 1-2 more rows of sc to finish the band. Fasten off.
- Left Front Band (Buttons): Rejoin yarn to the bottom corner of the left front edge. Work the same number of sc rows as the right side, but do not include buttonholes. Fasten off.
C. Final Details
- Sleeve Cuffs: Rejoin yarn to the underarm of one sleeve. Work in the round. hdc evenly around the armhole opening. Use sc and BLO to create a simple ribbing cuff if desired. Repeat for the second sleeve.
- Finishing: Weave in all loose ends. Sew your buttons onto the left front band to line up with the buttonholes on the right front band.
Your seamless top-down baby cardigan is complete!
Video tutorial: