by
by Crocheting a flower is one of the most versatile and enjoyable projects, offering endless design possibilities from flat appliqués to three-dimensional blooms. The most common flower designs are created by building layers of petals around a central ring.
Here is a detailed guide focusing on two popular flower designs for different uses: the Classic Flat Petal Flower (great for appliqués) and the 3D Layered Ruffle Flower (great for texture and realism).
Design 1: The Classic Flat Petal Flower (Beginner-Friendly)
This design is simple, quick, and perfect for embellishing other projects like hats, bags, or granny squares.
Materials and Abbreviations
- Yarn: Two contrasting colors (Center and Petals).
- Hook: Size appropriate for your yarn.
- sc: single crochet
- hdc: half double crochet
- dc: double crochet
- ch: chain
- sl st: slip stitch
Step-by-Step Pattern
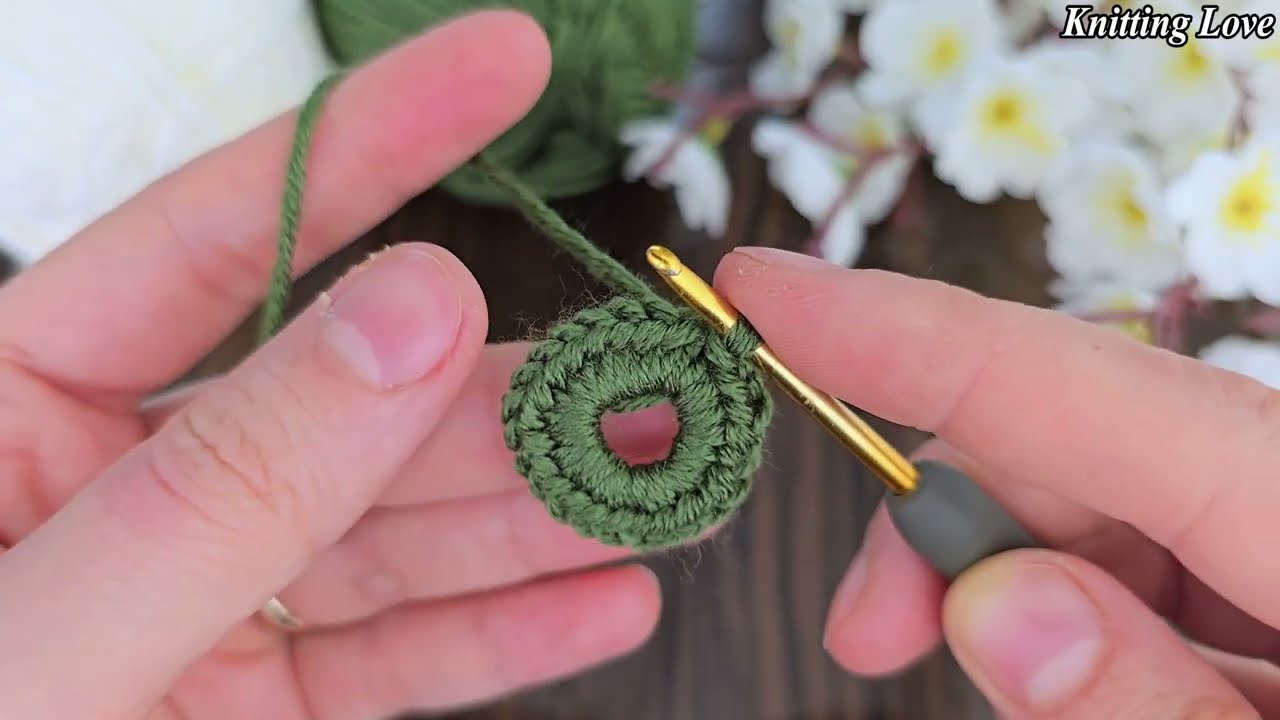
Part 1: The Center Ring (Color A)
- Start the Ring: With Color A, create a Magic Ring (or chain 4 and join with a sl st).
- Base Stitches: ch 1 (does not count as a stitch). Work 10 sc into the center ring.
- Finish: Pull the yarn tail tight to close the center hole. Join with a sl st to the first sc. (10 stitches).
- Fasten off Color A and weave in the end.
Part 2: The Petals (Color B)
The petals are worked directly into the 10 stitches from the center, using two stitches per petal for a total of 5 petals.
- Join Yarn: Join Color B into any sc stitch from the center with a sl st.
- First Petal:
- Work [ch 3, 2 tr, ch 3] into the same stitch where you joined. (Using treble crochet (tr) makes the petal longer and more pointed.)
- sl st into the next stitch. This anchors the petal.
- Repeat: Work the sequence [ch 3, 2 tr, ch 3, sl st] into the next stitch.
- Continue: Repeat the sequence [ch 3, 2 tr, ch 3, sl st] three more times.
- Finish: After the final petal, join with a sl st into the base of the very first petal.
- Fasten off Color B and weave in ends.
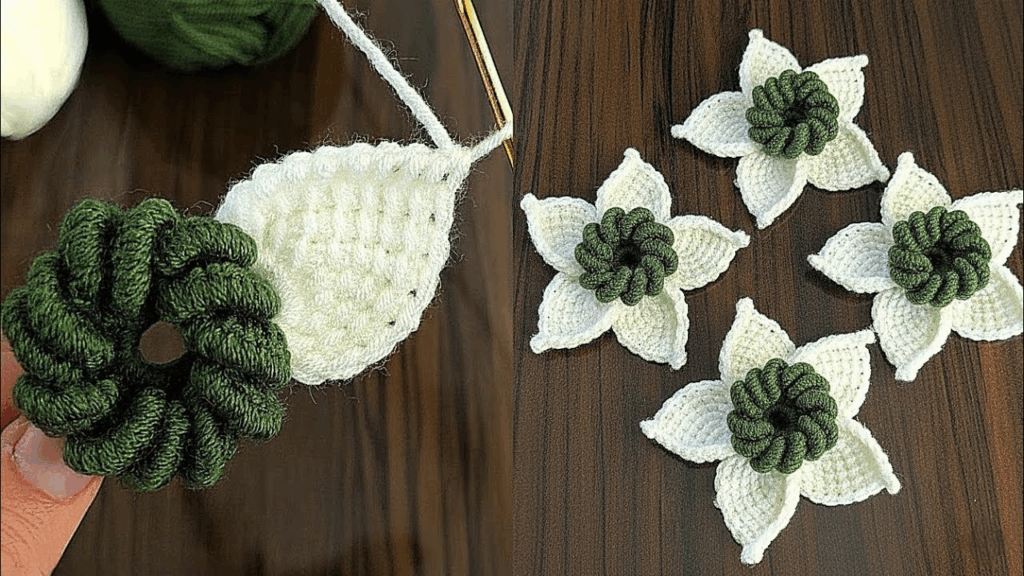
Design 2: The 3D Layered Ruffle Flower (Intermediate)
This design creates a more realistic, upright flower with a textured, ruffled appearance. It involves working behind the previous rounds to create layered petals.
Materials and Abbreviations
- Yarn: Three colors recommended (Center, Inner Petals, Outer Petals).
- dc-CL (Cluster): A decorative stitch often used for texture.
Step-by-Step Pattern
Part 1: Center and Anchor
- Round 1 (Center): With Color A, create a Magic Ring. Work 12 dc into the ring. Join with a sl st to the top of ch 3. (12 sts).
- Round 2 (Inner Foundation):ch 1. Work sc in the same st. ch 2. Skip the next stitch. Repeat [sc in next st, ch 2, sk 1] around. Join with a sl st to the first sc. (6 ch-2 spaces).
- Fasten off Color A.

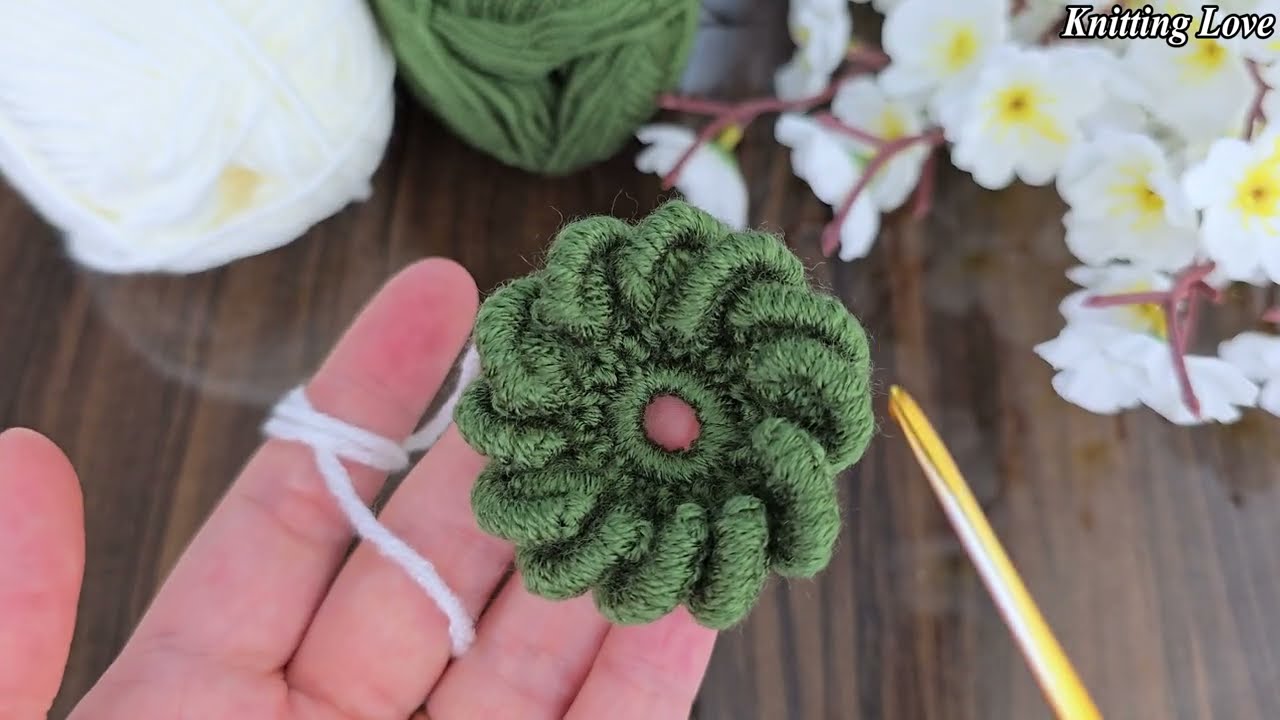
Part 2: Inner Petals (Color B)
The petals are worked into the ch-2 spaces.
- Join Yarn: Join Color B into any ch-2 space with a sl st.
- Inner Petal: Work [ch 2, 4 dc, ch 2, sl st] into the same ch-2 space. This creates a rounded, compact petal.
- Repeat: Repeat the petal sequence [sl st, ch 2, 4 dc, ch 2, sl st] in each of the remaining five ch-2 spaces.
- Finish: Join with a sl st and fasten off Color B.
Part 3: Outer Petals (Color C)
To create the next layer, you must work behind the previous petals, anchoring the new layer into the back loops of the stitches from Round 1.
- Round 3 (Outer Foundation): With Color C, turn the flower over. Join the yarn into the back loop (BLO) of any dc from Round 1 where the petals connect (this is an anchor point).
- ch 1, sc in the same loop. ch 3.
- Repeat [sc in the BLO of the 3rd dc from the previous sc, ch 3] around. You should have 6 large ch-3 loops behind the inner petals. Join with a sl st.
- Round 4 (Outer Petal Shaping):sl st into the first ch-3 space.
- Outer Petal: Work [ch 3, 6 dc, ch 3, sl st] into the same ch-3 space.
- Repeat: Work the sequence [sl st, ch 3, 6 dc, ch 3, sl st] in each of the remaining five ch-3 spaces.
- Finish: Join with a sl st, fasten off, and weave in all ends.
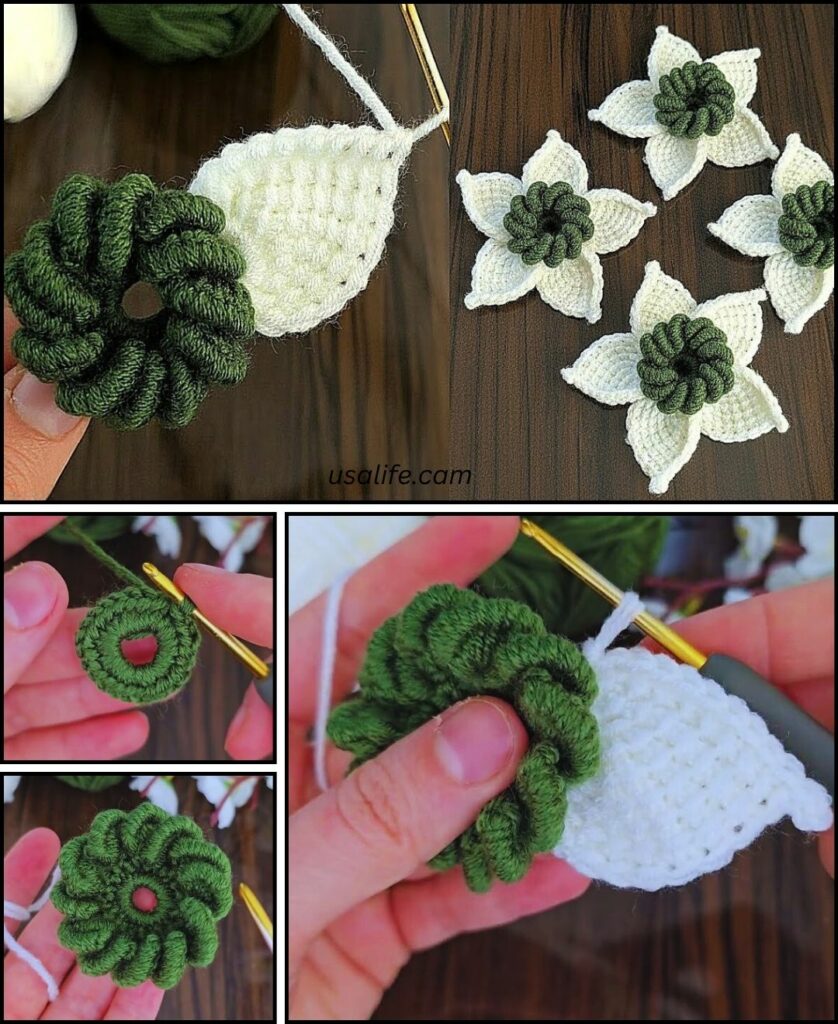
Gently fold the outer petals slightly outward to reveal the inner layer, giving your flower a beautiful 3D effect.
Video tutorial: