by
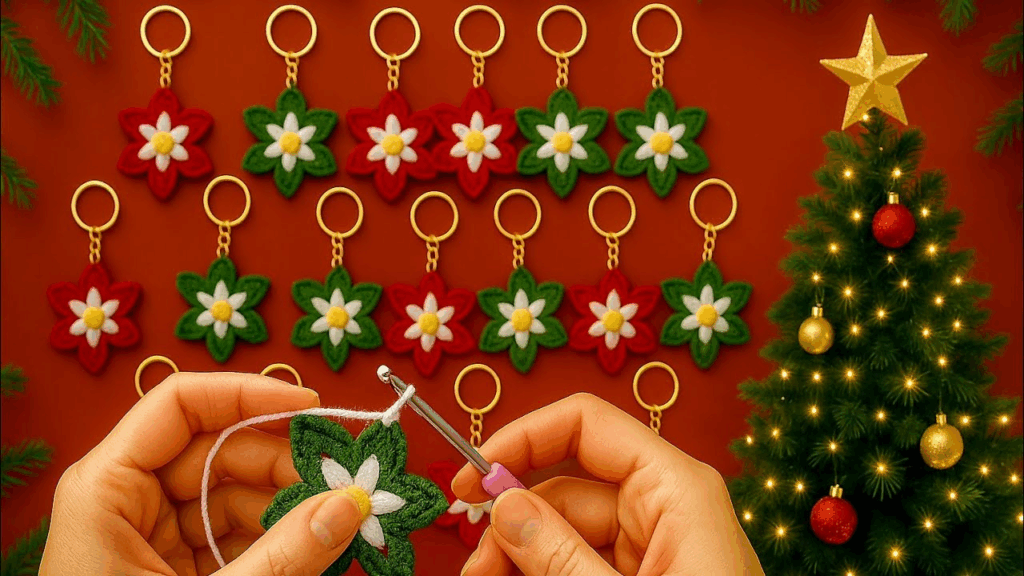
by Crocheting a small Christmas keychain is a fast, fun, and festive project, perfect for holiday gifting or stocking stuffers! This guide will detail how to make a classic miniature Santa Hat Keychain, which is ideal for beginners comfortable with working in the round (Amigurumi style).
Materials Needed
- Yarn: Small amounts of medium-weight yarn (worsted/size 4).
- Color A: Red (Hat Body)
- Color B: White (Hat Trim/Pom-Pom)
- Crochet Hook: The size recommended for your yarn. Use a hook one size smaller than recommended to ensure a tight fabric, which is best for small stuffed items.
- Stuffing: A tiny bit of polyester fiberfill (or yarn scraps) to shape the pom-pom.
- Keychain Hardware: A key ring, swivel clasp, or jump ring.
- Scissors
- Tapestry Needle: For sewing and weaving in ends.
- Stitch Marker (Optional but Recommended): To mark the start of rounds.
Abbreviations
- ch: chain
- sl st: slip stitch
- sc: single crochet
- inc: increase (work two single crochet stitches in the same stitch)
- dec: decrease (work a single crochet two together, or sc2tog)
- st(s): stitch(es)

Part 1: The Hat Body (Color A – Red)
The hat is worked in continuous rounds, starting from the tip and gradually increasing to create a cone shape.
- Round 1 (Tip): With Color A (Red), start with a magic ring. Work 4 sc into the ring. (4 sts)
- Round 2: sc in each stitch around. (4 sts)
- Round 3: [sc in the next st, inc] 2 times. (6 sts)
- Round 4: sc in each stitch around. (6 sts)
- Round 5: [sc in the next 2 sts, inc] 2 times. (8 sts)
- Round 6: sc in each stitch around. (8 sts)
- Round 7: [sc in the next 3 sts, inc] 2 times. (10 sts)
- Round 8: sc in each stitch around. (10 sts)
- Round 9: [sc in the next 4 sts, inc] 2 times. (12 sts)
- Round 10: sc in each stitch around. (12 sts)
- Round 11: [sc in the next 5 sts, inc] 2 times. (14 sts)
- Round 12: sc in each stitch around. (14 sts)
- Round 13 (Final Increase): [sc in the next 6 sts, inc] 2 times. (16 sts)

Part 2: The Hat Trim (Color B – White)
The white trim is worked onto the last round of the red cone.
- Change Color: On the last pull-through of the final sc in Round 13, drop Color A and join Color B (White).
- Round 14 (Trim):ch 1 (does not count as a st). Working in the back loop only (BLO), sc in each of the 16 stitches around. Join with a sl st to the first sc. (16 sts)
- (Working in the BLO helps the trim stick out neatly.)
- Round 15 (Trim): ch 1. sc in each stitch around, working through both loops this time. Join with a sl st to the first sc. (16 sts)
- Fasten off Color B, leaving a tail for weaving.

Part 3: Pom-Pom and Assembly
A. Pom-Pom
We will make a mini-pom-pom for the hat tip.
- Preparation: Rejoin Color B (or use a separate piece) at the very tip of the hat (Round 1).
- Pom-Pom Base: ch 2. Work 4 dc into the same stitch where you joined.
- Secure:sl st back into the same joining stitch. Fasten off, leaving a tail.
- (Alternative: Make a tiny yarn pom-pom and sew it on.)
- Weave in all the remaining red and white tails around the trim.

B. Keychain Loop
- Attach Hardware: Take a piece of red yarn and thread it through the small hole at the tip of the hat.
- Create Loop: Tie the yarn securely to the key ring or clip. Adjust the length of the yarn loop as desired.
- Secure: Knot the yarn ends tightly and weave them back into the top of the hat to hide them.
Your adorable miniature Santa Hat Keychain is complete!
Video tutorial: