by
by That’s a fantastic choice! The Crochet Square Motif is the cornerstone of so many projects, from blankets to garments. I will detail a classic and versatile design: the Textured Granny Square Motif, which is excellent for intermediate beginners as it introduces the popcorn stitch for a lovely, eye-catching center.

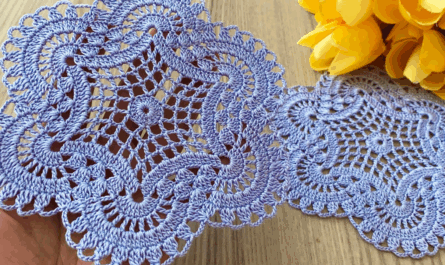
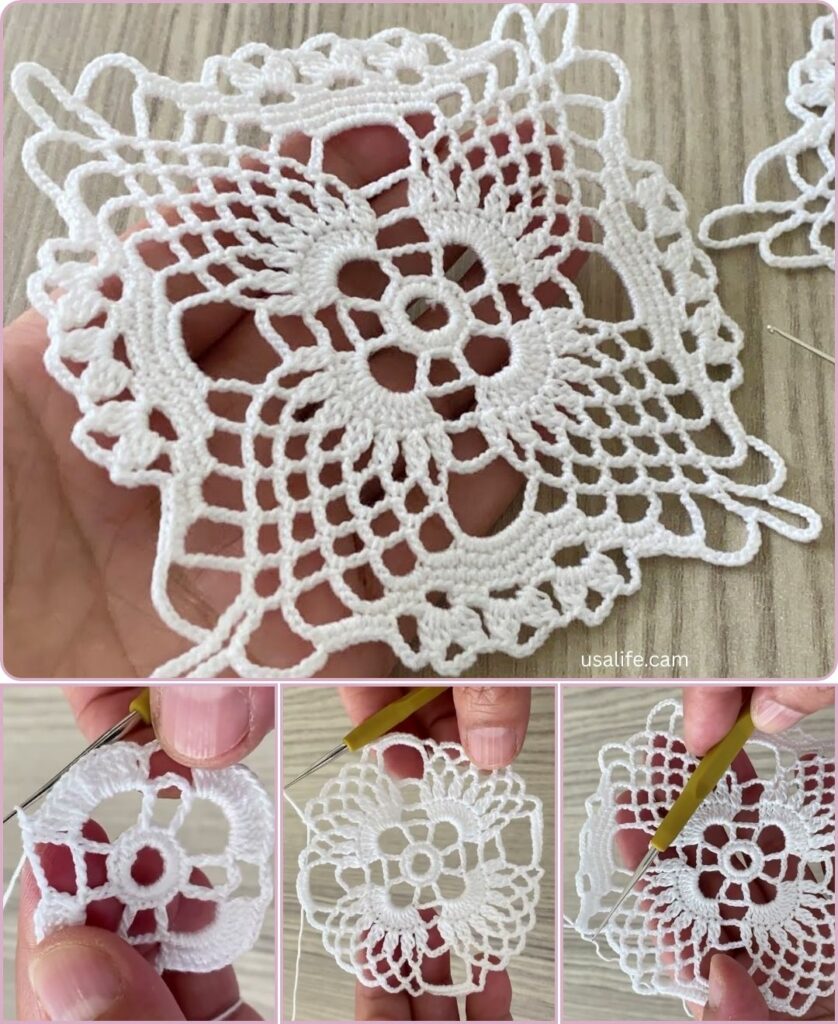
🌟 Textured Popcorn Center Square Motif Tutorial
This motif combines the dense texture of a popcorn stitch with the airy structure of a traditional granny square frame, offering a great balance of visual interest and ease of joining.
Materials You’ll Need
- Yarn: Medium-weight yarn (worsted/size 4) or DK yarn.
- Tip: Use two contrasting colors (A for the center, B for the frame) to highlight the texture.
- Crochet Hook: The size appropriate for your yarn (e.g., 5.0 mm).
- Scissors, Tapestry Needle.
Key Crochet Terms
| Abbreviation | Stitch Name |
| ch | Chain |
| sl st | Slip Stitch |
| dc | Double Crochet |
| Popcorn | Popcorn Stitch (Special Stitch) |
| Corner | (3 dc, ch 2, 3 dc) |
Special Stitch: Popcorn Stitch
This stitch creates the raised, textured ‘bobble’ in the center.
- Work 5 dc into the same stitch or space.
- Drop the loop from the hook.
- Insert the hook into the top of the very first dc of the 5-dc group.
- Catch the dropped loop and pull it through the first dc stitch.
- ch 1 to close (this locks the stitch and creates the pop).

Part 1: Creating the Popcorn Center (Color A)
Round 1: Foundation
- Start: With Color A, make a Magic Ring (or ch 4, sl st to join).
- Base: ch 3 (counts as dc). Work 11 dc into the ring.
- Finish: Pull the tail tight. Join with a sl st to the top of the ch 3. (12 sts).
Round 2: The Textured Popcorns
- ch 3 (counts as dc). Work 4 dc into the same stitch. Drop the loop and pull it through the top of the beginning ch 3 to form the first Popcorn Stitch (Popcorn). ch 2.
- Repeat: Work a Popcorn Stitch into the next stitch. ch 2.
- Continue [Popcorn in next st, ch 2] 10 more times. (12 Popcorns, 12 ch-2 spaces).
- Finish: Join with a sl st to the top of the first Popcorn. Fasten off Color A.

Part 2: Squaring the Motif (Color B)
Round 3: Establishing Corners
We use the ch-2 spaces to define the four corners of the square.
- Join: Join Color B into any ch-2 space with a sl st.
- Side Cluster: ch 3 (counts as dc). Work 2 dc into the same space.
- Next Cluster: ch 1. Work 3 dc into the next ch-2 space.
- First Corner: ch 1. Work Corner Shell (3 dc, ch 2, 3 dc) into the next ch-2 space.
- Repeat: Continue the sequence: [Corner Shell (3 dc, ch 2, 3 dc) in the next ch-2 sp, ch 1, 3 dc in the next ch-2 sp, ch 1, 3 dc in the next ch-2 sp, ch 1] 3 more times. (You should have 3 clusters along each side between the corners).
- Finish: Join with a sl st to the top of the beginning ch 3.

Round 4: Expanding the Frame
This round ensures the square is flat and ready for joining.
- Move to Corner: sl st over to the next ch-2 corner space.
- Corner: ch 3. Work (2 dc, ch 2, 3 dc) into the corner space.
- Side Clusters: ch 1. Work 3 dc into the next ch-1 side space.
- Repeat: Continue working (ch 1, 3 dc in the next ch-1 space) across the side, ensuring you place a cluster in every chain space.
- Repeat: Work the sequence [Corner Shell, (ch 1, 3 dc in next space) four times, ch 1] around the square.
- Finish: Join with a sl st to the top of the beginning ch 3. Fasten off.
Final Steps
- Weave in Ends: Use your tapestry needle to securely weave in all tails.
- Blocking: Blocking is essential for this motif. Wet the square and gently pull the corners sharply outward and the sides straight. Allow it to dry completely. This process flattens the frame and makes the central popcorn texture stand out beautifully.
Your textured, eye-catching square motif is now complete and ready to be joined into a larger project!
Video tutorial: