 by
by To create a Trendy Runner or Blouse using a square motif, you need a design that is “Mod-Chic”—clean lines, geometric depth, and a layout that doesn’t look like an antique doily.
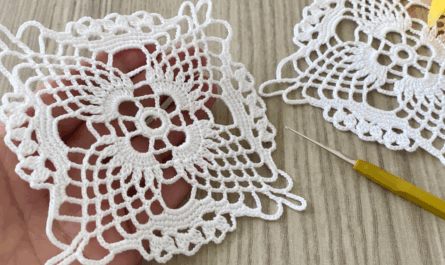
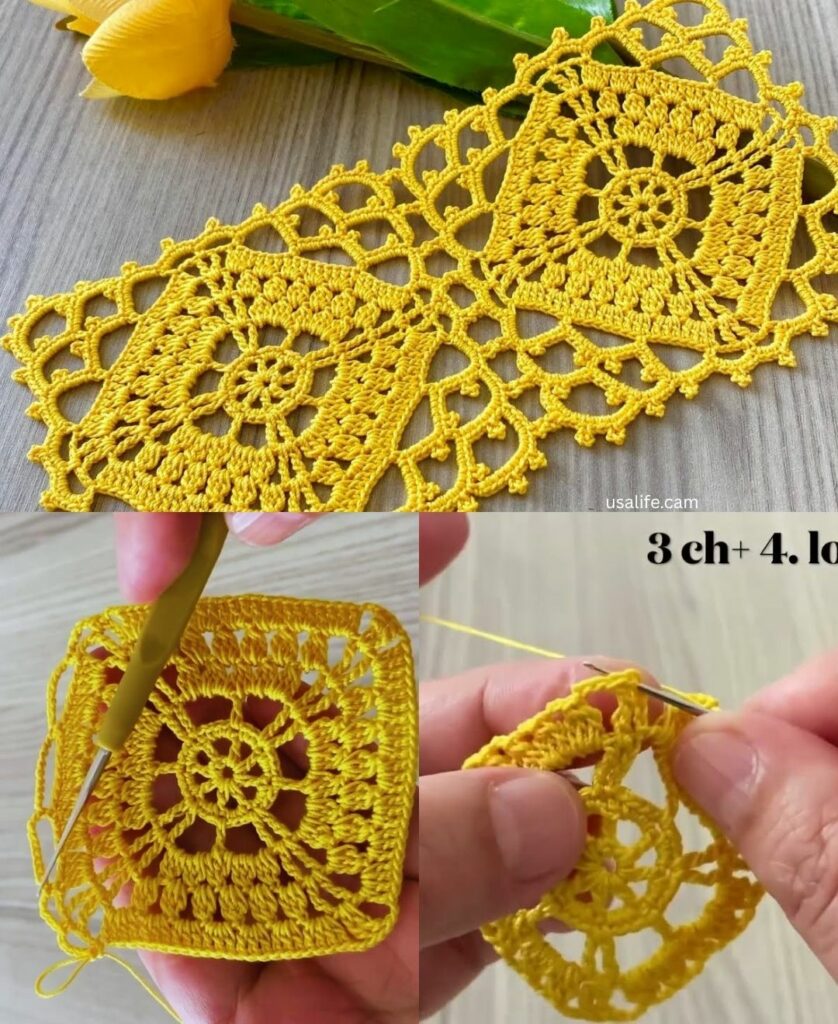
The pattern below is for the “Urban Grid Square.” It is designed to be solid in the center (for the runner’s stability) but open at the edges (for the blouse’s drape).

I. Technical Blueprint: The Urban Grid Square
- The Vibe: Minimalist, textured, and structural.
- Skill Level: Intermediate Beginner (uses Front Post stitches).
- The Multiple: This is a 4-inch square ($10\text{cm}$) using DK weight yarn.
Materials
- For the Runner: Mercerized Cotton (it stays flat and resists stains).
- For the Blouse: Bamboo, Linen, or Silk-blend (it “skims” the body rather than adding bulk).
- Hook: $3.5\text{mm}$ (E) or $4.0\text{mm}$ (G).
II. Step-by-Step Motif Pattern
Round 1: The Dense Core
- Magic Ring: Ch 2 (counts as hdc).
- Work 7 hdc into the ring. Sl st to join.
- Detail: Pull the center very tight. A closed center makes the runner look modern and high-end. (8 sts).

Round 2: The Sunburst Expansion
- Ch 2. dc in the same stitch.
- Work 2 dc in every stitch around.
- Sl st to join. (16 dc).
Round 3: The 3D “Architectural” Round
This round adds a raised ridge that catches the light.
- Ch 2.
- Work 1 FPDC (Front Post Double Crochet) around the next st, 1 dc in the top of the same st.
- Repeat from * to * around.
- Sl st to join. (32 sts).Design Note: This raised ridge makes the motif look “Extraordinary” and unique compared to flat store-bought lace.
Round 4: Squaring the Grid
- Corner 1: Sl st to next st. Ch 4 (counts as tr). In the same st, work (2 tr, ch 2, 3 tr).
- Side 1:
- Ch 1, skip 2 sts.
- 3 dc in next st.
- Ch 1, skip 2 sts.
- 3 hdc in next st.
- Ch 1, skip 2 sts.
- 3 dc in next st.
- Ch 1, skip 2 sts.
- Corner 2: In next st, work (3 tr, ch 2, 3 tr).
- Repeat around. Sl st to join. Fasten off.

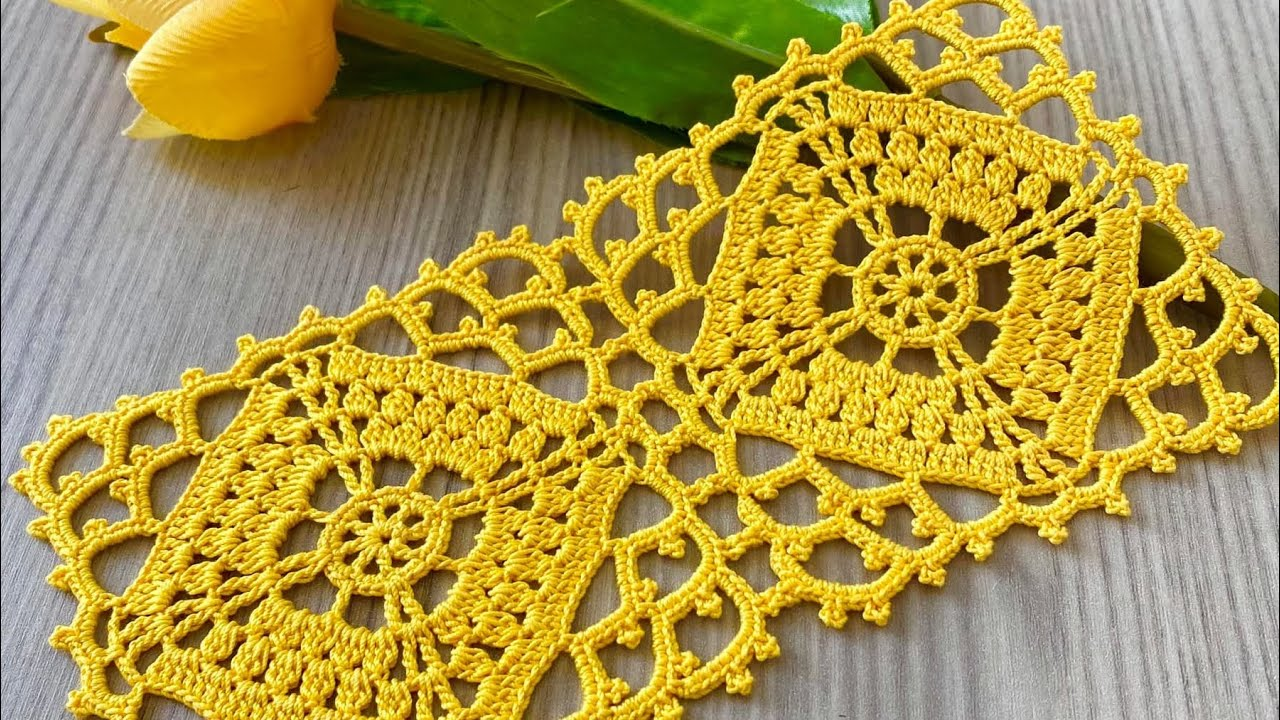
III. Assembly: Making it “Trendy”
Project 1: The Multi-Purpose Runner
To make this look like a high-end home decor item:
- Layout: Join motifs in a long $2 \times 10$ grid.
- The “Flat” Secret: Use a Tapestry Needle and the Mattress Stitch to join. Do not crochet them together; sewing them keeps the runner perfectly flat so vases won’t wobble.
- The Finish: Add a “Crab Stitch” (Reverse Single Crochet) border around the entire runner. This creates a corded, thick edge that prevents the runner from curling.
Project 2: The Stylish Blouse
To make this wearable and trendy:
- Layout: Two large rectangles ($4 \times 4$ or $5 \times 5$ motifs).
- The “Drape” Secret: Use the Join-As-You-Go (JAYG) method. Joining them with crochet loops creates “negative space” between the squares, making the fabric flowy.
- The Neckline: Join only the outer 1.5 motifs on the shoulders. This leaves a wide “Boat Neck” opening, which is the trendiest cut for crochet tops.
- The Sleeves: Add two motifs to the sides for a “Drop Shoulder” look.
IV. “Detail and Detail”: Expert Styling Tips
1. The “Grout” Color Technique
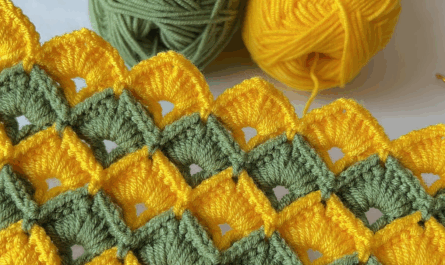
If you want a Tile Look, use Color A for Rounds 1-3 and a contrasting “Grout” Color (like Cream or Black) for Round 4. This makes the squares look like Mediterranean tiles.
2. Tension Control
- For the Runner: Keep your tension tight. You want a stiff fabric.
- For the Blouse: Keep your tension loose. If you crochet tightly, the blouse will stand up on its own like cardboard. Use a hook $0.5\text{mm}$ larger for the blouse version.
3. The “Wet Block” Finish
Motifs are not finished until they are blocked.
- Pin the squares into perfect $10\text{cm}$ squares.
- For the Runner: Use a heavy steam iron (hovering, not touching).
- For the Blouse: Spritz with water and a tiny bit of fabric softener, then let air dry. This makes the blouse feel like “real” clothing.
Are you planning to make this in a solid monochrome (like all Cream) for a minimalist look, or are you going for a colorful “Boho” style?