 by
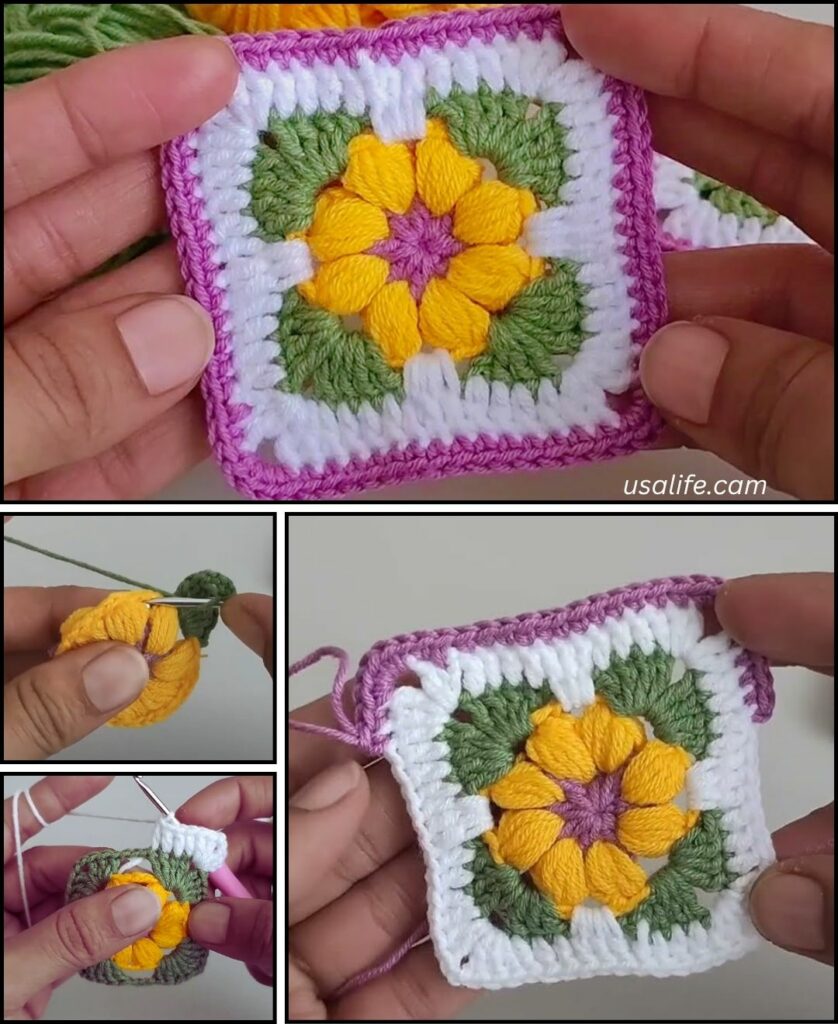
by Crocheting a square is one of the most fundamental skills in crochet, and it opens the door to a world of projects, from blankets and cushions to bags and garments. The granny square is arguably the most famous and versatile type of crocheted square, but there are many other methods for creating a flat, symmetrical square.
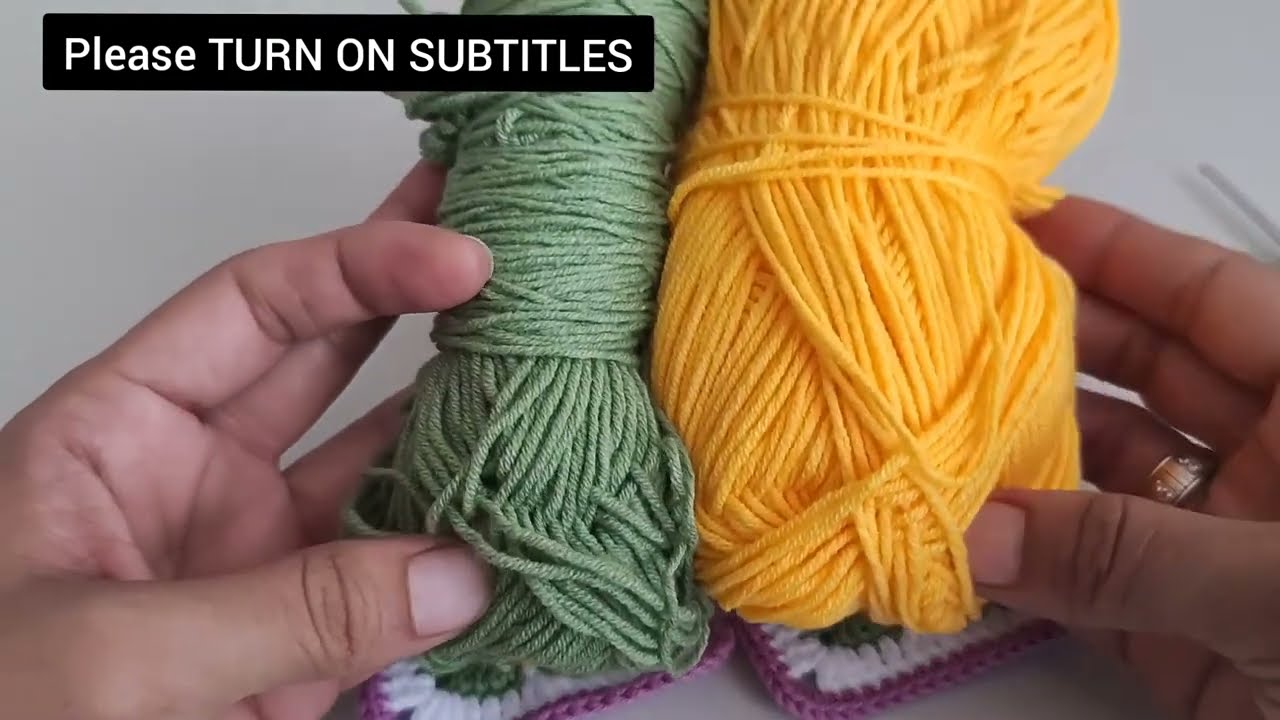
Given that it’s warm in Phnom Penh, 100% cotton yarn is an excellent choice for a crochet square. Cotton provides great stitch definition, making your stitches look neat and crisp. It’s also durable and easy to wash, which is perfect for items like dishcloths or coasters. A smooth acrylic yarn is another good, affordable option for practicing.

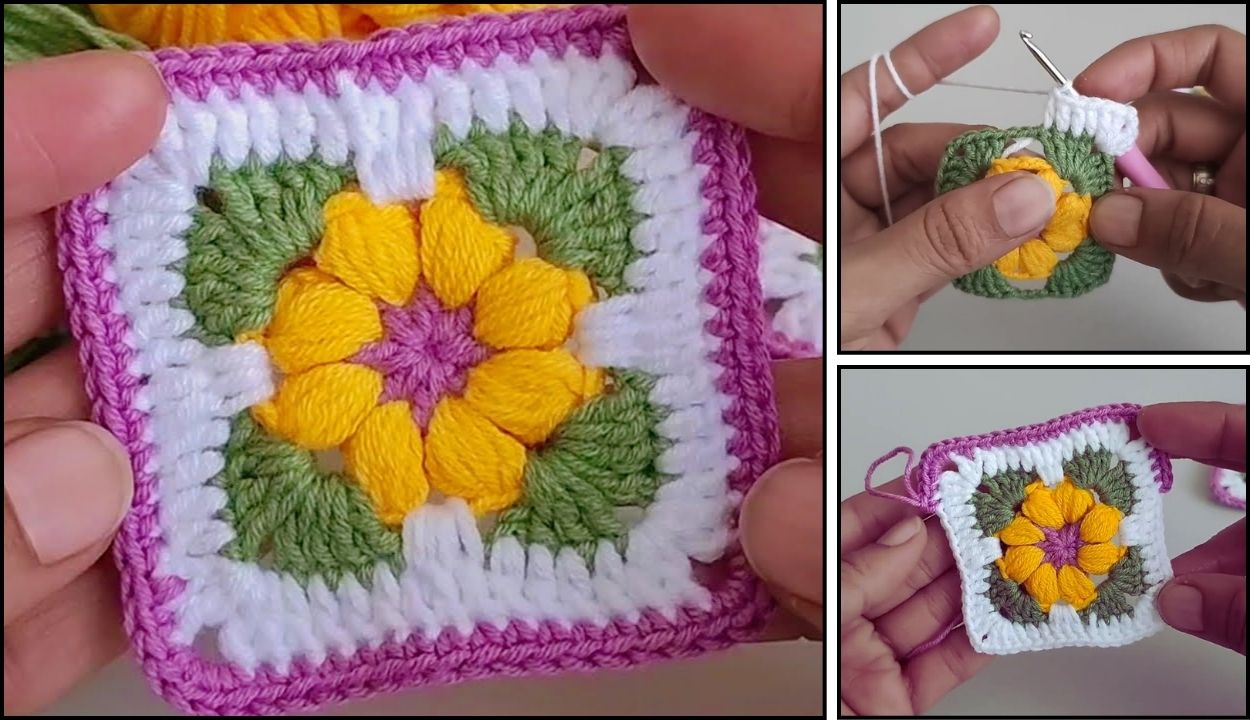
How to Crochet a Classic Granny Square
The classic granny square is an iconic pattern that is perfect for beginners. It’s built in rounds, with clusters of stitches creating a lacy, beautiful texture.
1. Essential Materials You’ll Need
- Yarn: Any Worsted Weight (Aran / Medium / Category 4) yarn. You can use a single color or multiple colors.
- Crochet Hook: A 5.0mm (US H/8) hook is a great size to start with for worsted weight yarn.
- Scissors: For cutting yarn.
- Yarn Needle (Tapestry Needle): To weave in your ends.
2. Basic Crochet Stitches You’ll Use
- Magic Ring (MR) / Adjustable Ring: (Highly recommended!) This creates a tight, neat center. Alternatively, you can
ch 4andsl stto the first chain to form a ring. - Chain (ch): Used for spaces and for a turning chain.
- Slip Stitch (sl st): For joining rounds.
- Double Crochet (dc): This is the main stitch used in a granny square.
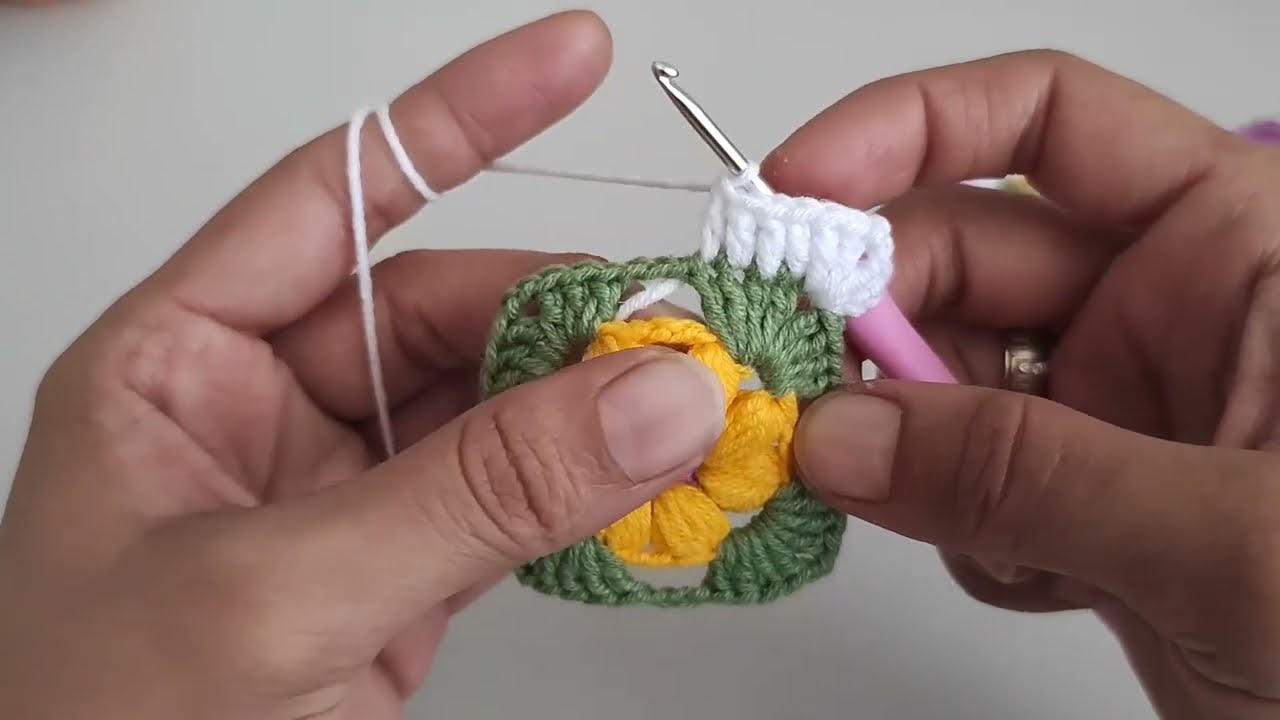
Step-by-Step Granny Square Pattern
This pattern creates a solid, growing granny square. You’ll work in rounds, joining each round with a slip stitch.
Part 1: Start the Center
- Create a Magic Ring.
- Round 1:
ch 3(counts as your firstdc). Work2 dcinto the ring. ch 2(this creates your first corner).- Work
3 dcinto the ring. ch 2(second corner).- Work
3 dcinto the ring. ch 2(third corner).- Work
3 dcinto the ring. ch 2(fourth corner).sl stto the top of the beginningch 3to join the round.- Pull the tail of the Magic Ring tight to close the center hole.
- You should now have four clusters of 3 dc, separated by four ch-2 corners.
- If you want to change colors, fasten off here and weave in your ends.
Part 2: Grow the Square
- Round 2:
sl stinto the next twodcstitches and then into the firstch-2corner space. This positions your hook to start the new round in the corner. ch 3(counts as your firstdc).- In that same corner space, work
(2 dc, ch 2, 3 dc). This creates your new first corner. ch 1(this creates a space between the clusters on the side of the square).- In the next corner space, work
(3 dc, ch 2, 3 dc). ch 1.- Repeat step 5 for the next two corners.
- After the last
ch 1,sl stto the top of the beginningch 3to join the round.- You should now have two clusters on each side, with a ch-1 space in between them.
- The corner spaces will always have
(3 dc, ch 2, 3 dc), and the side spaces will have(3 dc, ch 1).
Part 3: Continue to Your Desired Size
- Round 3 and Beyond:
sl stacross the top of the stitches until you reach a corner space. - In each corner space, work
(3 dc, ch 2, 3 dc). - In each
ch-1space along the sides, work(3 dc, ch 1). - Join with a
sl stto the top of the beginningch 3at the end of each round. - Repeat these steps until your granny square reaches the size you want. You can change colors with each round for a colorful effect, or continue with a single color for a solid square.

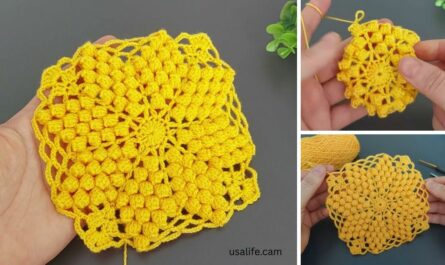
How to Crochet a Solid Square (Worked from the Center Out)
This method creates a solid, dense square without the lacy look of a granny square. It’s excellent for things like washcloths or potholders.
1. Essential Materials You’ll Need
- Yarn: Any Worsted Weight yarn.
- Crochet Hook: A 5.0mm (US H/8) hook.
- Scissors: For cutting yarn.
- Yarn Needle (Tapestry Needle): To weave in your ends.
2. Basic Crochet Stitches You’ll Use
- Magic Ring (MR): Creates a neat center.
- Chain (ch): For turning and for corner spaces.
- Half Double Crochet (hdc): This is a great stitch for a dense, flat fabric. You can also use
scordc. - Slip Stitch (sl st): To join rounds.

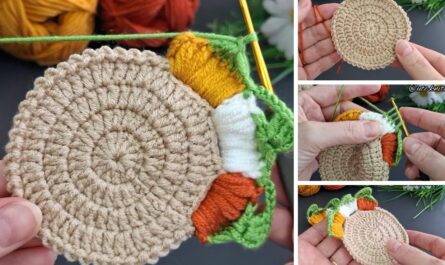
Step-by-Step Solid Square Pattern
- Create a Magic Ring.
- Round 1:
ch 2(counts as your firsthdc). Work1 hdcinto the ring. ch 2(this is your first corner).2 hdcinto the ring.ch 2(second corner).2 hdcinto the ring.ch 2(third corner).2 hdcinto the ring.ch 2(fourth corner).sl stto the top of the beginningch 2to join the round.- Pull the tail of the Magic Ring tight. You should have eight hdc stitches in four pairs, with a ch-2 corner between each pair.
- Round 2:
ch 2(counts as your firsthdc). Work1 hdcin the same stitch. hdcin the next stitch.- In the first ch-2 corner space, work
(2 hdc, ch 2, 2 hdc). hdcin the next two stitches.- In the next ch-2 corner space, work
(2 hdc, ch 2, 2 hdc). - Repeat this pattern for the remaining corners and sides.
sl stto the top of the beginningch 2to join the round.- Round 3 and Beyond: Repeat the pattern. You will always work
(2 hdc, ch 2, 2 hdc)in each corner space. Along the sides, you willhdcin each stitch until you reach the next corner. Each round, your sides will grow by four stitches.