by
by 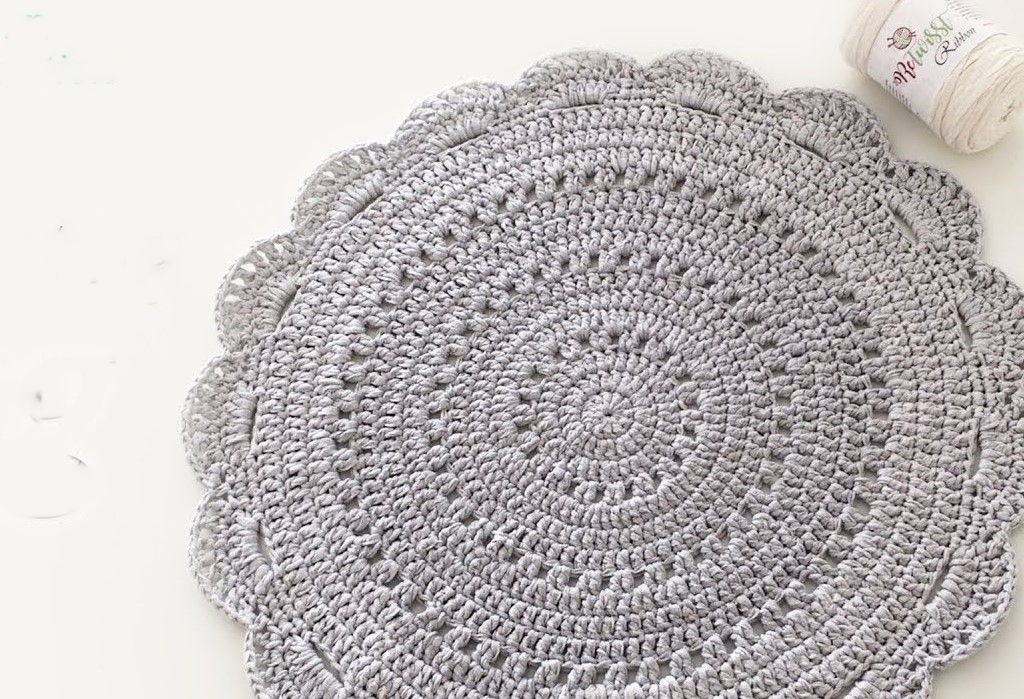
Move over, traditional yarn, there’s a new kid in town, and it’s ready to add texture, drama, and a touch of luxury to your floors: ribbon yarn! This delightfully chunky material is perfect for beginners and seasoned crocheters alike, and trust me, the results are simply stunning. So, grab your favorite colors, a comfy hook, and let’s embark on a journey to create a one-of-a-kind ribbon yarn rug that will take your breath away.
Getting Prepped:
- Yarn and Hook: Ribbon yarn comes in various thicknesses, so choose one that suits your desired rug size and density. A thicker yarn will work up faster but create a smaller rug. As for the hook, opt for one about one or two sizes bigger than recommended for the yarn, as ribbon yarn tends to hold its shape.
- Pattern or Freestyle: Feeling confident? Dive right into freestyle crocheting! Choose a basic stitch like single crochet or half double crochet and experiment with color blocks, stripes, or even simple geometric shapes. For the less adventurous, plenty of free and paid ribbon yarn rug patterns are available online, offering guidance and inspiration.
- Base (Optional): For extra durability and grip, consider backing your rug with fabric or mesh. This is especially helpful for high-traffic areas.
Hook in Hand:
- Chain Up: Start with a foundation chain long enough for your desired rug width. Remember, ribbon yarn stretches less than regular yarn, so make sure your chain is slightly wider than you want the final rug to be.
- Stitch Away: Whether following a pattern or your own intuition, begin crocheting your rows. Tip: work your stitches into the “loops” of the ribbon yarn, not the flat sides, for a smoother texture.
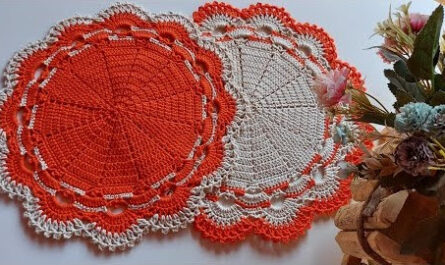
- Color Changes: Adding pops of color is what makes ribbon yarn shine! To switch colors, simply tie the new yarn to the end of the old one, weave in the loose ends, and continue crocheting.
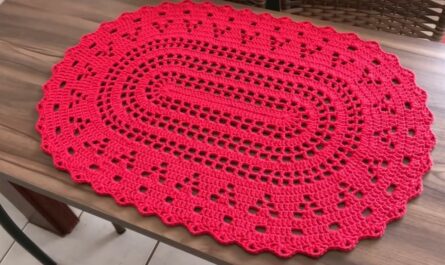
- Shaping Up: Want a round rug? Work in increasing circles. For a rectangular shape, simply crochet back and forth, turning your work at the end of each row.
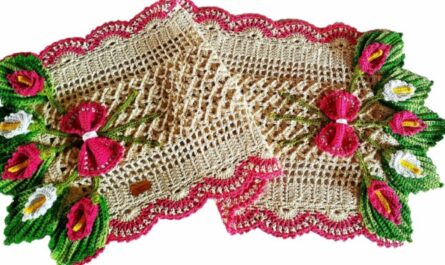
- Finishing Touches: Once your rug reaches its desired size, tie off the yarn securely and weave in any remaining ends. For a professional look, add a crochet border in a contrasting color or a simple fringe.
Pro Tips:
- Tension Matters: Ribbon yarn can be less forgiving than regular yarn, so maintain an even tension for a neat and tidy look.
- Embrace the Bulky: Don’t fight the natural bulk of ribbon yarn! Let it add a unique, textured beauty to your rug.
- Wash with Care: Hand-washing your ribbon yarn rug in cold water and air-drying is your best bet.
From Blank Canvas to Masterpiece:
With each stitch, your ribbon yarn rug will come to life, transforming your space with a touch of handmade magic. Don’t be afraid to experiment, mix colors, and let your creativity flow. Remember, there are no mistakes, just unique design elements! So, grab your hook, unleash your inner artist, and crochet your way to a stunning, one-of-a-kind masterpiece that will be the envy of everyone who steps into your home.
Video tutorial
Bonus Inspiration:
- Check out online tutorials and galleries for endless ribbon yarn rug ideas.
- Share your creation on social media and inspire others to embrace the beauty of ribbon yarn.
- Get creative! Ribbon yarn can be used for more than just rugs – think baskets, coasters, wall hangings, and more!
Let the ribbon yarn flow and happy crocheting!