 by
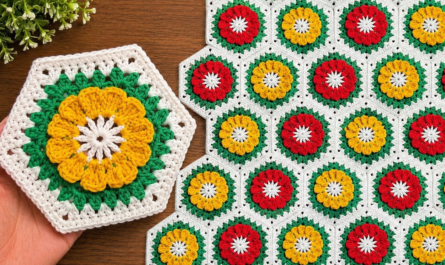
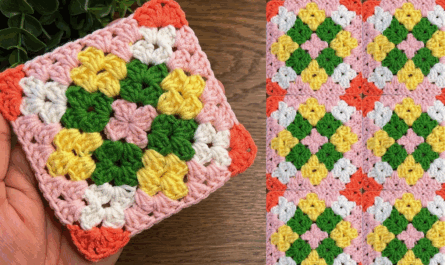
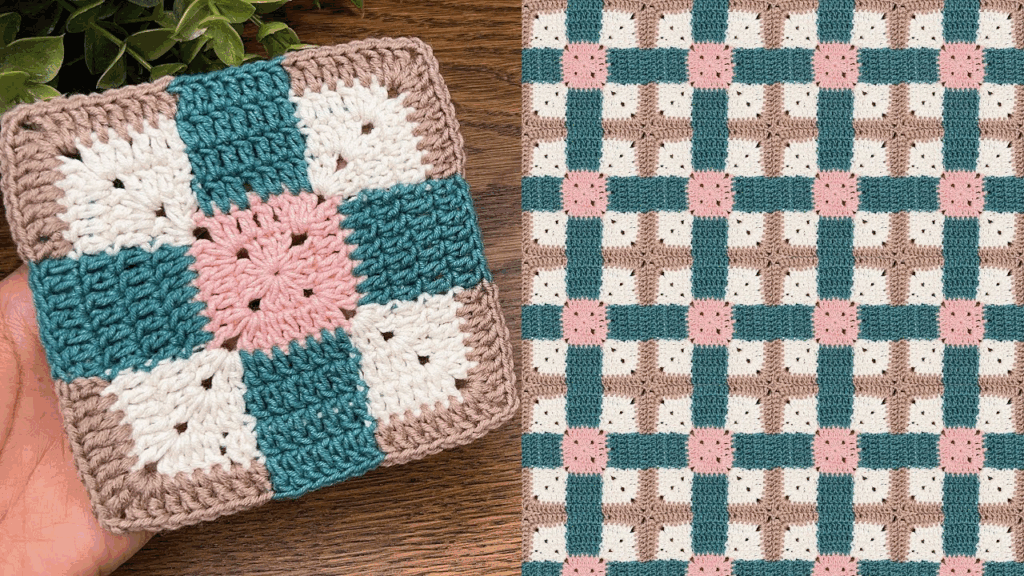
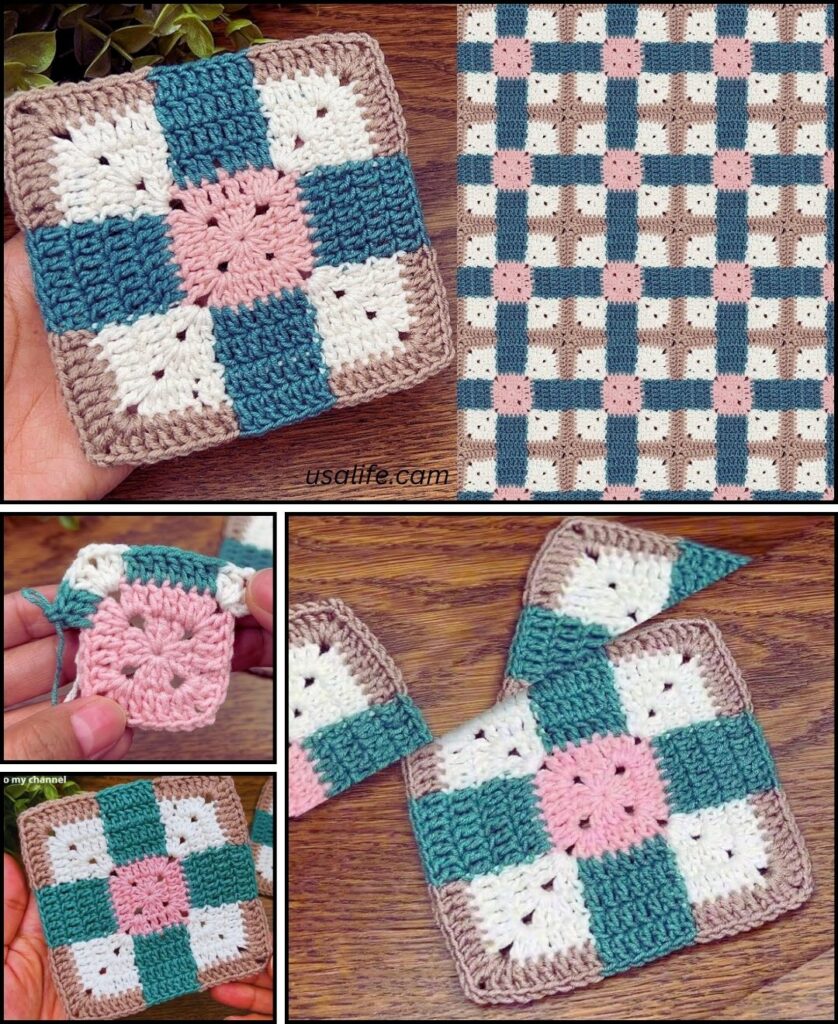
by The Granny Square Blanket is a classic crochet project for a reason—it’s modular, highly customizable, and perfect for beginners! You have two main methods: crocheting many small squares and joining them, or crocheting one giant, continuous square.
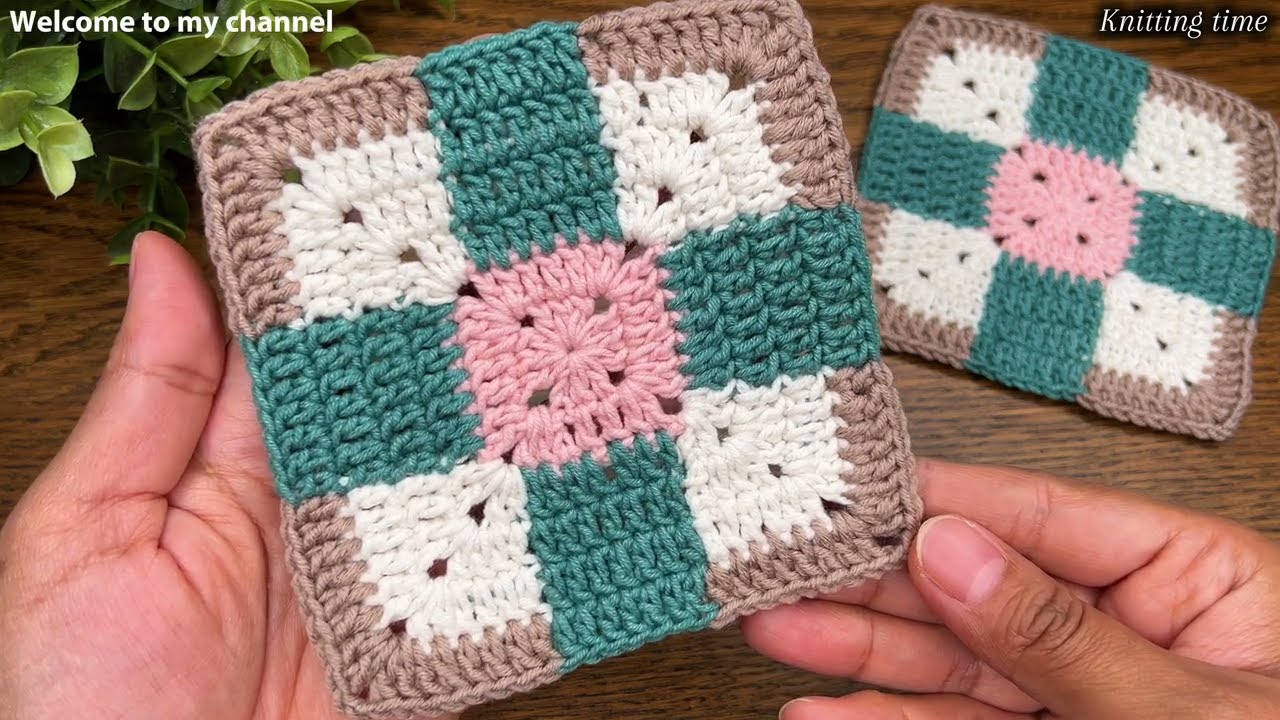
Here is a detailed guide on how to make a granny square blanket using the traditional method (many small squares).
Part 1: Crocheting Individual Granny Squares
The key to a uniform blanket is making sure all your squares are the exact same size. For a detailed guide on the basic granny square, you can refer to my previous steps, but here is a quick refresher focusing on the typical size for a blanket block.
Materials Needed
- Yarn: Medium-weight yarn (worsted/size 4) is common for blankets. Use one color or many for a scrappy look.
- Crochet Hook: The size recommended for your yarn.
- Scissors
- Tapestry Needle: For weaving in ends and joining.
Granny Square Pattern (5 Rounds)
- Round 1 (Center): Make a Magic Ring (or ch 4, join). ch 3 (counts as dc), work 2 dc into the ring. [ch 2 (corner), 3 dc] 3 times. ch 2. Join with a sl st to the top of the beginning ch 3. (4 clusters, 4 ch-2 spaces)
- Round 2 (Building Corners): sl st into the first corner ch-2 sp. ch 3, 2 dc, ch 2, 3 dc into the same corner sp. [ch 1 (side sp). In the next corner sp, work 3 dc, ch 2, 3 dc] 3 times. ch 1. Join with a sl st to the top of the beginning ch 3. (8 clusters, 4 corners, 4 side ch-1 spaces)
- Round 3 (Expanding Sides): sl st into the corner sp. ch 3, 2 dc, ch 2, 3 dc into the same corner sp. [ch 1. Work 3 dc into the next ch-1 side sp. ch 1. In the next corner sp, work 3 dc, ch 2, 3 dc] 3 times. ch 1. Work 3 dc into the last side sp. ch 1. Join with a sl st to the top of the beginning ch 3.
- Round 4 & 5 (Repeat): Continue the pattern: (3 dc, ch 2, 3 dc) in every corner sp, and (3 dc, ch 1) in every side sp.
- Finish: After Round 5 (or desired size), fasten off and weave in all ends using your tapestry needle.
Tip: Weave the ends in as you go! It prevents a mountain of ends at the end of the project.
Part 2: Planning and Sizing
Before joining, you need to decide on the blanket size and calculate the number of squares needed.
| Blanket Size | Approx. Inches | Recommended Squares (if 6×6 inches each) |
| Baby/Stroller | 30 x 40 | 5 squares wide x 7 squares long (35 total) |
| Throw/Lapghan | 48 x 60 | 8 squares wide x 10 squares long (80 total) |
| Twin Bed | 66 x 90 | 11 squares wide x 15 squares long (165 total) |
Export to Sheets
- Block Size: Measure one finished block (e.g., 6 inches).
- Calculation: Divide your desired blanket width by the block width to get the number of squares wide. Do the same for the length.
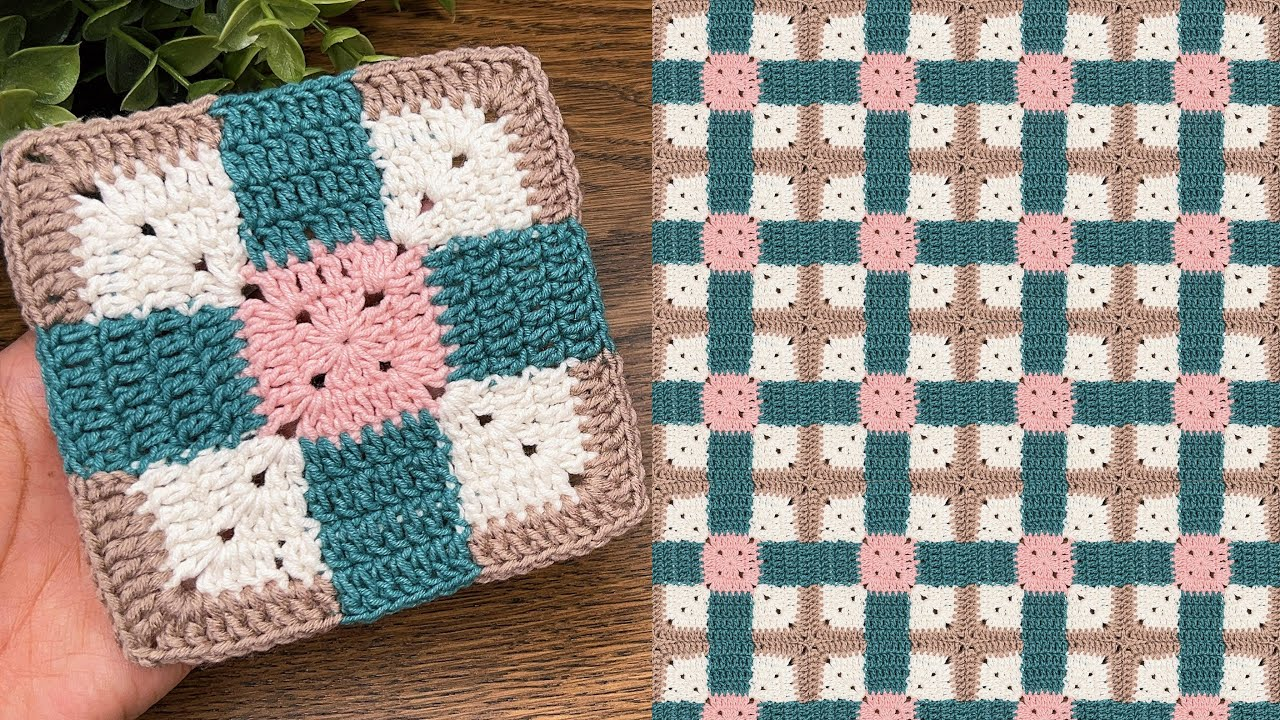
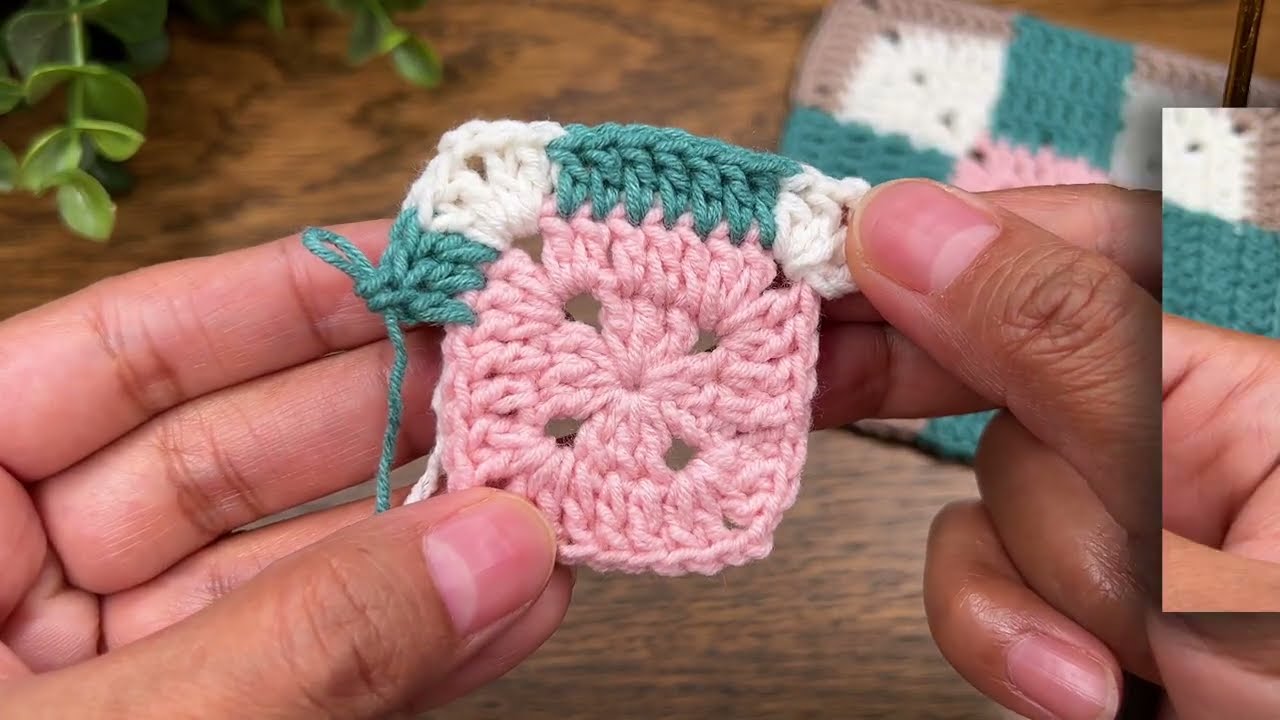
Part 3: Joining the Squares
The way you join the squares dramatically impacts the final look. The Slip Stitch Seam is easy, sturdy, and gives a slightly raised, clean finish.
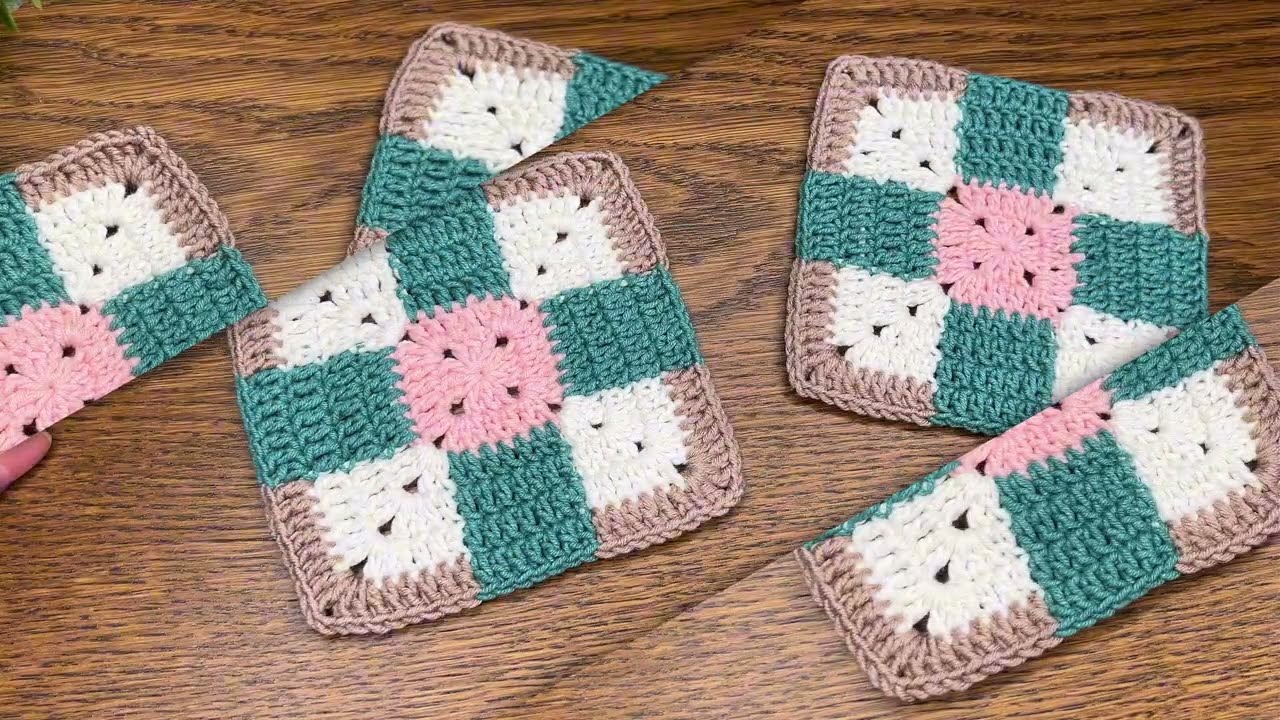
- Blocking (Recommended): Before joining, block your squares. Pin them to shape, lightly mist with water or steam, and let them dry completely. This ensures flat edges and perfect alignment.
- Layout: Arrange all your finished squares in the desired final layout on the floor or a large table.
- The Slip Stitch Seam:
- Direction: Join the squares in strips first (e.g., all horizontal seams), then join the strips together (vertical seams).
- Steps: a. Place two squares together with the wrong sides facing out (or right sides facing, depending on the look you want). b. Rejoin your yarn (often the border color) in the corner of the two squares. c. ch 1 (does not count as a stitch). d. Insert your hook through the corresponding back loop of both squares. e. Work a sl st. f. Continue working sl st through the back loops of the matching stitches across the entire edge. g. Fasten off and secure the seam.
- Final Look: This method leaves a crisp, slightly raised seam on the right side.
Part 4: The Border (Optional but Recommended)
A border ties the whole blanket together, hides minor imperfections, and gives a polished finish.
- Rejoin Yarn: Join your border yarn anywhere along the edge of the blanket.
- Round 1 (Leveling): Work a round of single crochet (sc) evenly around the entire perimeter.
- Work 3 sc into each corner stitch.
- Work sc into the side of the clusters and in the join seams, ensuring the whole edge lays flat.
- Round 2+ (Granny Border):sl st into the next stitch, then sl st into the corner space.
- Corner: ch 3, 2 dc, ch 2, 3 dc into the corner sp.
- Sides: Work 3 dc into the next available side space/gap. ch 1 between clusters.
- Continue working the standard granny square pattern around the entire perimeter of the blanket.
- Finish: Continue for 3-5 rounds, or until the border is as wide as you like. Fasten off and weave in the final end.
Video tutorial: