 by
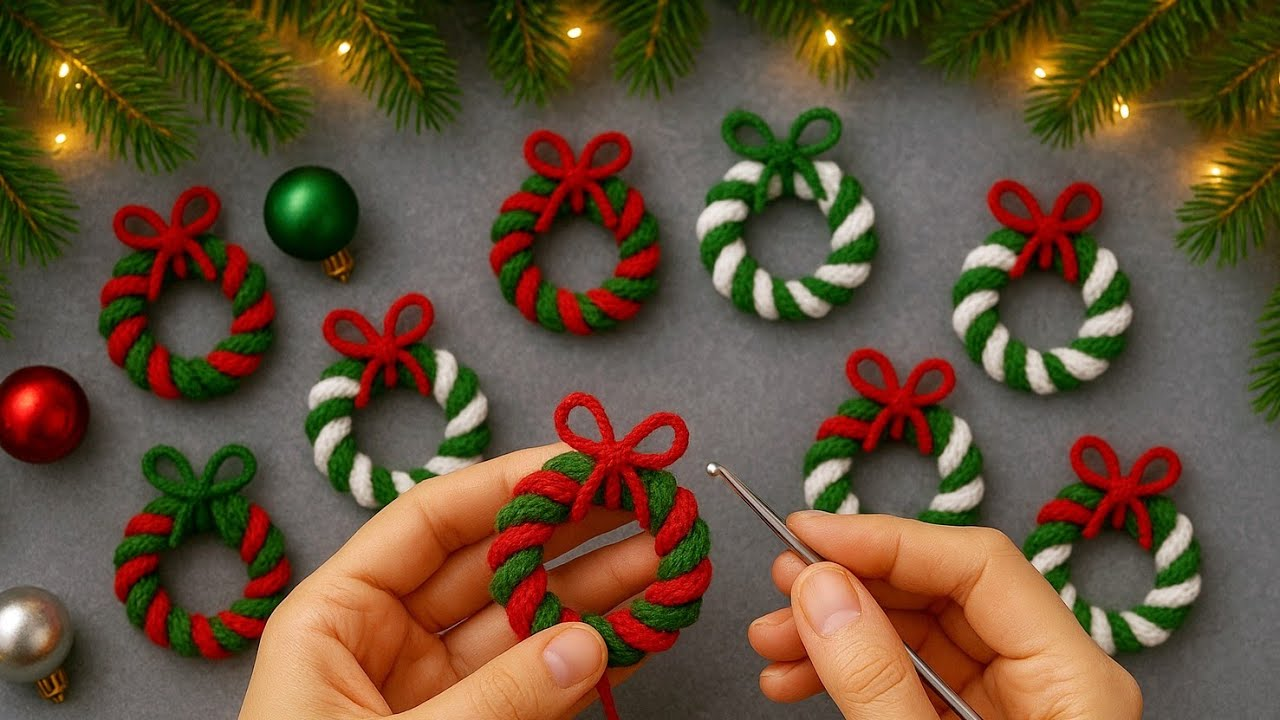
by Crocheting small Christmas tree ornaments is a wonderful way to personalize your holiday decor. They are quick projects, perfect for using up yarn scraps, and they make thoughtful gifts.
Here are two detailed patterns for popular crochet Christmas ornaments: a Simple Flat Star and a Small 3D Christmas Tree.

Pattern 1: Simple Flat Crochet Star
This five-pointed star is crocheted in the round and uses basic chain and slip stitches to form the points.
Materials and Abbreviations
- Yarn: Medium-weight yarn (worsted/size 4) in Color A (e.g., Red, Gold, Green).
- Hook: Size appropriate for your yarn.
- ch: chain
- sl st: slip stitch
- sc: single crochet
- dc: double crochet
- tr: treble crochet (triple crochet)

Step-by-Step Instructions
- Round 1 (Center): Start with a Magic Ring (or chain 4 and join with sl st). ch 3 (counts as dc). Work 9 dc into the ring. Join with a sl st to the top of the beginning ch 3. (10 sts).
- Round 2 (Petal Foundation): ch 1. sc in the same stitch. ch 4. Skip the next stitch. Repeat the sequence [sc in next st, ch 4, sk 1 st] around. You will have 5 loops. Join with a sl st to the first sc. (5 loops).
- Round 3 (Forming the Points):sl st into the first ch-4 loop.
- First Point: Work [ch 3, 1 dc, 1 tr, ch 3, sl st] into the same ch-4 loop. This creates a sharp point.
- sl st into the next sc anchor point.
- Repeat: Work the full point sequence [sl st, ch 3, 1 dc, 1 tr, ch 3, sl st] into each of the remaining four ch-4 loops, finishing by anchoring it with a sl st to the next sc anchor point.
- Finish: Join with a sl st to the first sl st. Fasten off.
Finishing the Star
- Hanging Loop: Join a new piece of yarn to the tip of one star point. ch 15 for the loop. sl st back into the same stitch. Fasten off.
- Weave in Ends: Secure all ends neatly on the back of the star.
Pattern 2: Small 3D Christmas Tree
This ornament is worked in the round, creating a cone shape that can be stiffened for the tree effect.
Materials and Abbreviations
- Yarn: Color A (Green for the tree), Color B (Brown for the trunk).
- Hook: Size appropriate for your yarn.
- sc: single crochet
- inc: increase (2 sc in one stitch)
- dec: decrease (sc2tog)
- sl st: slip stitch
- st(s): stitch(es)
Step-by-Step Instructions
A. The Tree (Green Yarn)
The tree is worked from the bottom up in continuous rounds. Use a stitch marker!
- Round 1 (Base): Start with a magic ring. Work 6 sc into the ring. (6 sts).
- Round 2: sc in each stitch around. (6 sts).
- Round 3: inc in each stitch around. (12 sts).
- Round 4: sc in each stitch around. (12 sts).
- Round 5: [sc in the next 3 sts, inc] 3 times. (15 sts).
- Round 6: sc in each stitch around. (15 sts).
- Round 7: [sc in the next 4 sts, inc] 3 times. (18 sts).
- Round 8 (Closing Top):dec 9 times. (9 sts).
- Stuff the tree cone lightly now, pushing the stuffing down into the base.
- Round 9: dec 4 times, sc in the last st. (5 sts).
- Fasten off Color A, leaving a tail for sewing the hole closed. Do not close the hole yet; you will use it to attach the trunk.

B. The Trunk (Brown Yarn)
The trunk is a small, solid tube.
- Round 1: With Color B, start with a magic ring. Work 5 sc into the ring. (5 sts).
- Rounds 2-3: sc in each stitch around. (5 sts).
- Fasten off, leaving a long tail for sewing.
Assembly and Finishing
- Attach Trunk: Lightly stuff the trunk. Place the open end of the trunk into the small open hole at the bottom of the tree. Use the green tail from the tree to sew the open hole to the trunk, securing the pieces together.
- Hanging Loop: Join a piece of green yarn to the very top tip of the tree. ch 15 for the loop. sl st back into the same stitch. Fasten off.
- Decorate (Optional): Use embroidery thread or small beads/sequins to stitch “ornaments” onto the green sections of the tree.
These two patterns cover fundamental crochet techniques and provide lovely, handcrafted ornaments for your Christmas tree!
Video tutorial: