 by
by Crocheting a flat circle is a fundamental skill used in everything from coasters and hats (the crown) to amigurumi pieces and mandala centers. The key to keeping a circle perfectly flat is ensuring you have the correct number of increases in every round.
Here is a detailed, step-by-step tutorial on how to crochet a flat circle using the most common stitch: the Single Crochet (sc).

Materials and Abbreviations
| Abbreviation | Stitch Name |
| ch | Chain |
| sl st | Slip Stitch (used to join rounds) |
| sc | Single Crochet |
| inc | Increase (working 2 sc in one stitch) |
| st(s) | Stitch(es) |
Export to Sheets
- Yarn: Any weight yarn.
- Crochet Hook: The size recommended for your yarn.
- Stitch Marker: Essential for working in continuous rounds, or for marking the start if joining.
The Flat Circle Formula
To maintain a flat circle, you must increase the total number of stitches by the number of stitches you started with in every single round.
| Round | Start Stitches | Increase Rule | Total Stitches |
| 1 | 6 | N/A | 6 |
| 2 | 6 | Inc in every st | 12 |
| 3 | 6 | Sc 1, Inc | 18 |
| 4 | 6 | Sc 2, Inc | 24 |
| 5 | 6 | Sc 3, Inc | 30 |
| … | 6 | Sc (N-2), Inc | N x 6 |
Export to Sheets
Step-by-Step Instructions (Starting with 6 Stitches)
We will use the single crochet (sc) stitch, starting with 6 stitches, as this is standard for Amigurumi and tight circles.
Round 1: The Center
- Start: Make a Magic Ring (or ch 2, and work all stitches into the first chain).
- Base: ch 1 (does not count as st). Work 6 sc into the Magic Ring. (6 sts)
- Join: Join with a sl st to the first sc to close the round. ch 1.

Round 2: Doubling the Stitches
- Increase: Work inc (2 sc) in the same stitch and in every stitch around. (12 sts)
- Join: Join with a sl st to the first sc. ch 1.
Round 3: Sc 1, Increase
- Pattern: Work sc in the next st, then inc in the following st.
- Repeat: [sc, inc] 6 times around the circle. (18 sts)
- Join: Join with a sl st to the first sc. ch 1.
Round 4: Sc 2, Increase
- Pattern: Work sc in the next 2 sts, then inc in the following st.
- Repeat: [sc 2, inc] 6 times around the circle. (24 sts)
- Join: Join with a sl st to the first sc. ch 1.

Round 5: Sc 3, Increase
- Pattern: Work sc in the next 3 sts, then inc in the following st.
- Repeat: [sc 3, inc] 6 times around the circle. (30 sts)
- Join: Join with a sl st to the first sc. ch 1.
Continue this pattern, increasing the number of single crochet stitches between the increases by one in each subsequent round.
💡 Pro Tip: Avoiding the Hexagon
When you stack the increases directly on top of each other, the circle tends to pull into a hexagonal (six-sided) shape. To keep the circle perfectly round, you need to stagger the increases.
Staggering the Increases (Recommended Method)
Instead of always starting with the full “Sc (N-2), Inc” sequence, you break the first sequence in half:
- Round 6 (Sc 4, Inc): Start with [sc 2, inc]. Then continue the full sequence: [sc 4, inc] 5 times. Finish the round with the remaining sc 2. (36 sts)
- Round 7 (Sc 5, Inc): Start with the full sequence: [sc 5, inc] 6 times. (42 sts)
- Round 8 (Sc 6, Inc): Start with [sc 3, inc]. Then continue the full sequence: [sc 6, inc] 5 times. Finish the round with the remaining sc 3. (48 sts)
By staggering the increases, you distribute the growth evenly and eliminate the corners, resulting in a perfectly flat circle.
Now that you know the formula for the flat circle, what kind of project are you planning to make?
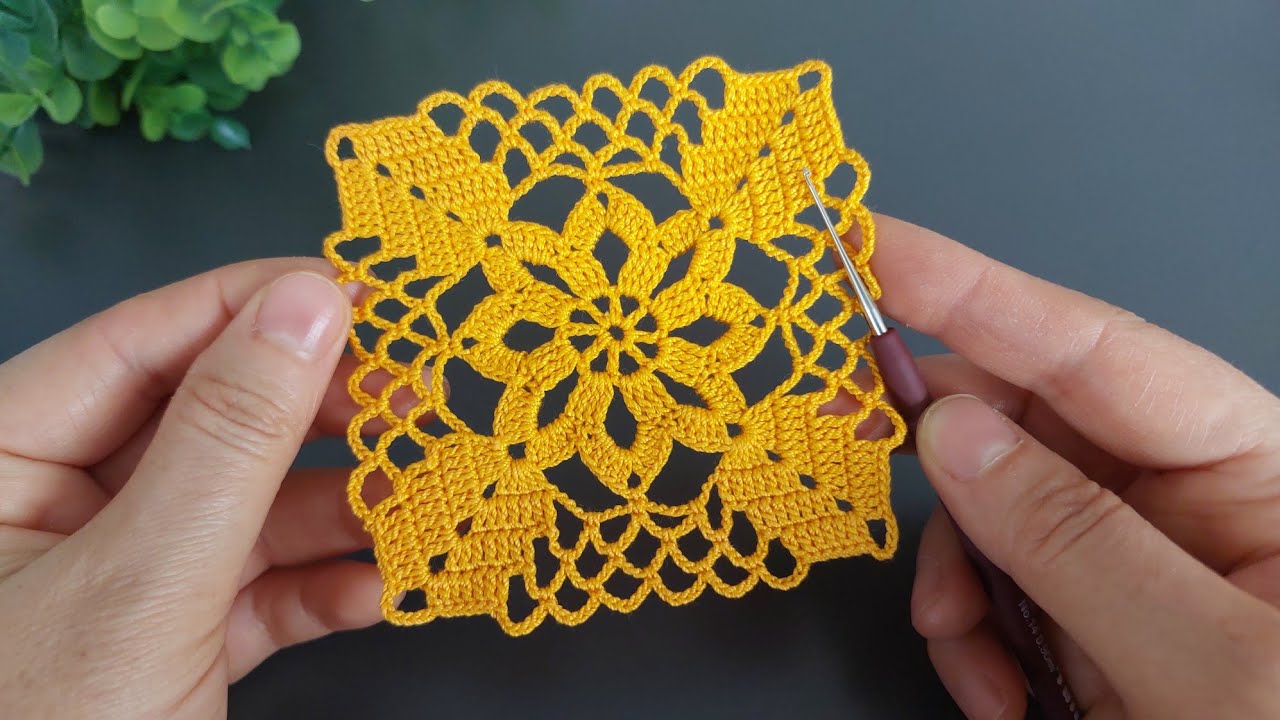
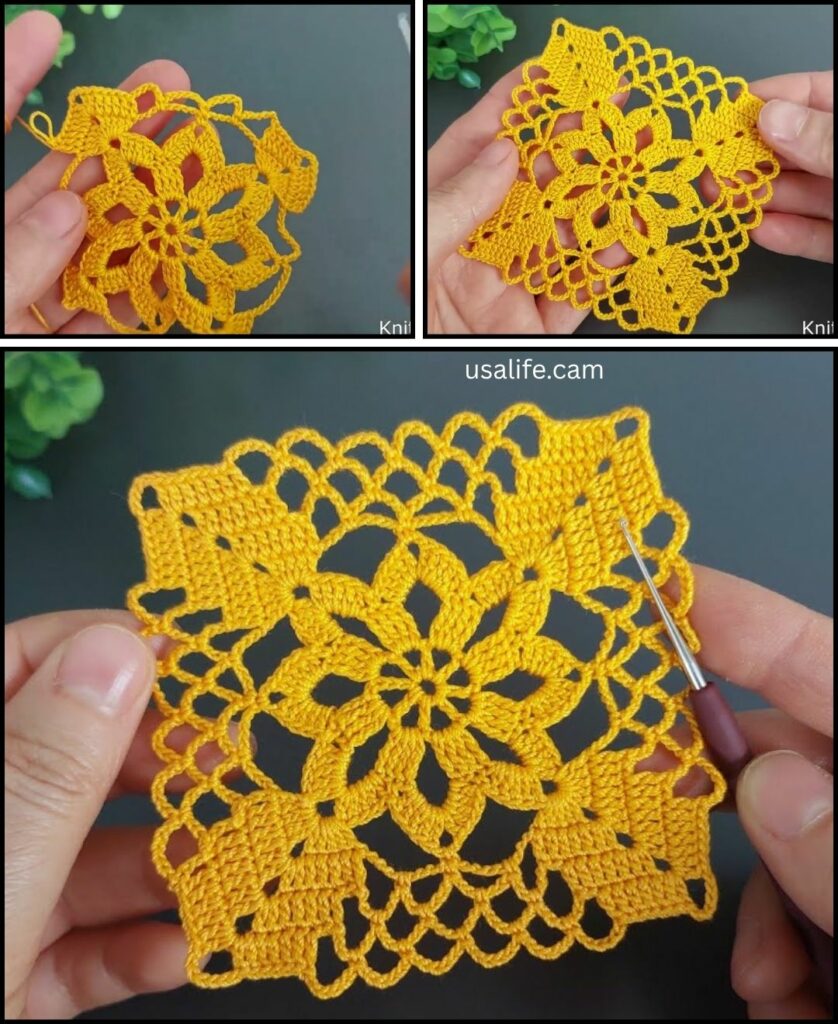
Video tutorial: