 by
by That is a wonderful request! Crochet lace patterns are incredibly versatile and can be adapted for small items like coasters up to large garments like dresses and blouses.1 The key is understanding the basic elements of lace—the mesh and the repeat—and how to control the density.
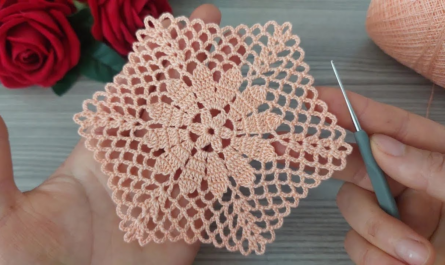
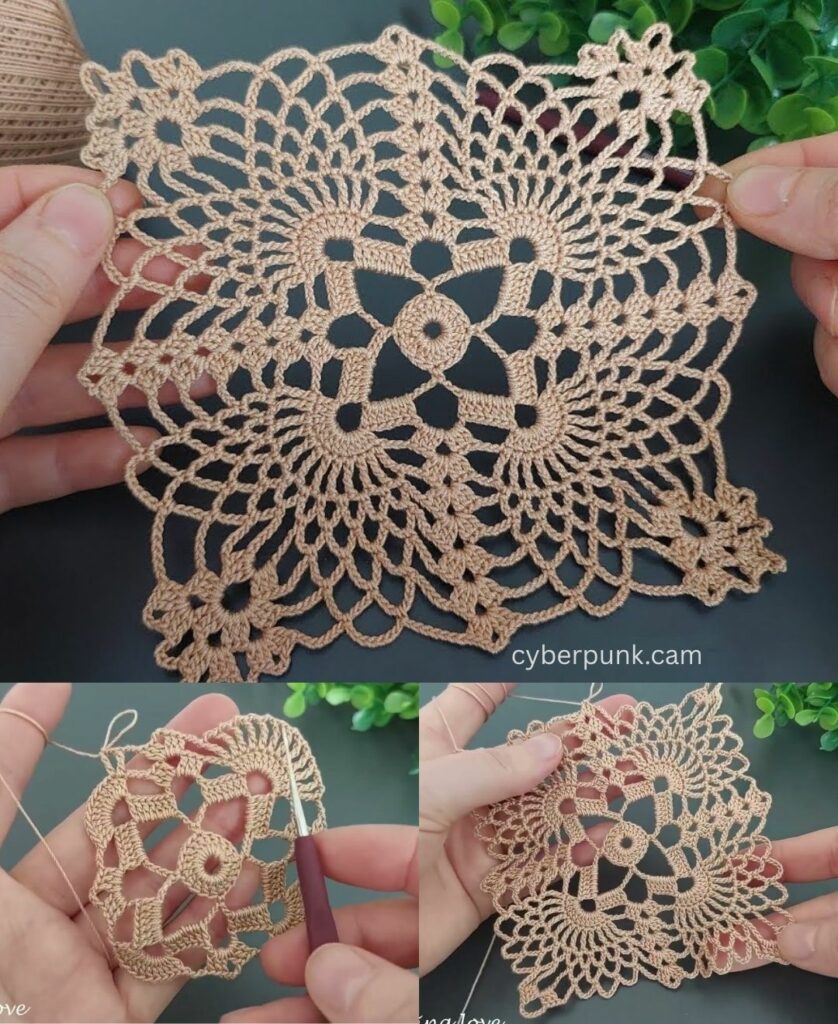
I will detail a popular and flexible pattern known as the “Granny V-Stitch Lace,” which works well for all the items you mentioned.

🧶 Granny V-Stitch Lace Pattern Tutorial
This pattern combines elements of the traditional granny square with the airy quality of the V-stitch, creating a dense but lacy fabric suitable for garments.
Materials and Abbreviations
- Yarn:
- Coasters/Table Cover: Cotton thread (Size 3 or 10) for structure.
- Garments (Dress/Blouse): Lightweight yarn (Fingering or Sport weight—Size 1 or 2) in cotton or a blend for drape.
- Hook: Appropriate size for your chosen yarn.
- V-Stitch (V-st): (dc, ch 1, dc) all worked into the same stitch or space.2
| Abbreviation | Stitch Name |
| ch | Chain |
| sl st | Slip Stitch |
| sc | Single Crochet |
| dc | Double Crochet |
| sp | Space |
| V-st | V-Stitch |
Part 1: Establishing the Foundation
The pattern repeat requires a foundation chain divisible by 4 + 1.
- Foundation Chain:ch any number that is a multiple of 4, then add 1 more ch.
- (Example for a blouse panel: ch 101, which is 25 repeats of 4 + 1).
- Row 1 (Foundation): dc in the 4th ch from the hook (the skipped chains count as the first dc). dc in every chain across. ch 3 (counts as dc) and turn.

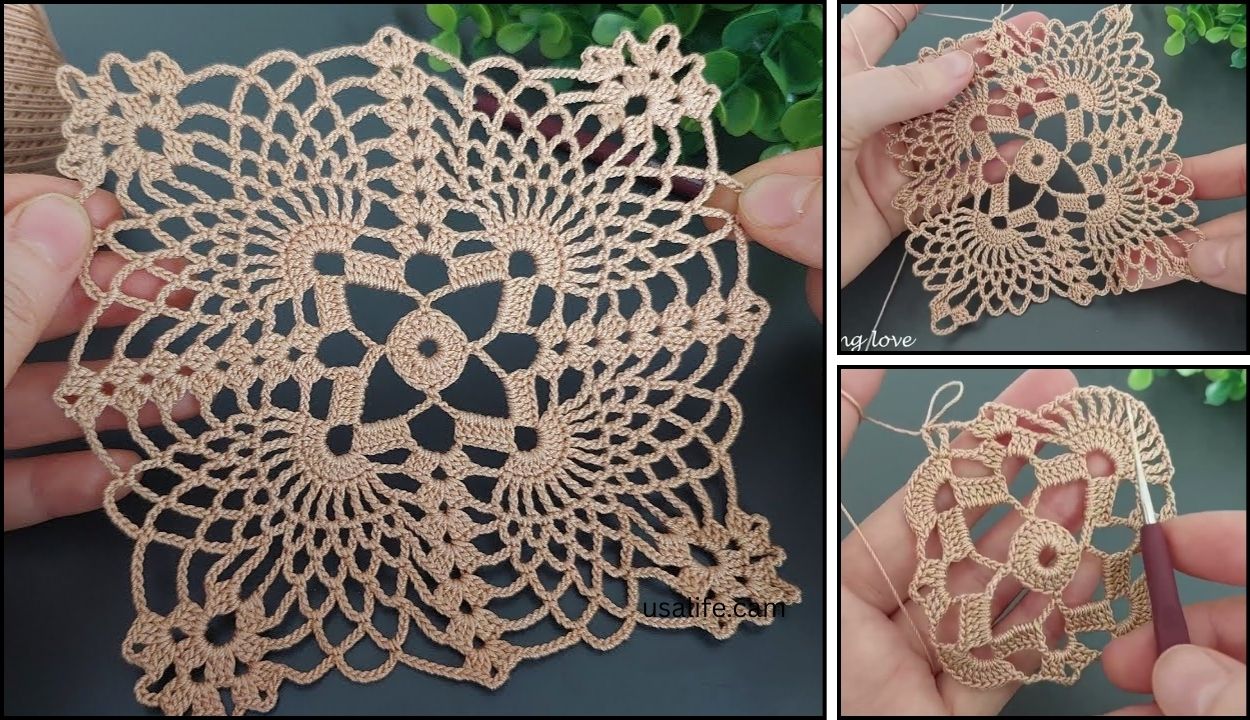
Part 2: Working the Granny V-Stitch Lace
This is a two-row repeat that creates the texture.
Row 2: V-Stitch Mesh
This row creates the open mesh needed for the lace.
- First Block: dc in the first stitch (same stitch as the ch 3). ch 1.
- Skip: Skip the next 2 stitches.
- V-Stitch: Work V-st (dc, ch 1, dc) into the next stitch.
- Repeat Pattern: [Skip 2 stitches, V-st into the next stitch] across the row.
- Finish Row: When you reach the last 3 stitches, skip the next 2. Work 2 dc into the top of the turning chain from the previous row.
- ch 3 and turn.

Row 3: Solid Shell Fill
This row fills the mesh and stabilizes the fabric, creating the “granny” shell look.
- First Shell: Work 2 dc into the ch-1 space you created at the end of Row 2.
- V-Stitch Fill: Work 3 dc into the ch-1 space of the next V-st.
- Repeat Pattern: [3 dc into the ch-1 space of the next V-st] across the row.
- Finish Row: Work 3 dc into the final V-st. Work 1 dc into the top of the turning chain from the previous row.
- ch 3 and turn.
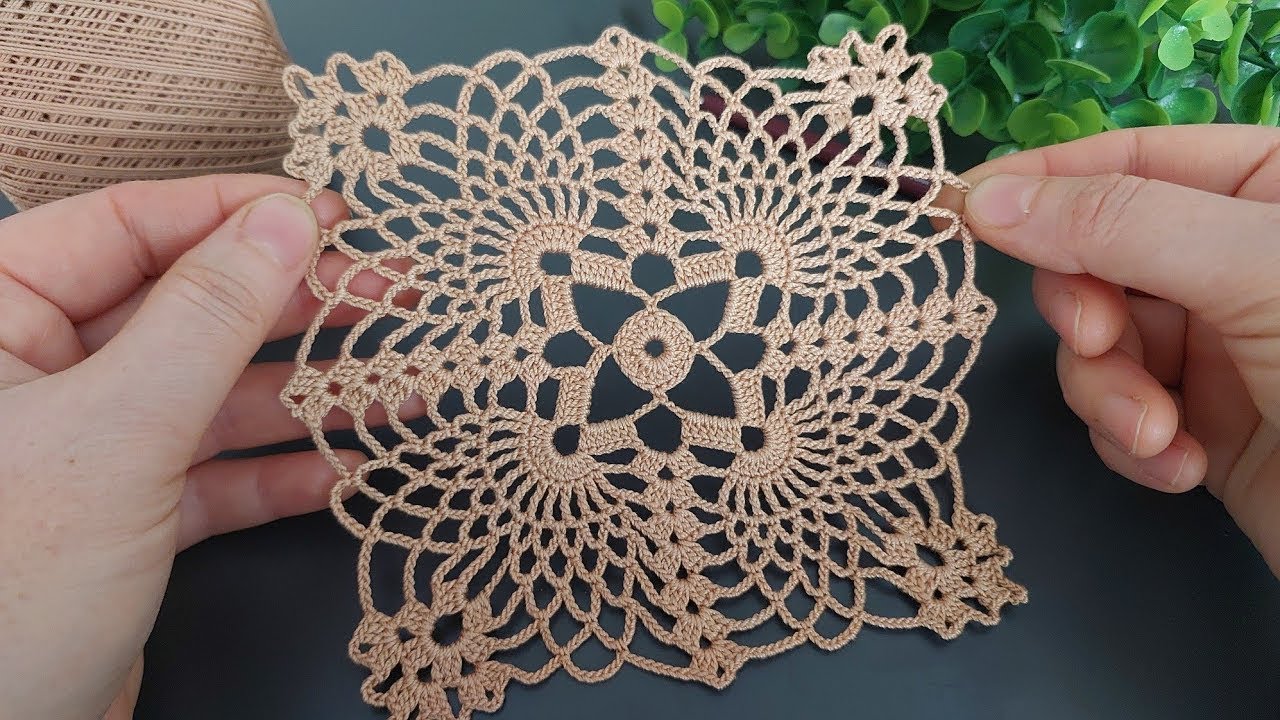
Part 3: Adapting the Pattern for Different Items
The lace repeat remains the same (repeat Row 2 and Row 3), but the dimensions and required stiffness change:
1. Coasters (Small & Stiff)
- Adaptation: Work the pattern in a smaller square or rectangle, using cotton yarn (Size 3 or 10 thread).
- Finishing: Block heavily (or even starch) to make the coaster stiff and flat.

2. Table Cover/Runner (Large & Draping)
- Adaptation: Use cotton thread for a beautiful, draping antique look.
- Construction: Work the pattern until the desired width is reached, then continue until the desired length. For very wide table covers, you may need to join multiple panels together with a slip stitch seam.
3. Summer Dress & Blouse (Soft & Flowy)
- Adaptation: Use a soft, lightweight yarn like Sport or Fingering weight cotton/bamboo/linen blend. This gives the fabric excellent drape.
- Construction:
- Panels: Work the pattern flat in separate panels (front, back) and seam the sides.
- Sleeves: You can work the lace in the round for sleeves, ensuring the stitch count remains a multiple of 4.
- Fit: Blocking is crucial for garments. It relaxes the stitches and allows the fabric to hang correctly.
Optional Edge: Picot Trim
To finish any of these projects, a simple picot trim adds an elegant touch.
- Work a round of sc evenly around the entire perimeter.
- Next Round: [sc in the next 3 sts, picot (ch 3, sl st into the 1st ch), sc in the next st]. Repeat around.
Would you like a tutorial on how to adjust the stitch count for shaping a garment (like armholes or necklines) using this lace?
Video tutorial: